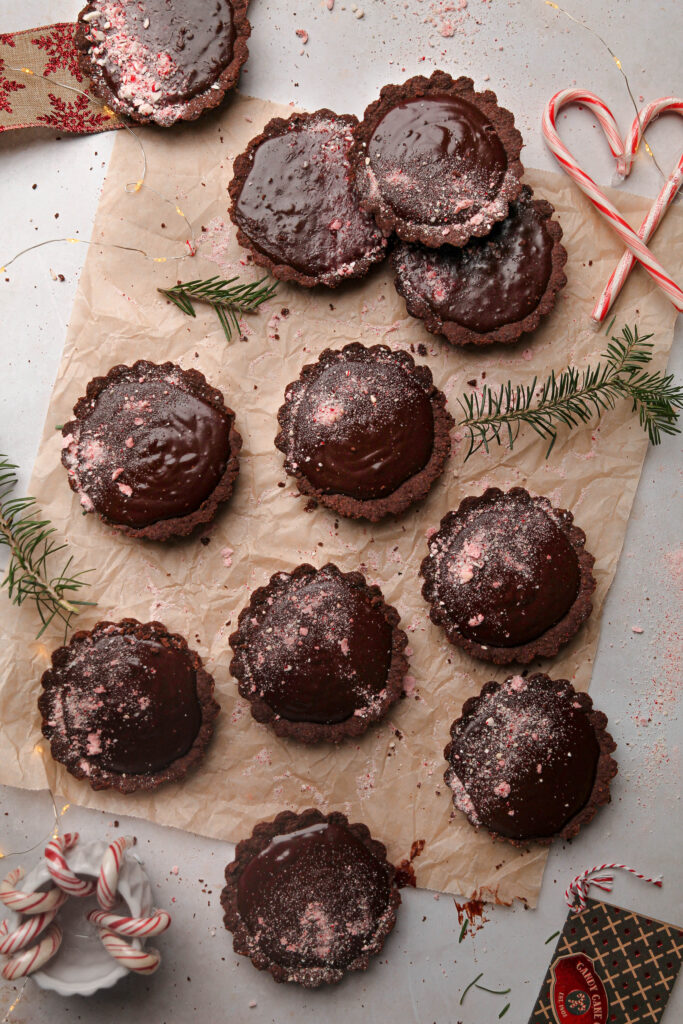
These peppermint mocha tarts are so delicious and perfectly festive! They are so easy to make - with a buttery, mocha base and a peppermint chocolate ganache filling, these will be the most loved dessert at your Christmas party.
Key Ingredients for peppermint mocha tarts
For the base, you will need:
- Graham crackers
- Unsweetened cocoa powder
- Granulated sugar
- Unsalted butter
- Instant coffee granules + water, optional
For the chocolate filling, you will need:
- Semi-sweet chocolate, good quality
- Heavy cream
- Peppermint extract (optional)
Method
The great thing about these peppermint mocha tarts is they are soooooo stinkin' easy. These can be made in 4-inch tart pans or in a cupcake pan, but I prefer to make them in the tart pans.
Making the base
Preheat your oven to 350 degrees Fahrenheit.
In a small bowl, combine the instant coffee granules and water and mix until the granules completely dissolve. This is an optional ingredient but it really adds the delicious mocha flavor to the base.
In a medium-sized bowl, combine the graham cracker crumbs (about 16 full sheets should be exactly what you need), cocoa powder and granulated sugar and whisk together. To make graham cracker crumbs, process them in a food processor/blender or put the graham crackers in a ziplock bag and hit them gently with the back of a wooden spoon/spatula until they are a fine crumb.
Melt your butter, and add it to the graham cracker mixture, along with the coffee mixture. Fold together until combined - the mixture should resemble wet sand.

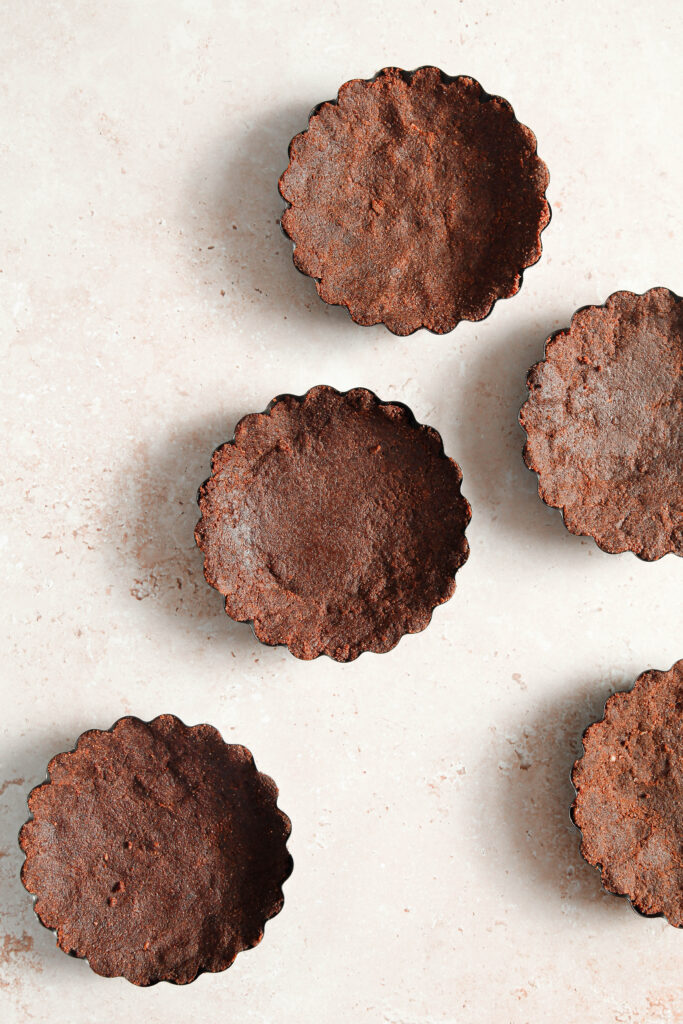
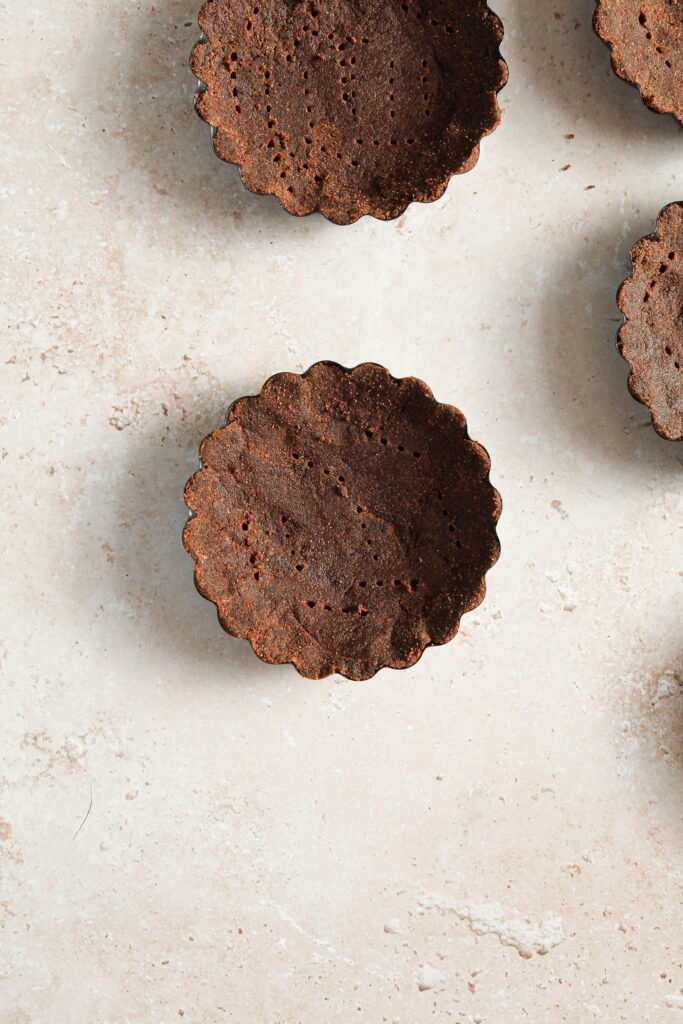
Press the mixture into the bottom and up the sides of your tart pans (each tart pan should have about 55-60 grams - if you do not have a kitchen scale, just eyeball it! Nothing has to be perfect). If you are using a cupcake pan, line the pan with cupcake liners and press the mixture into the bottom of the liners.
Pre-bake the crust. If you are using tart pans, bake for 10 minutes. If you are using a cupcake pan, bake for 5-6 minutes.
Make the filling
While the crust is baking, make the filling. The filling is probably the best part about these peppermint mocha tarts. It is a peppermint flavored, smooth chocolate ganache.
I have to be honest, I don't LOVE peppermint, but I know it's a classic Christmas flavor so I add it in. But it is completely optional.
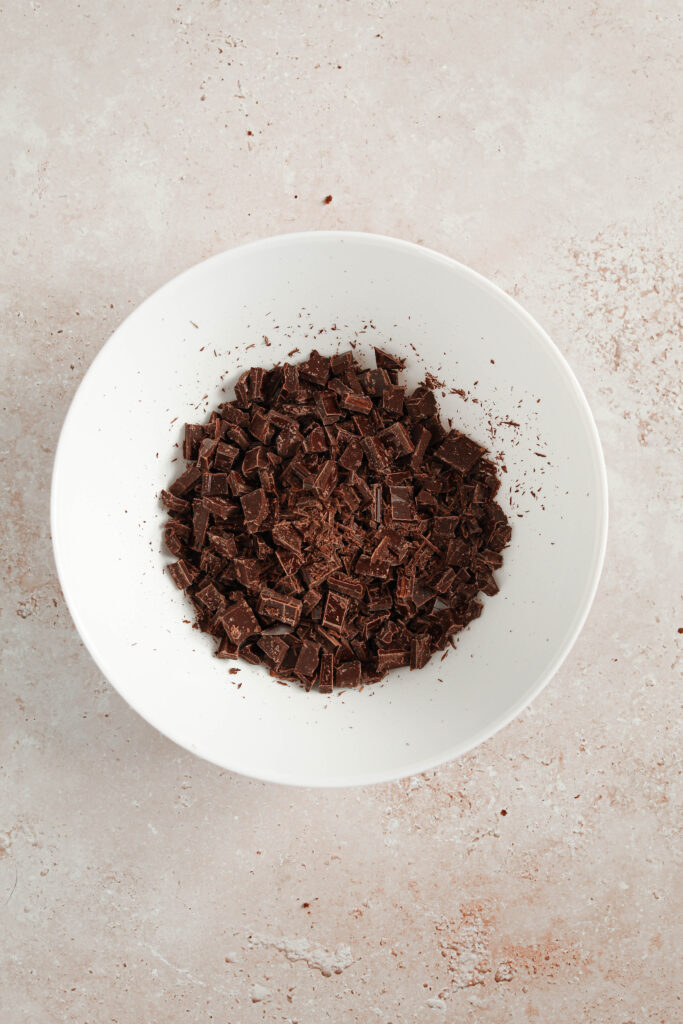
To make the chocolate ganache, you are going to need good quality chocolate. I like to use Ghirardelli's semi-sweet chocolate bars. All you need are 2-4oz bars - they are perfect for this. Chop your chocolate (the more fine it is chopped, the easier it will melt) and place it in a heat proof bowl. Measure out your peppermint extract (if using) and pour over the chocolate.
On the stove over medium heat, heat your heavy cream until it gets to a simmer, not a boil. Pour the heavy cream over the chopped chocolate and let it sit for three minutes. Then, gently and slowly, stir the chocolate. You do not want to do this too fast because otherwise you will whip too much air in.
It may seem like the chocolate and heavy cream won't come together but I promise it will! Just keep stirring.
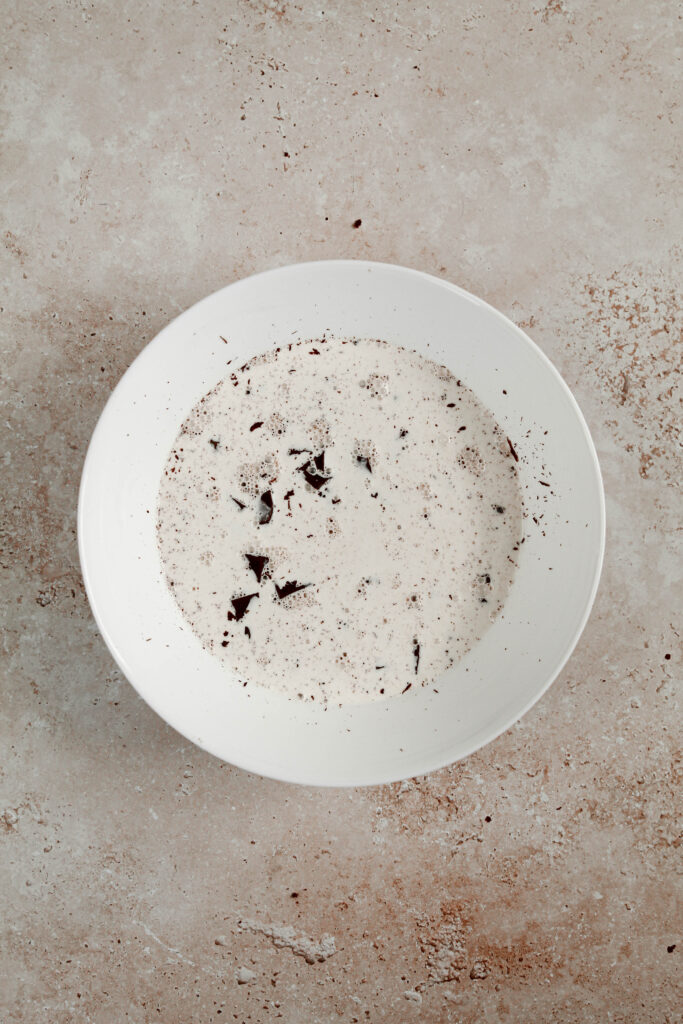
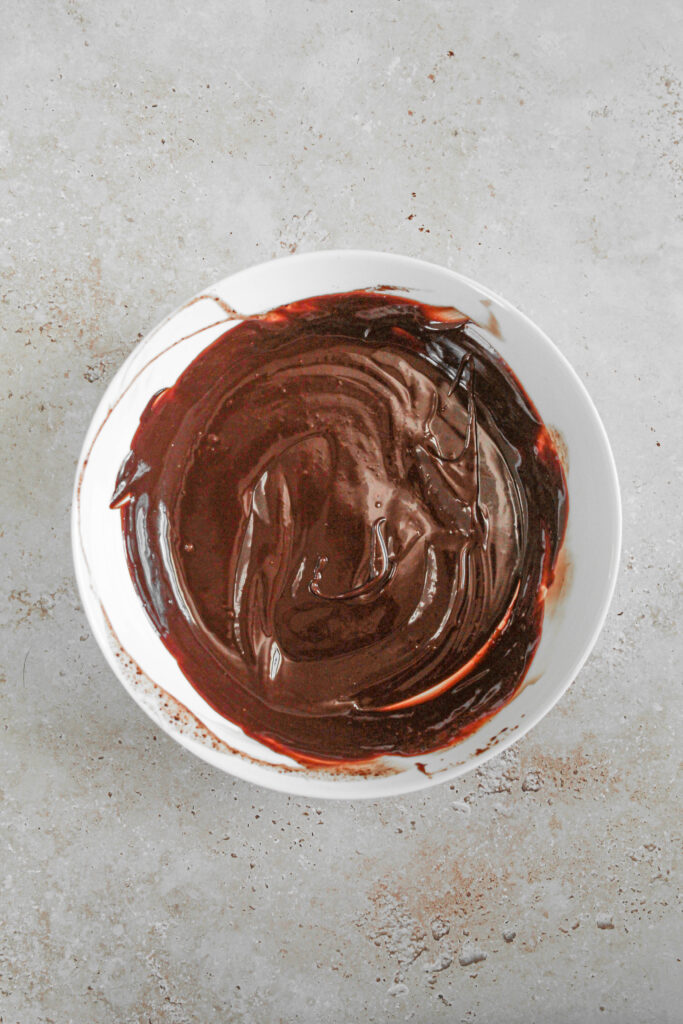
Once combined, pour the chocolate ganache into the baked and cooled base. Let it sit at room temperature or in the fridge for 1-2 hours until set.

Decorating
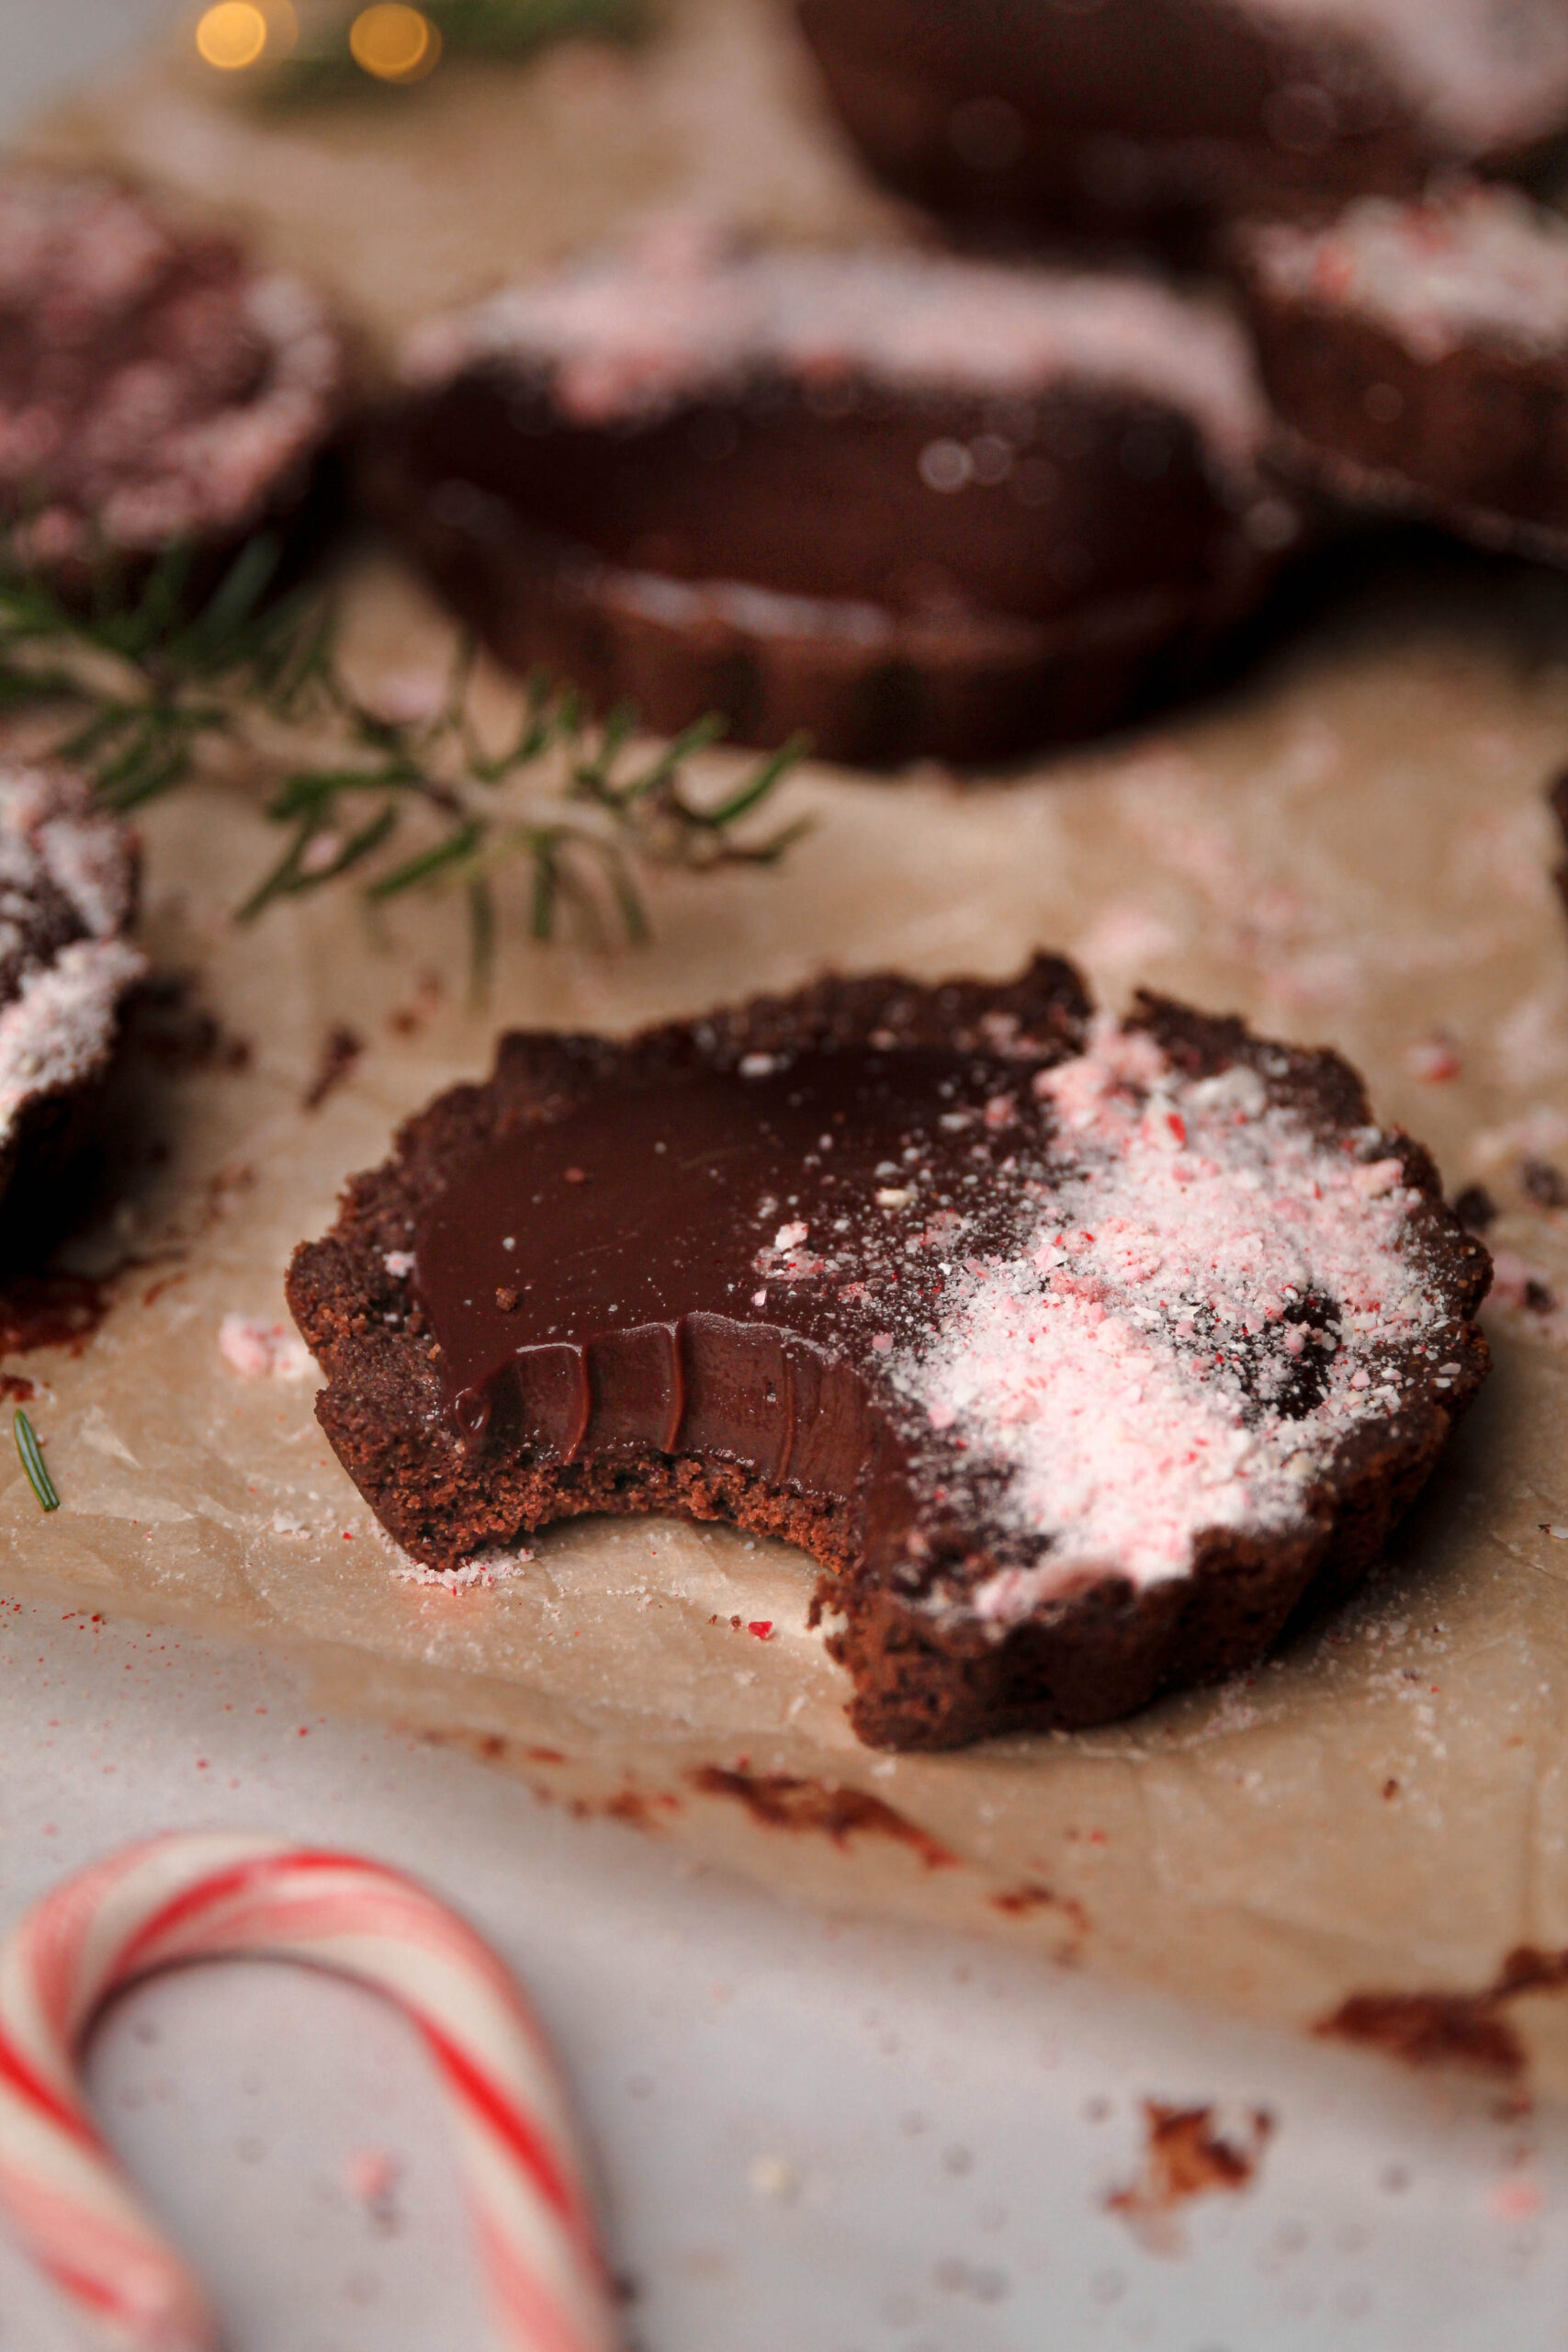
These tarts are also so fun because you can decorate them so many ways! You can use crushed candy canes, whipped cream, white chocolate, etc.! My personal favorite is using whip cream to pipe little Santa faces on the tarts - because I mean, how cute?!?!!?! All you need is whipped cream and a little bit of food coloring. Or, you can make them into little reindeer faces, similar to how I do in my Chewy Gingerbread Reindeer Cookies.

Peppermint Mocha Tarts
Equipment
- Tart pans or a cupcake pan
Ingredients
Base
- 16 full (245 grams) graham cracker sheets processed into a fine crumb
- ½ cup (40 grams) unsweetened cocoa powder
- ¼ cup (50 grams) granulated sugar
- ½ cup (113 grams) unsalted butter melted
- 2 tbsp instant coffee + ½ tbsp water optional
Filling
- 8 oz good quality chocolate chopped
- 1 cup (230 mL) heavy cream
- ¼ tsp peppermint extract optional
Instructions
Base
- Preheat oven to 350 degrees Fahrenheit.
- In a small bowl, combine the instant coffee granules and water and mix until the coffee granules completely dissolve. Set aside. This step is optional - you do not have to use the instant coffee in this recipe.
- In a bowl, combine the graham cracker crumbs, cocoa powder and granulated sugar. Add the melted butter and coffee mixture (if using) into the dry ingredients and fold together until combined. It should resemble wet sand.
- Press the mixture into the bottoms and up the sides of your tart pans (each tart pan should have about 55-60 grams of mixture). If you are using a cupcake pan, line it with cupcake liners and press a spoonful of the base mixture into the bottom of the liner.
- Pre-bake the crust for 10 minutes if using tart pans, and for 5-6 minutes if using a cupcake pan.
Filling
- While the base is baking, make the filling. Chop your chocolate and place in a heat proof bowl. Pour the peppermint extract over the chocolate (if using). Set aside.
- Heat your heavy cream over the stove until it begins to gently simmer (not boil!). Remove from the heat and pour the warmed cream over the chocolate. Let it sit for 3-4 minutes, then, with a rubber spatula, gently begin to stir the mixture together until the chocolate and heavy cream are completely homogeneous.
- Once combined, fill the baked and cooled tarts with the ganache and leave them at room temperature or in the fridge until it firms about (about 1-2 hours).
- Top with desired toppings - crushed candy canes, whipped cream, white chocolate drizzle, etc., and enjoy!
Tried this recipe? Make sure to rate and review and tag @sturbridgebakery on Instagram!


Leave a Reply