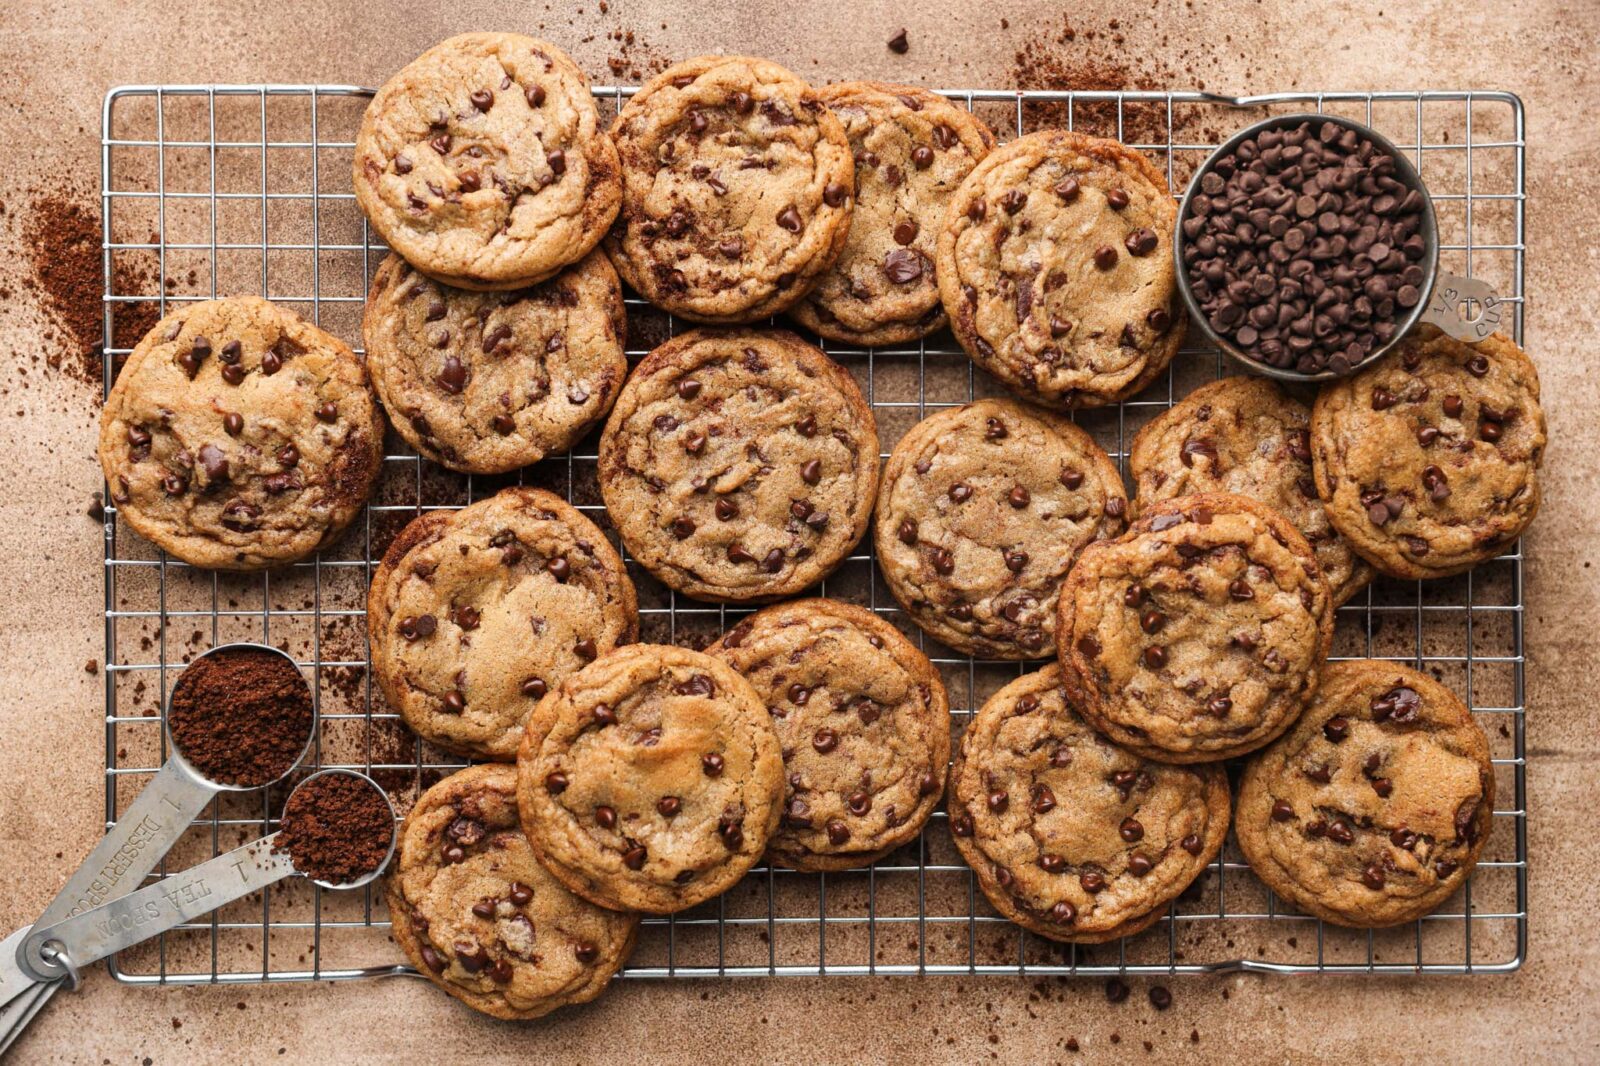
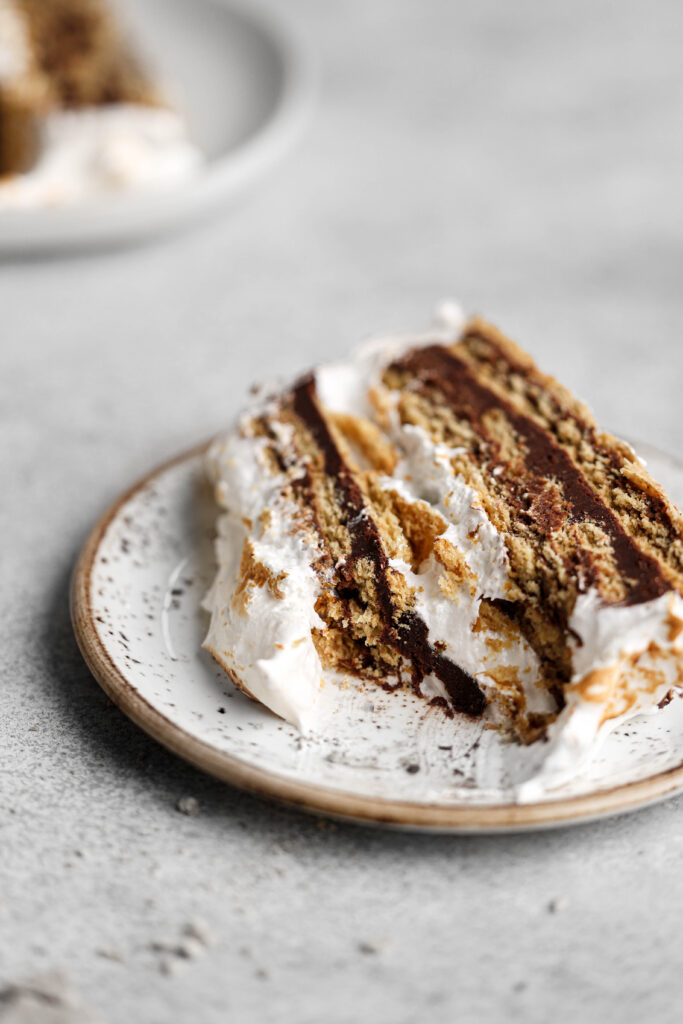
S’mores Chocolate Mousse Ice Box Cake
Layers of graham crackers, creamy chocolate mousse, decadent chocolate ganache, and a fluffy meringue is what makes up this s’mores chocolate mousse ice box cake. This no bake dessert is easy to make and will no doubt be a crowd pleaser at your next get together.

What is an ice box cake?
Typically, an ice box cake is a no bake dessert made by layering things like wafers, cookies, cream, fruit, etc., and is set in the refrigerator. What is great about an ice box cake is that you are the captain of your own experience – meaning you can layer as much of each component as your heart desires. Not a fan of chocolate ganache? Leave it out! Obsessed with chocolate mousse? Layer that sucker up!
Why you will love this s’mores chocolate mousse ice box cake
- It’s no bake. I LOVE no bake desserts!!!!!!!! They just seem easier and less stressful to me. Especially in the summer when it’s 80+ degrees outside, there is no way I want to turn on the oven.
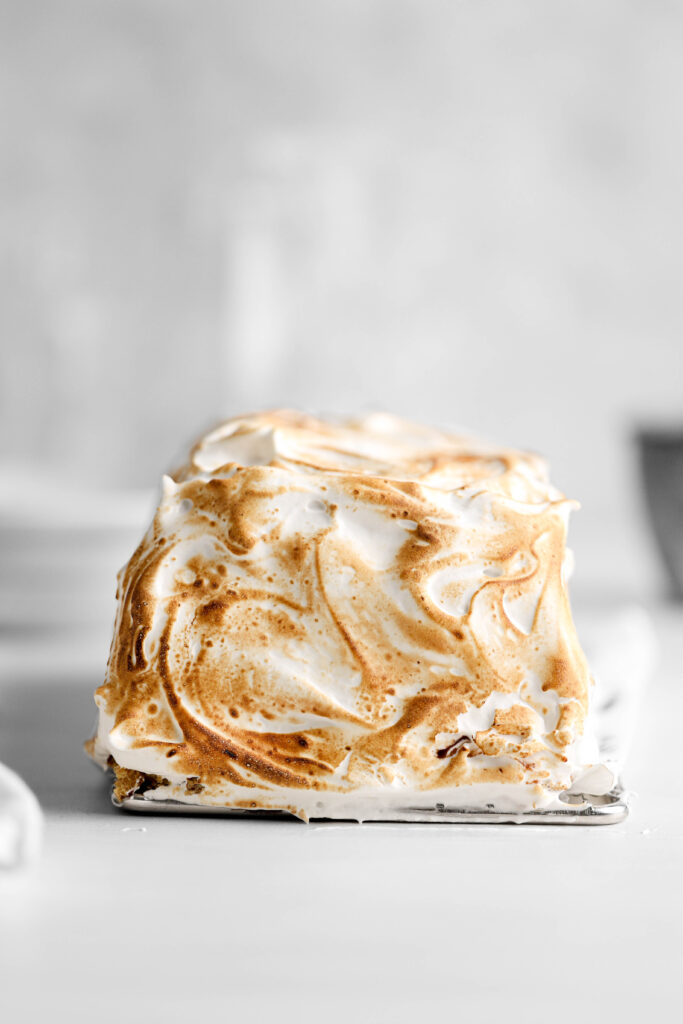
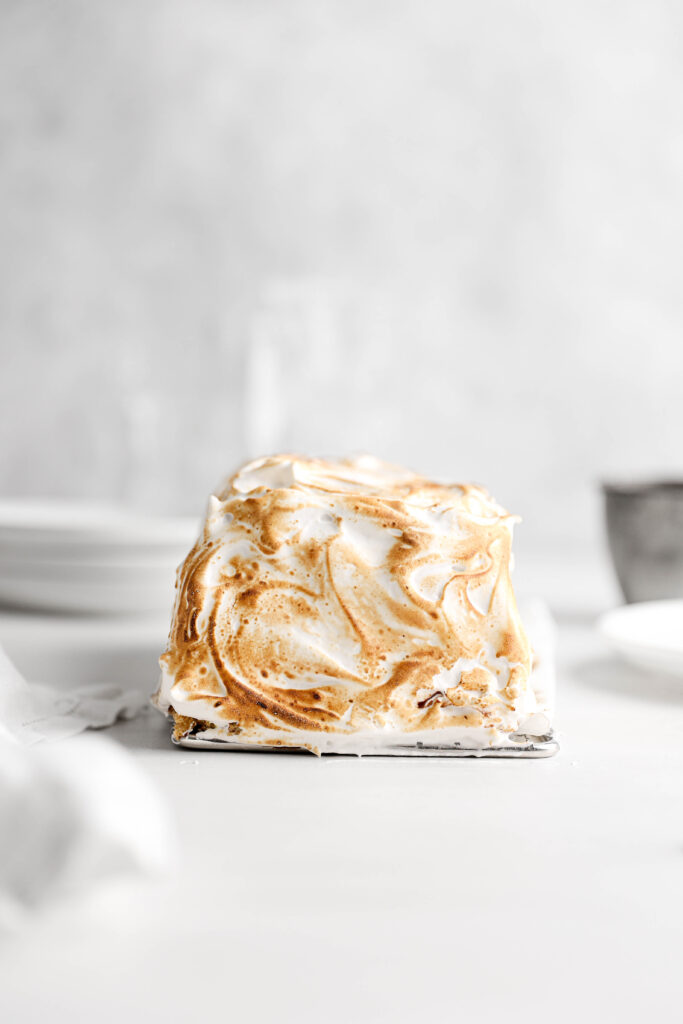
- Meringue. One of my favorite things ever! This toasted meringue is meant to mimic marshmallow fluff. And while toasting it isn’t completely necessary, it is ABSOLUTELY recommended.
- Chocolate mousse. I love chocolate mousse so much. Taken directly from my Homemade Chocolate Mousse recipe, this mousse is incredibly creamy, rich, decadent, and takes this ice box cake to the next level.
- Chocolate ganache. Because just chocolate mousse wasn’t enough, right?
Key ingredients
- Eggs: we use 4 eggs in this recipe – the yolks are used for the mousse, and the whites are used in the meringue. Gotta love no waste!
- Granulated sugar: granulated sugar is used in both the mousse and the meringue to sweeten.
- Chocolate: chocolate is a big part of this dessert! It is used in both the ganache and the mousse. I really would prefer to use chopped semi-sweet chocolate bars in both the mousse and the ganache, but those can be pricy. That is why I wrote this recipe using chocolate chips for the ganache, but make sure to use good quality chocolate for the mousse!
- Heavy cream: heavy cream is needed in both the mousse and the ganache.
- Cream of tartar: cream of tartar is a key ingredient in the meringue – it stabilizes the egg whites and helps provide those characteristic stiff peaks in meringue.
- Graham crackers: one box of regular graham crackers should be enough!
Steps
- Prepare the mousse and the ganache and set aside to chill in the fridge for 1 1/2 hours.
- Once the 1 1/2 hours is up, prepare the meringue.
- Put each component (meringue, mousse, ganache) in their own piping bags.
- Begin to layer – start with the meringue, then graham crackers, then mousse, then graham crackers, then ganache, and repeat.
- Let set in the fridge for 3 hours. For best results, let the cake also sit in the freezer for one hour before removing from the pan and frosting and serving.
- Gently remove from the pan and frost with meringue. Use a kitchen torch to toast the outsides.
- Slice and enjoy!

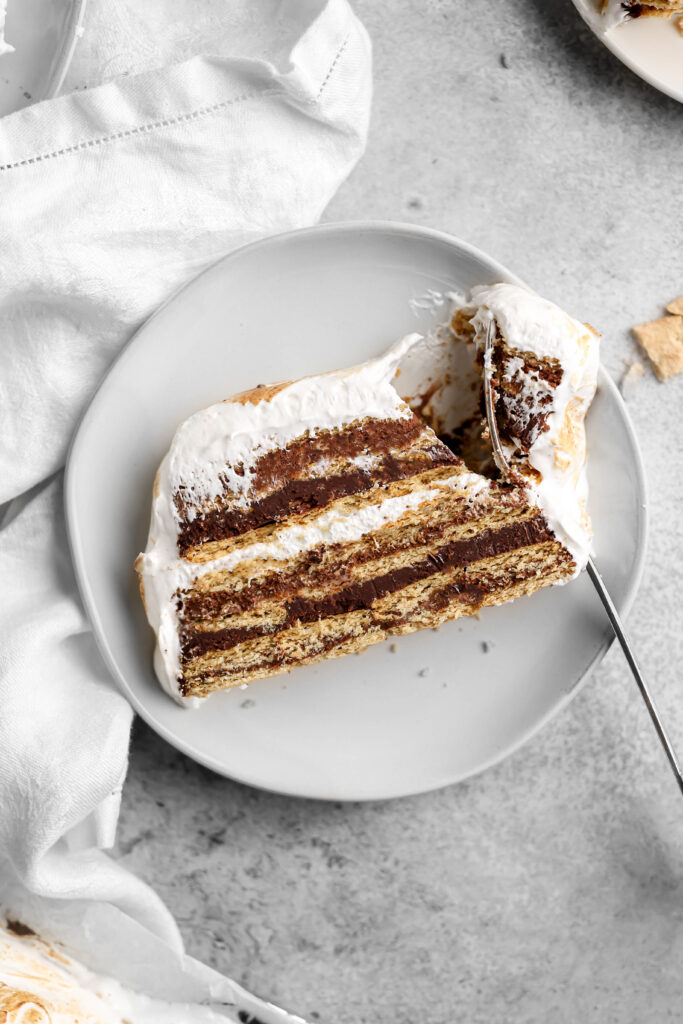
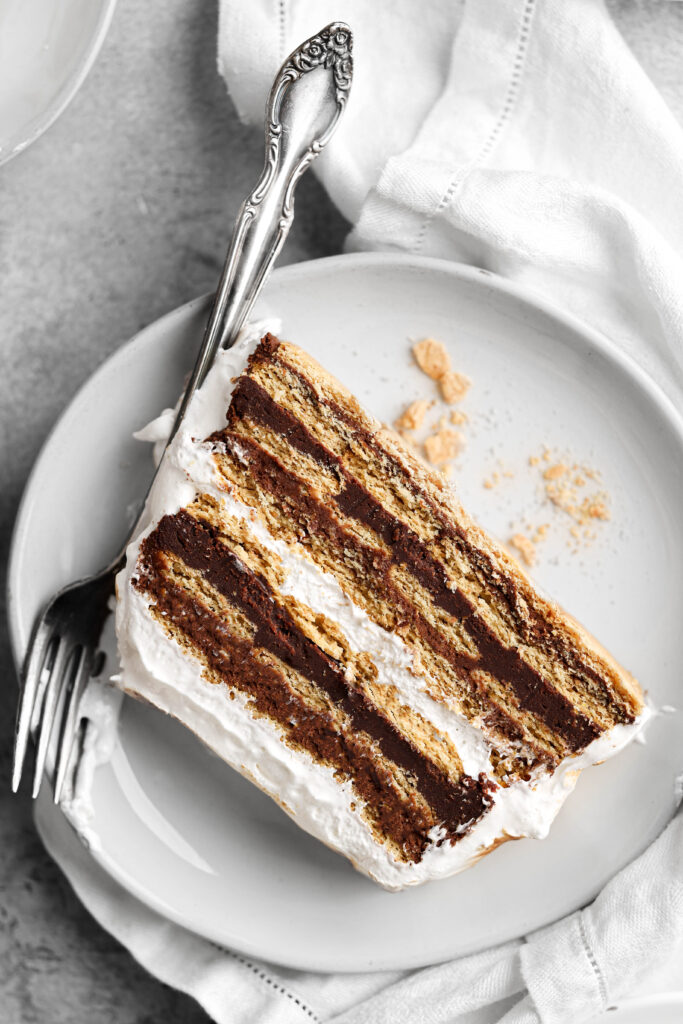
Layers
What’s great about this dessert is that you can choose to use more of what you love and less of what you don’t. You are the captain of your own experience so layer your dessert however you want! Just make sure there is enough meringue left over to frost the outsides. Although, my exact layering was the following (from top to bottom):
- Meringue
- Graham crackers
- Mousse
- Graham crackers
- Ganache
- Graham crackers
- Meringue
- Graham crackers
- Mousse
- Graham crackers
- Ganache
- Graham crackers
- Mousse
- Graham crackers
Troubleshooting
The mousse is soupy.
- Over-mixing the mixture can cause the mousse to deflate. After you add the eggs/chocolate mixture to your whipped cream, make sure to only fold until JUST combined, otherwise the whipped cream can deflate.
- The heavy cream wasn’t whipped enough. If you don’t whip the heavy cream to medium peaks, there will not be enough body to the mixture and it will be too loose.
My meringue did not form stiff peaks.
- Make sure to wipe down your bowl with vinegar prior to using. Any fat from grease residue left on the bowl you are using can prevent stiff peaks from forming.
- Make sure none of the egg yolk gets into your mixture.
- Before you whip the meringue, pinch the mixture with your fingers. You should not feel any sugar granules in the mixture – it should have completely dissolved.
My chocolate ganache is grainy.
This could be because of the chocolate you use. Good quality chocolate is key for the smoothest texture. This recipe calls for using chocolate chips, because we use chocolate bars in the mousse and I know those can be expensive. But if you are having trouble with your ganache, try swapping out the chocolate chips for the same amount of chopped chocolate.
The ganache became thick and did not melt.
The WORST thing that happens with chocolate is that it can seize. Seized chocolate creates a gritty and solid mass of chocolate that will not melt. This typically happens when the chocolate comes into contact with water, so make sure to use a completely dry pot.

Baking in grams
While I provide volume measurements for the recipes on my blog, I highly suggest baking these recipes using weight. It is the most standardized and accurate way to bake. I carefully recipe test all of my recipes using a kitchen scale, not by using cups, and therefore I cannot guarantee the success of my recipes when using volume measurements.
Other recipes you may like
This post may contain affiliate links.

S’mores Chocolate Mousse Ice Box Cake
Ingredients
Chocolate Mousse
- 4 egg yolks
- 1/4 cup (50 grams) granulated sugar
- 1/4 teaspoon salt
- 2 cups (480 grams) heavy whipping cream, divided
- 3/4 teaspoon vanilla extract
- 2 4 oz semi-sweet chocolate bars, chopped
Chocolate Ganache
- 3/4 cup (180 grams) heavy whipping cream
- 1 1/2 cups (270 grams) semi-sweet or bittersweet chocolate chips
Meringue
- 4 egg whites
- 1 cup (200 grams) granulated sugar
- 1/2 teaspoon cream of tartar
- 1/2 teaspoon vanilla extract
Graham Crackers
- 1 box regular Graham Crackers, amount will vary depending on pan
Instructions
Chocolate Mousse
- Pour 2 cups (480 grams) of heavy whipping cream into a measuring cup. Pour ¾ cup (180 grams) of that 2 cups into a separate cup/bowl, and put the 1 ¼ cups (300 grams) of heavy cream back into the fridge. You will use this later.
- Chop your chocolate and set aside.
- Separate the yolks from the egg whites and set the egg whites aside – you will use them later for the meringue.
- Fill a sauce pan with two inches of water and bring to a simmer over medium heat.
- In a medium-sized heat proof bowl, whisk together the egg yolks, granulated sugar, and salt until smooth. Place the bowl on the pot over the simmering water and continuously whisk while the mixture heats up. It should get to about 160F, although you don’t actually need to use a thermometer if you don’t have one. This should take about 4 minutes on medium heat.
- Meanwhile, microwave the ¾ cup (180 grams) of heavy cream that you set aside for 30-45 seconds. It should be luke warm. Once the egg mixture has reached 160F or it has been 4-5 minutes, slowly pour the warmed heavy cream into the eggs while continuously whisking. Keep whisking the mixture for another 2 minutes. Remove the bowl from on top of the saucepan, add the vanilla extract, and stir to combine.
- Add the chopped chocolate to a microwave safe bowl and microwave it in 30 second increments, stirring in between each increment until completely melted and smooth. You can also do this over the stove using a double boiler.
- Add the melted chocolate to the egg mixture and whisk until completely combined. Set aside.
- Remove the 1 ¼ cups (300 grams) of heavy cream you put in the fridge and pour it into the bowl of a stand mixer fitted with the whisk attachment or a large bowl if using a handheld mixer. Beat the heavy cream on medium-high speed for 3-4 minutes until medium peaks form. Medium peaks are in between soft peaks and stiff peaks – so not fully formed into whipped cream yet, but not super soft either.
- Pour the chocolate/egg mixture into the whipped cream and fold them together using a rubber spatula until combined. Avoid over mixing, as the whipped cream can lose all the air you just whipped into it and deflate.
- Pour the mixture into a wide bowl and chill in the fridge.
Chocolate Ganache
- In a small saucepan over low heat, heat the heavy cream until bubbles begin to form at the sides of the pot. About 3-4 minutes. Turn off the heat and pour in chocolate chips.
- Allow the mixture to sit for 3 minutes, then stir with a whisk to combine. The warm heavy cream should have melted the chocolate. Pour the mixture into a wide bowl and chill in the fridge.
- Once you put the ganache in the fridge, leave the ganache and the mousse to chill for 1 1/2 hours. In this time, the ganache will thicken and the mousse will thicken and set (not completely set, but you should be able to tell it is firming up – you don’t want it to be soupy).
Meringue
- Once the 1 1/2 hours is up, make the meringue.
- Fill a sauce pan with about two inches of water and bring it to a gentle simmer.
- In a heat proof bowl, mix the egg whites you set aside, sugar, cream of tartar and vanilla extract. Place the bowl on the sauce pan over the simmering water but do not let the bottom of the bowl touch the simmering water. If you think there is too much water, pour a little out. You can also use a double boiler if you have one.
- Continuously whisk while the mixture heats up. It will start out thick but will thin out as you keep on whisking. Whisk for about 4-5 minutes until the mixture is thin and frothy on top. If you have a thermometer, it should be around 160F.
- Remove from the heat. Using a handheld mixer or in the bowl of a stand mixer fitted with the whisk attachment (preferred method), beat on high speed for 5-6 minutes until luscious, puffy, stiff peaks form.
Assemble
- Line a standard 9×5 inch loaf pan with either wax paper or plastic wrap. I find wax paper is best for lifting the dessert out of the pan.
- Put each component (the meringue, ganache, and mousse) in their own piping bags. If you don’t have piping bags, you can also use a spoon to scoop the mixtures into your pan and spread into an even layer with an offset or rubber spatula.
- Working in layers, begin to fill up your pan. Start with the meringue, then graham crackers, then mousse, then graham crackers, then ganache, and repeat. It is totally up to you how much you spoon of each layer, so feel free to include more of one thing or less of another. But make sure to leave enough meringue to frost the sides of the cake! For my exact layering, see the blog post above.
- Refrigerate your ice box cake for at least three hours or overnight before frosting. For best results, let your cake set in the fridge for 3 hours, then in the freezer for one hour before removing from the pan, frosting, and serving.
- To remove the cake from the pan, lift the plastic wrap or wax paper up gently. You may need to run a sharp knife along the sides of the pan to loosen it. To be honest, this cake is a b*tch to get out, but just try your best. Any imperfections will be covered up by the leftover meringue.
- Once the cake is removed, frost the tops and sides with the remaining meringue. Use a kitchen torch to toast the sides if desired. Store in the fridge/freezer until ready to serve.
Tried this recipe? Make sure to rate and review and tag @sturbridgebakery on Instagram!