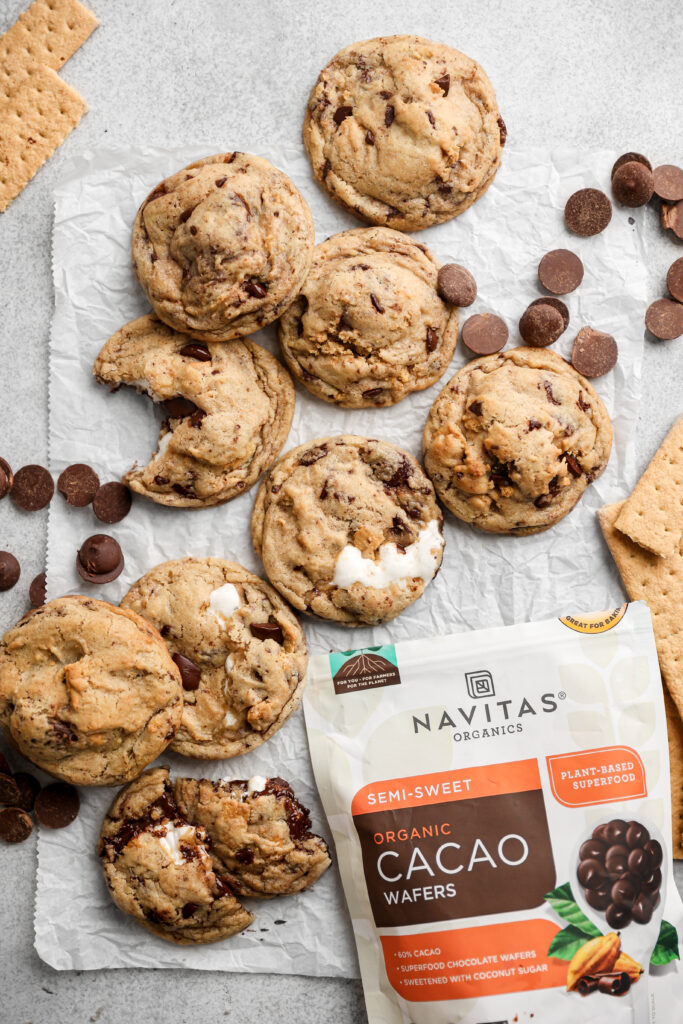
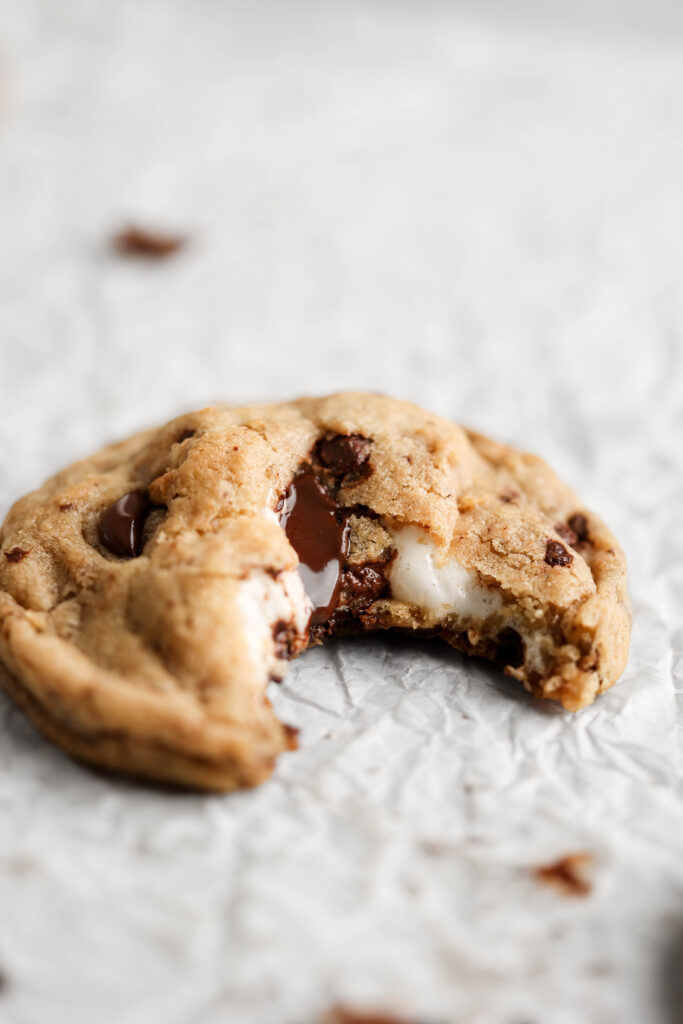
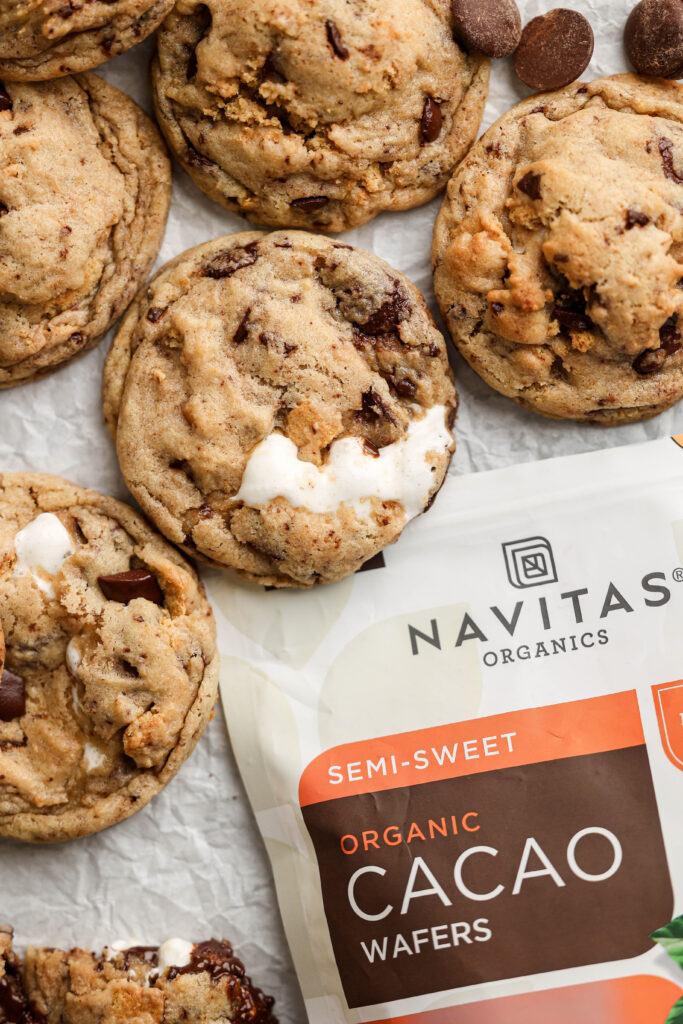
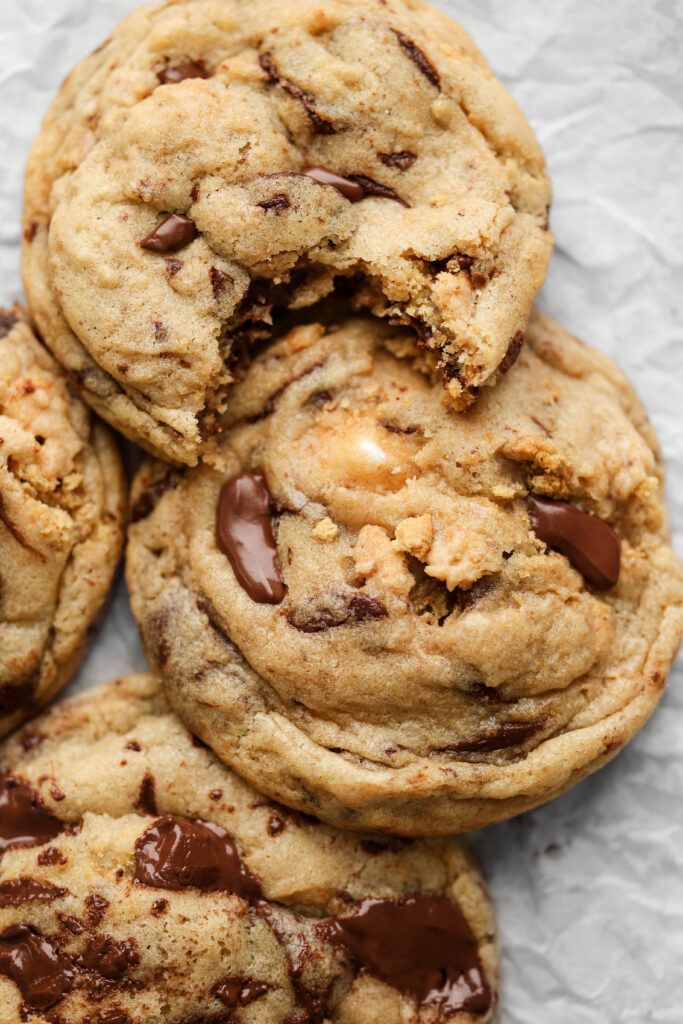
These bakery style s'mores cookies are thick and chewy, have puffy and gooey centers, are loaded up with chocolate and graham crackers, and filled with a melty marshmallow. Made with Navitas Organics Semi-Sweet Cacao Wafers, these cookies have puddles of melty chocolate throughout, making it truly seem like you are biting right into a chocolatey s'more.
Jump to:
Why you will love these bakery style s'mores cookies
- The extra egg yolk. Eggs are most commonly known for binding ingredients together (which they do), but they also give baked goods a ton of moisture. Egg yolks are rich in fat and contribute to an incredibly chewy texture.
- Mix of brown and granulated sugar. I love using both sugars in cookie recipes because they each have their own job, in addition to sweetening the dessert. Brown sugar adds moisture and flavor to the cookies, while granulated sugar aids in the spread of the cookies.
- The chocolate. I used Navitas Organics Semi-Sweet Cacao Wafers in these cookies and let me tell you, they did not disappoint. They are larger than chocolate chips, which are perfect for those melty puddles of chocolate, and they taste AMAZING.
Key ingredients
- Flour: all purpose flour is the flour of choice here for the best texture.
- Leavener: baking soda and baking powder help the cookies rise. Baking soda lets them spread, while baking powder results in those puffy centers.
- Cornstarch: cornstarch is added to the cookies for a tender and soft texture.
- Butter: we use unsalted butter in this recipe to control exactly how much salt goes in. Room temperature butter is creamed with the sugar to create a lot of air, resulting in taller, puffier cookies.
- Sugar: granulated sugar and brown sugar are used in these cookies for sweetness, flavor, and moisture. Brown sugar adds flavor and moisture, while granulated sugar aids in the spread of the cookies.
- Eggs: one egg and one egg yolk are used to bind the ingredients together and to create a chewy and soft texture.
- Vanilla extract: good quality vanilla extract is key for great flavor.
- Sour cream: a little bit of sour cream is added for moisture.
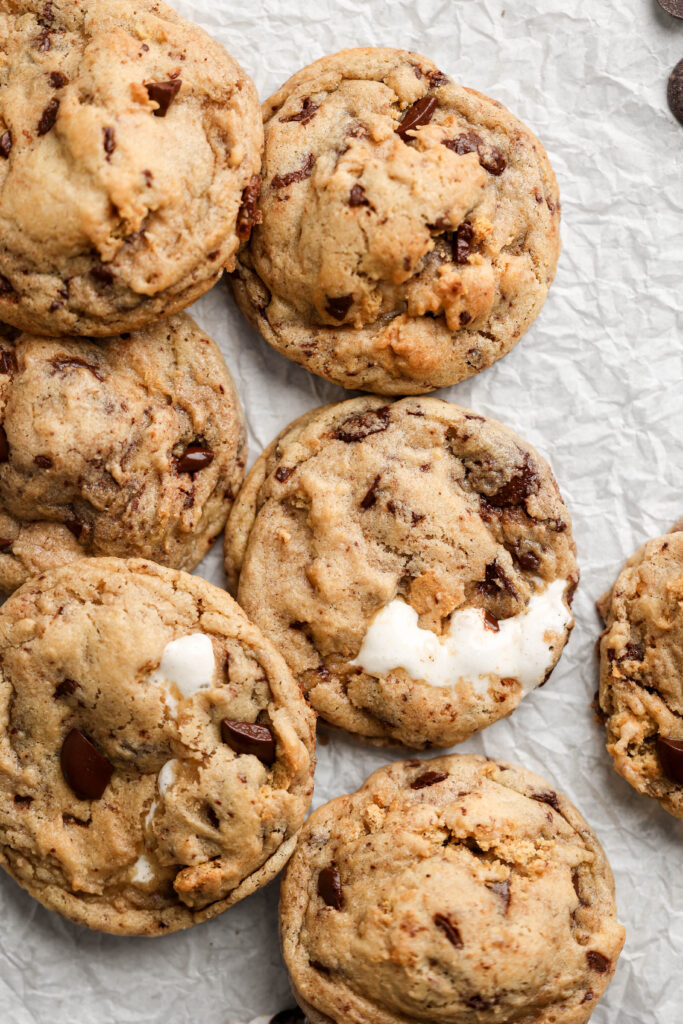
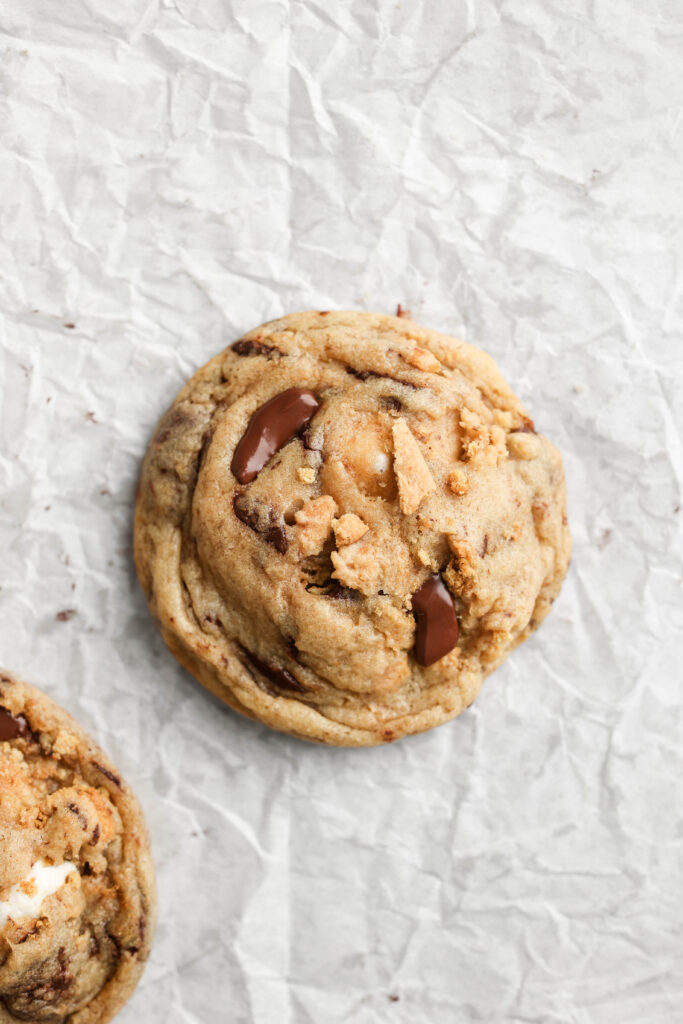
- Other mix-ins: graham crackers and marshmallows are needed for these cookies. The graham crackers get broken into pieces and mixed throughout the dough, while the marshmallows are inserted into the cookie for a melty marshmallow center.
- Chocolate: Navitas Organics Semi-Sweet Cacao Wafers are used in this recipe for melty puddles of chocolate. They are TOO good.
Steps
- Mix the dry ingredients. In a medium-sized bowl, whisk together the flour, baking soda, baking powder, cornstarch, and salt. Set aside.
- Beat the wet ingredients. Beat together the butter, brown sugar, and granulated sugar until lighter in color and fluffy, about 2-3 minutes. Add the egg, egg yolk, vanilla extract, and sour cream and beat on medium speed until combined.
- Combine. Add the dry ingredients to the wet ingredients and mix on low speed until a dough forms.
- Add the mix-ins. Add the graham cracker pieces and chocolate and mix until thoroughly incorporated throughout the batter.
- Chill. Cover tightly and chill the dough for two hours.
- Add the marshmallow. Use a large cookie scoop to scoop the dough. Divide the scooped dough into two pieces and flatten them into discs. Place half of a marshmallow onto one disc, then place the other disc of dough on top and seal the edges.
- Bake. Bake the cookies on a parchment paper-lined baking sheet for 9-10 minutes.
Cookie baking tips
- Use a kitchen scale. I cannot stress this enough - a kitchen scale is the only way to ensure accurate results. They are cheap and will make cleaning up SO much easier.
- Chill the dough. Chilling the dough controls spread and it gives the ingredients the chance to emulsify, resulting a much deeper, caramel-like flavor.
- Use an oven thermometer. Making sure your oven is calibrated correctly and is at the right temperature is incredibly important. If your oven runs hot, the cookies may spread too much too quickly.
- Use a cookie scoop. Cookie scoops are one of my favorite kitchen tools. It makes scooping the chilled cookie dough so much easier.
- Cookie scoot. "Cookie scooting" is taking something circular (a circular cookie cutter, as an example) and gently scooting the cookies after they are removed from the oven. This makes the cookies the perfect circular shape. You can also use a mug, a glass storage container, etc.
- Don't crowd the baking sheet. Space the cookies about 3 inches apart so they have room to spread. If this means you have to bake in multiple batches, do it. It is better than having all the cookies spread into each other on the pan.
Prep and storage
- Can I make the cookie dough ahead of time? Yes! Once you are at the dough chilling step, the dough can stay in the fridge for 1-2 days (but make sure it is completely air tight otherwise the dough will dry out!).
- Can I freeze the raw dough? Yes! Once the marshmallows are in the cookies, place them on a baking sheet in the freezer. Once frozen, place them in a ziplock bag and freeze for up to three months. Bake immediately from the freezer and add 1-2 minutes to the bake time.
- Freezing the baked cookies. To freeze the baked cookies, put them in a ziplock bag once they are completely cool and freeze for up to three months.
Baking in grams
While I provide volume measurements for the recipes on my blog, I highly suggest baking these recipes using weight. It is the most standardized and accurate way to bake. I carefully recipe test all of my recipes using a kitchen scale, not by using cups, and therefore I cannot guarantee the success of my recipes when using volume measurements.
Other recipes you may like
- Chewy Brown Butter Chocolate Chip Cookies
- Dark Chocolate Thumbprint Cookies
- Oreo Stuffed Chocolate Chip Cookies
- Brown Butter Maple Chocolate Chip Cookies
- Chocolate Caramel Thumbprint Cookies
This post may contain affiliate links.

Bakery Style S'mores Cookies
Ingredients
- ¾ cup (170 grams) unsalted butter room temperature
- ¾ cup (150 grams) brown sugar
- ½ cup (100 grams) granulated sugar
- 1 egg room temperature
- 1 egg yolk room temperature
- 1 tablespoon vanilla extract
- 1 tablespoon (15 grams) sour cream room temperature
- 2 ¼ cups (281 grams) all purpose flour
- 1 tablespoon cornstarch
- ½ teaspoon baking soda
- 2 teaspoons baking powder
- ¾ teaspoon salt
- 5 graham cracker sheets broken into small pieces
- 1 cup (200 grams) Navitas Organics Semi-Sweet Cacao Wafers coarsely chopped
- regular sized marshmallows split in half
Instructions
- Chop your chocolate and set aside.
- In a medium-sized bowl, whisk together the flour, cornstarch, baking soda, baking powder, and salt. Set aside.
- In the bowl of a stand mixer fitted with the paddle attachment, or a large bowl if using a handheld mixer, beat together the butter, brown sugar and granulated sugar on medium-high speed until combined, light and fluffy.
- Add the egg, egg yolk, vanilla extract, and sour cream and beat on medium speed until combined, scraping down the bottom and sides of the bowl as necessary.
- Add the dry ingredients to the wet ingredients and mix on low speed until a dough forms. Add the graham cracker pieces and chopped chocolate and fold until evenly incorporated throughout the dough.
- Tightly cover the bowl and chill the dough for 2 hours. Once the two hours is up, preheat your oven to 350F and line a baking sheet with parchment paper.
- Scoop the dough using a large cookie scoop (70 grams of dough per cookie or about ¼ cup). Divide the scooped dough in half and flatten both pieces into discs.
- Place one half of a marshmallow on one disc, then put the other disc on top and seal the edges. Roll into a ball and place on your baking sheet.
- Space the cookies 3-4 inches apart. Bake for 9-10 minutes until golden brown and the edges are set.
- Let cool on the pan for 5 minutes. Transfer to a cooling rack to cool for another 10 minutes for a warm cookie, or let cool completely. Store in an airtight container at room temperature. Enjoy!
Tried this recipe? Make sure to rate and review and tag @sturbridgebakery on Instagram!


Leave a Reply