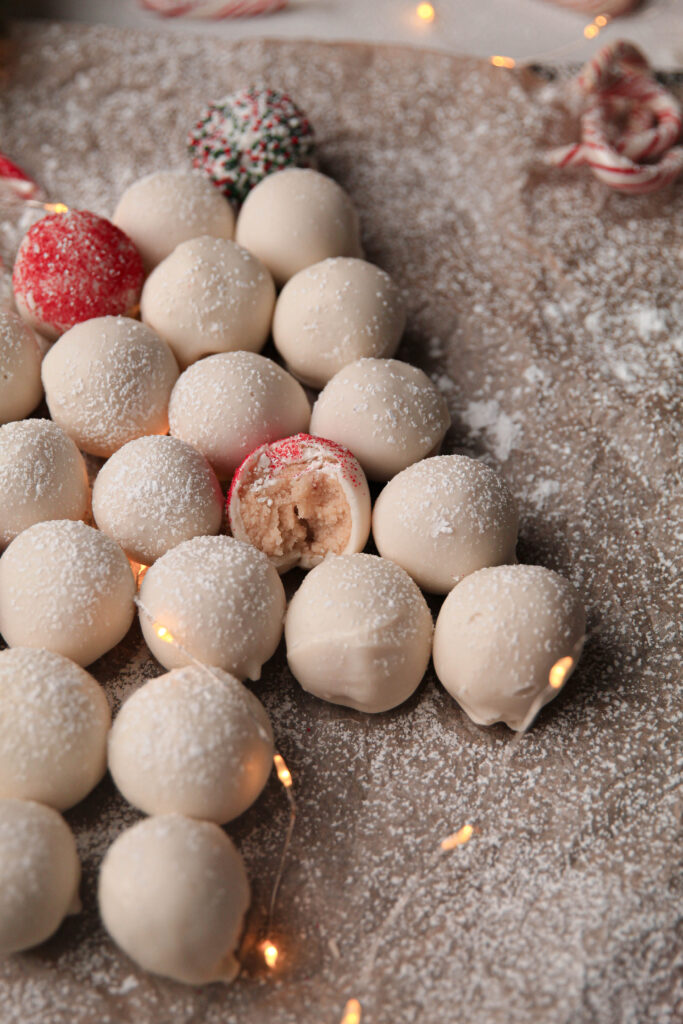
Cake Pop Christmas Tree
Gosh, I love ALL things Christmas and ALL things dessert. So you can imagine why the holiday season is such a fun time for us bakers. This Cake Pop Christmas Tree is TOO fun to make – not to mention delicious, and so so festive. This Cake Pop Christmas Tree has a vanilla cake, vanilla buttercream and a white chocolate coating – yum! Plus sprinkles, of course.

Key Ingredients for a cake pop Christmas tree
For the cake, you will need:
- All purpose flour
- Baking powder
- Salt
- Unsalted butter
- Granulated sugar
- Eggs
- Vanilla extract
- Whole milk
For the frosting, you will need:
- Unsalted butter
- Powdered sugar
- Milk
- Vanilla extract
And of course, for the coating you will need:
- White chocolate (or whatever kind of chocolate you prefer!), plus a bit of vegetable oil
Method for a cake pop Christmas tree
Making the cake
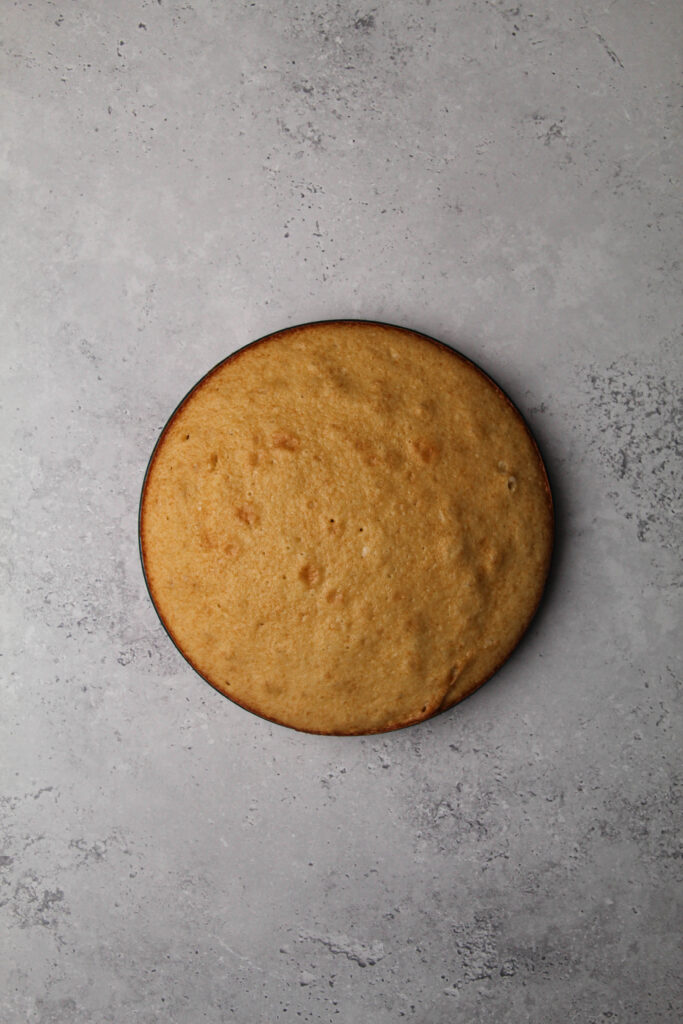
The first step in making these cake pops, is obviously, making the cake! Preheat your oven to 325 degrees Fahrenheit and grease a 9-inch cake pan.
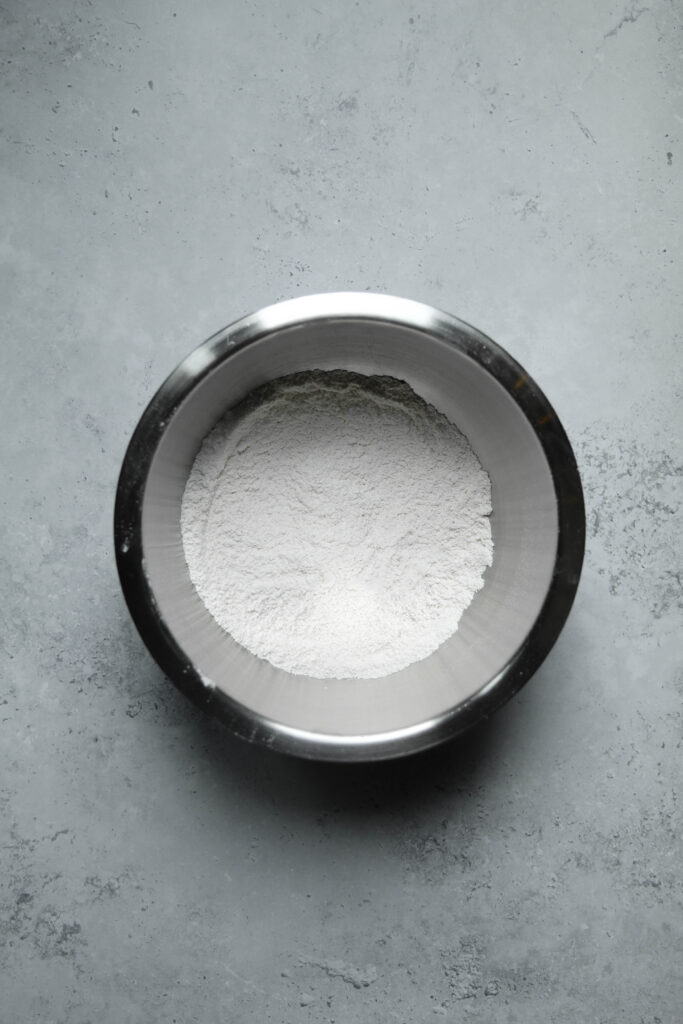
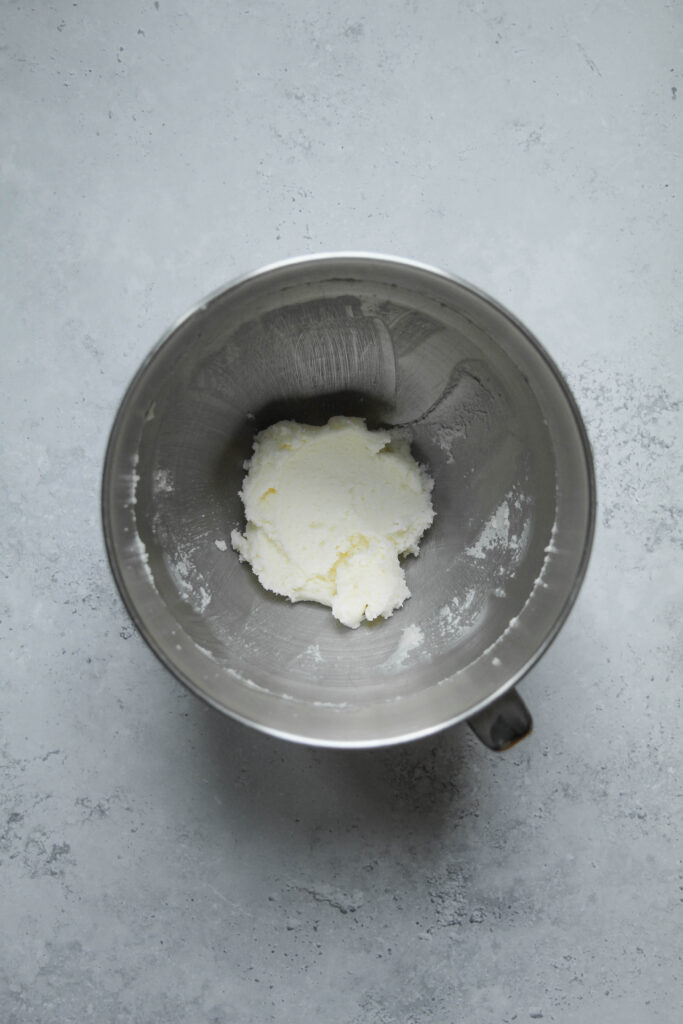
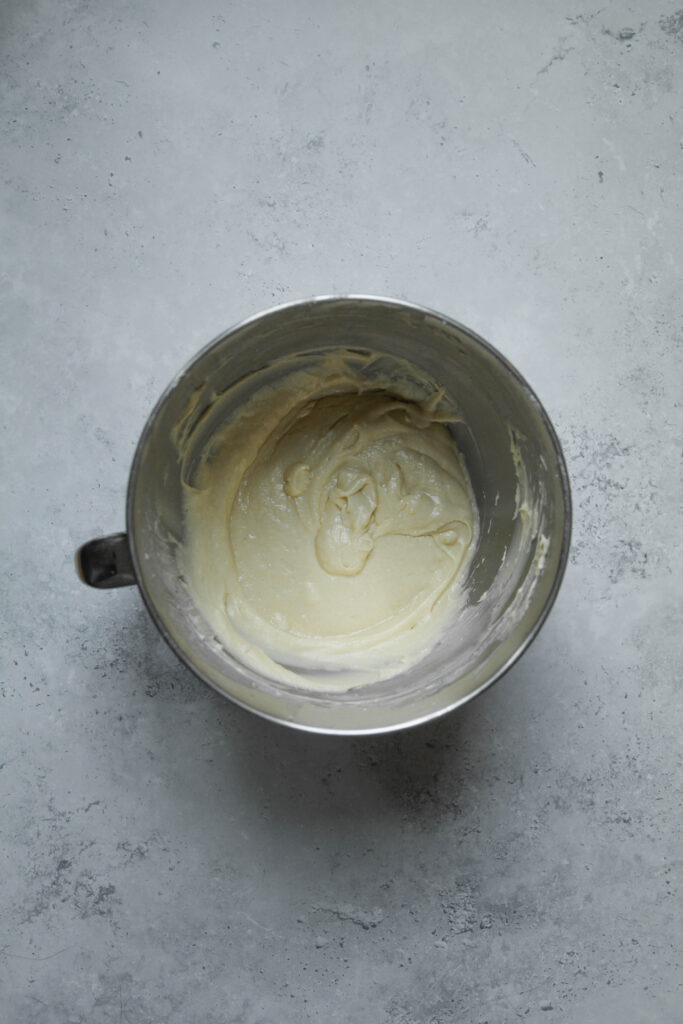
In a medium-sized bowl, whisk together the flour, baking powder and salt. Set aside. Then, in the bowl of a stand mixer fitted with the paddle attachment, or using a handheld mixer, beat the butter and sugar on medium-high speed until combined and light and fluffy – about three minutes.
Add the eggs one at a time, mixing well on medium speed in between each addition. Add the vanilla extract and beat on high speed until combined, scraping the sides and bottom of the bowl as necessary. Turn the mixer to low and add half of the dry ingredients. Once the first half of the dry ingredients are almost fully incorporated into the batter, slowly add the milk and continue to mix until combined.
Add the remainder of the dry ingredients and mix on low speed until just incorporated, being careful not to over mix. I suggest mixing the remaining dry ingredients by hand.
Pour the batter into your prepared pan. Bake the cake for 30-35 minutes until golden brown and a toothpick inserted into the center comes out clean. The edges of the cake will begin to peel away from the sides of the pan. Let the cake cool completely – you can place it in the fridge to speed this up (about a half hour).

Making the frosting
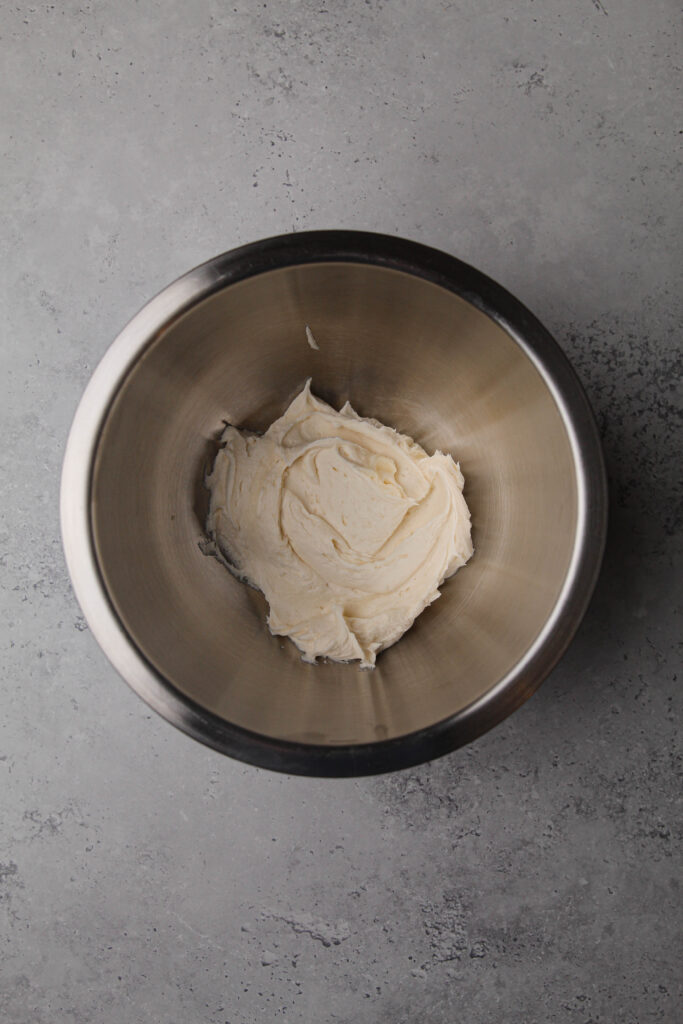
While the cake is cooling, make the buttercream frosting. In the bowl of a stand mixer fitted with the paddle attachment, or using a handheld mixer, beat the butter on medium-high speed for 2 minutes until creamy.
Add the powdered sugar, milk and vanilla extract and mix on low speed for thirty seconds. After the thirty seconds, change the speed to medium-high and beat for 3 minutes.
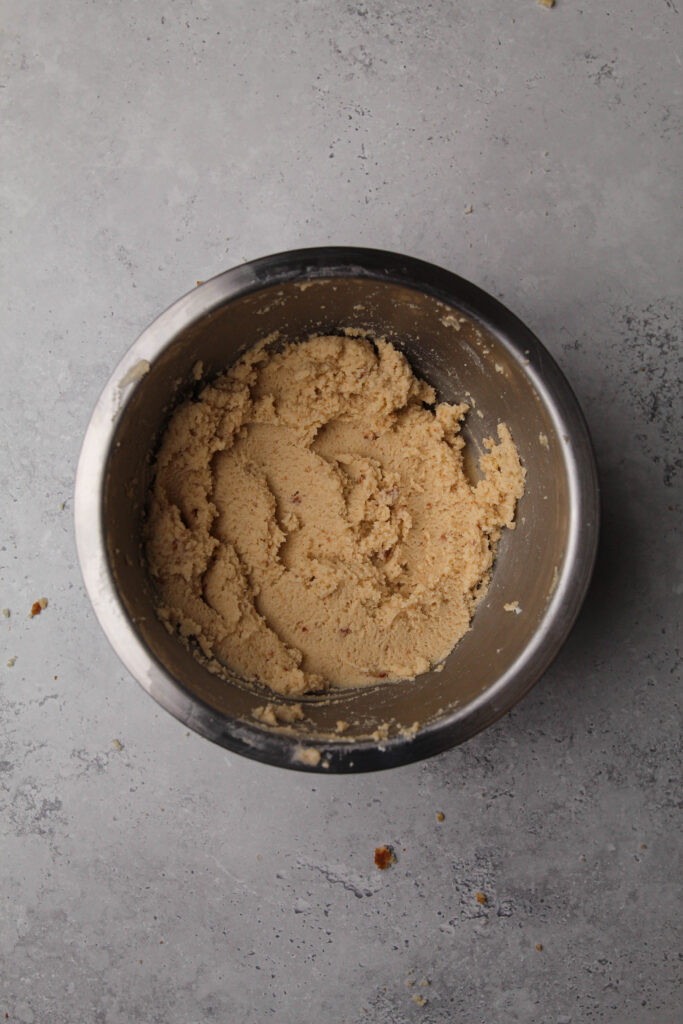
Crumbling the cake and mixing
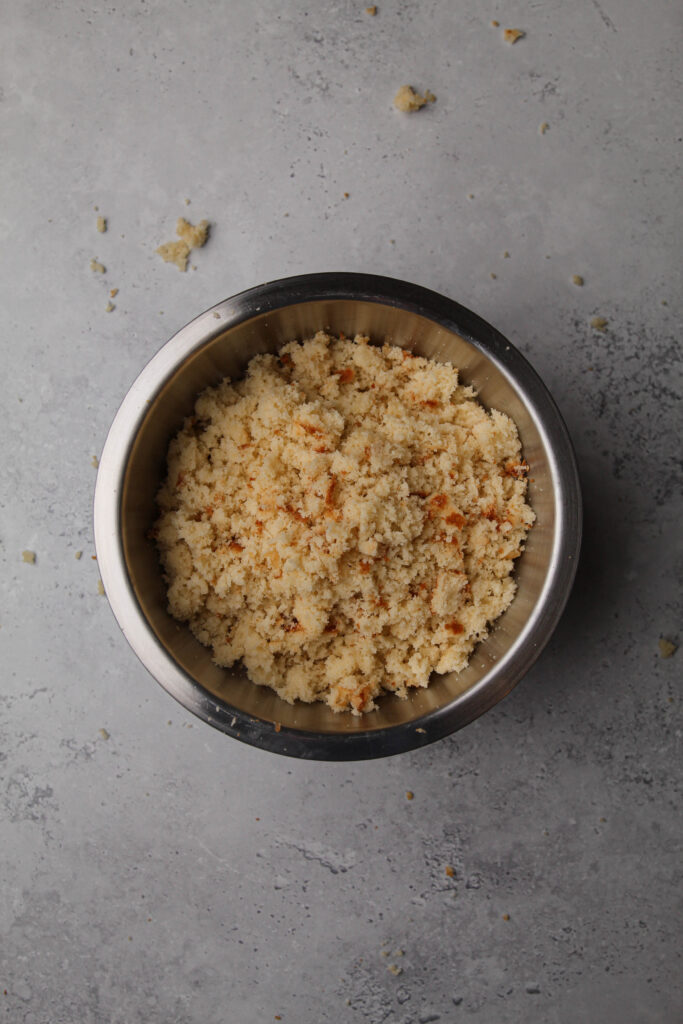
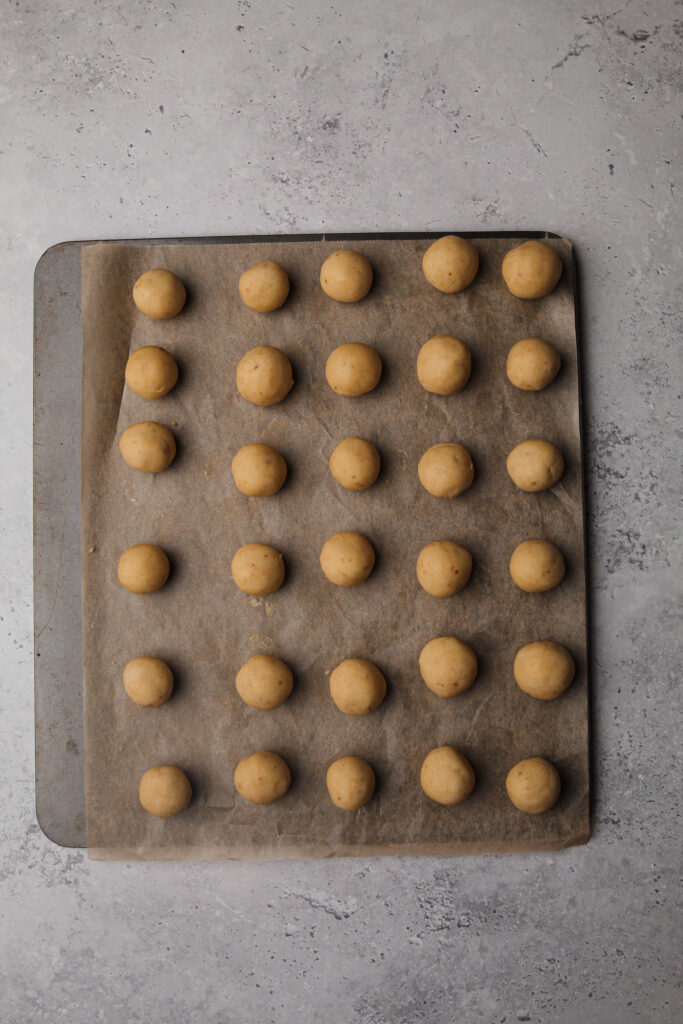
Once the cake is cooled and your frosting is made, take the cooled cake and crumble it on top of the frosting. Beat them together on medium speed until completely combined. Take a tablespoon of the mixture and roll it into a ball and place it on a lined baking sheet. Repeat this process with all of the dough.
Leave the baking sheet in the freezer to chill for a half hour or the refrigerator for one hour. One chilled, re-roll the balls to make them smoother (if desired). They are easier to roll when they are cold, rather then super moist and at room temperature when you originally measure them out.
Coating the cake pops
Once you have your rolled and chilled cake pops, melt the chocolate. You can use any kind of chocolate – I used white here!
Melt the chocolate and vegetable oil in the microwave, stirring every 15 seconds, or melt the chocolate over the stove. This is important otherwise the chocolate can seize. I like to pour the chocolate into a liquid measuring cup or a regular glass cup. It is the perfect size for dunking.

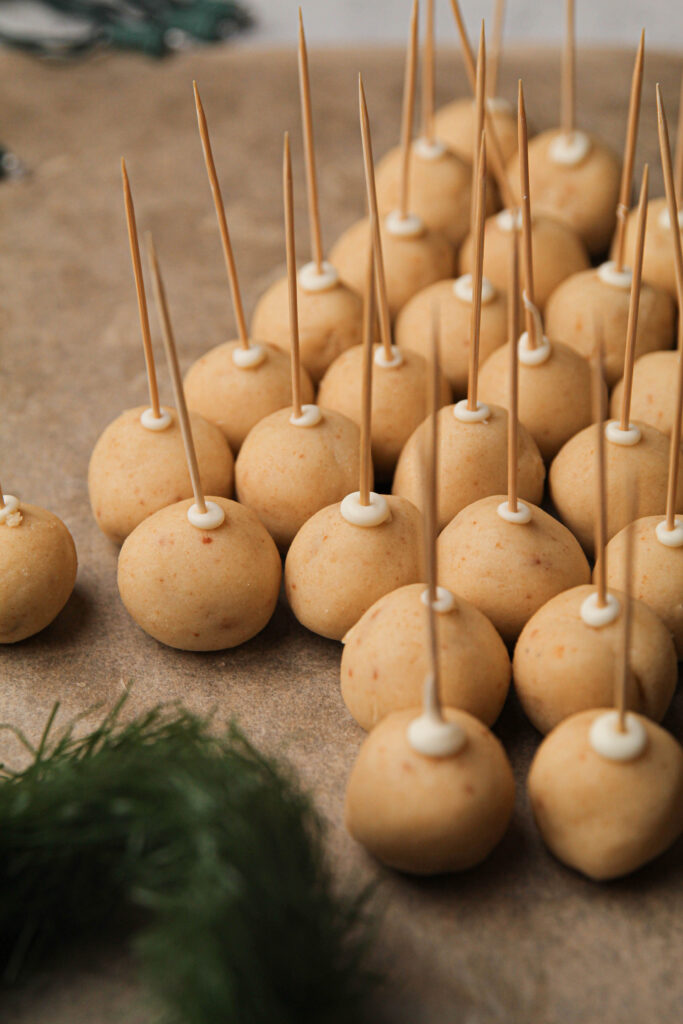
To make neatly coated cake pops, I like to use skewers or toothpicks. To begin, place one end of the skewer about 1/2 inch into the melted chocolate and then stick it into the cake pop – let that sit for 5 minutes. This will ensure that the cake pops won’t just fall off the stick when you dip it in the chocolate. See the picture below.
Next, we dunk! Dunk the cake pops into the melted chocolate until completely coated. Take the other end of the stick (opposite of the cake pop) and poke it into a styrofoam block or cardboard box (see below). Coat with any desired sprinkles! Let the chocolate set either at room temperature for 30 minutes or in the fridge for 10 minutes. And, of course, if you don’t care for neater cake pops, just roll the cake pop around in the chocolate until evenly coated, remove with a fork, and place on a lined baking sheet to set.

Assembling the cake pop Christmas tree
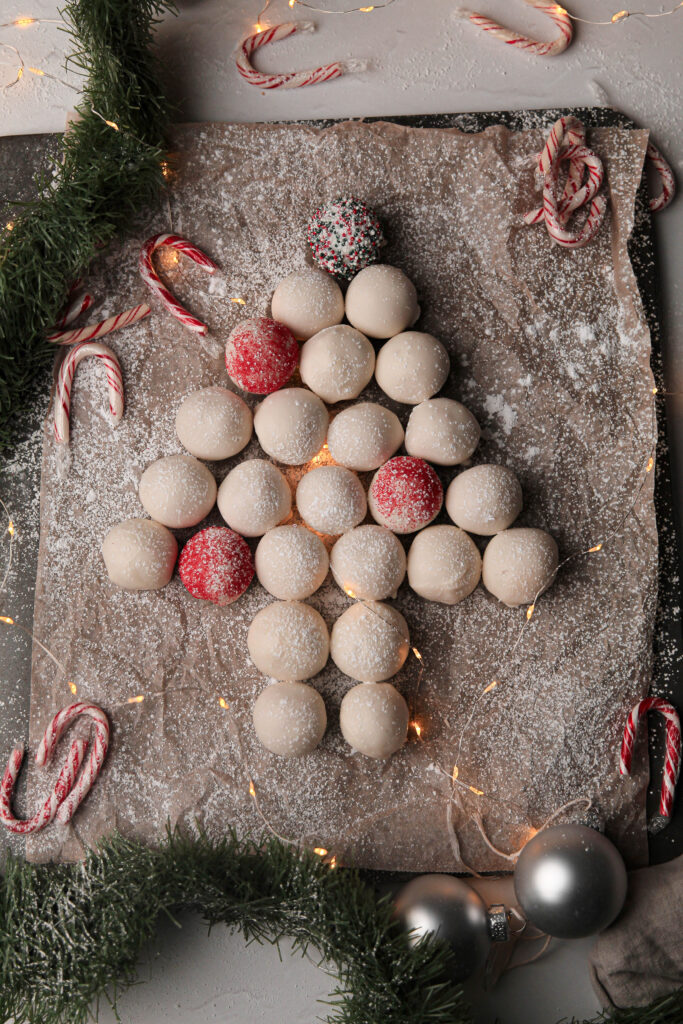
Once the chocolate has set, assemble the Christmas tree. When I make this recipe, I end up with about 32 pops. It doesn’t really matter how many you end up with, as long as you have enough to make the tree.
Take 4 cake pops and make them into a square – this will be the stem. Then, right above the stem, arrange the cake pops in a line. Above that, arrange them in a line but with one less cake pop. Continue to do this until you’ve used up your cake pops and you have a Christmas tree!
In my case, even though I had 32, I only used 25. My first line had 6, then 5, then 4 and so on (see photo below). I just ate the rest, because why not!
Do you have to make this into a Christmas tree? Absolutely not!! You can just enjoy them as is. Hope you love this recipe!

Cake Pop Christmas Tree
Ingredients
Cake
- 1 1/2 cups (188 grams) all purpose flour, spooned and leveled
- 1/2 tbsp baking powder
- 1/2 tsp salt
- 1/2 cup (113 grams) unsalted butter, room temperature
- 1 cup (200 grams) granulated sugar
- 2 eggs, room temperature
- 1/2 tbsp vanilla extract
- 1/2 cup (120 mL) whole milk, room temperature
Vanilla Buttercream
- 1/2 cup (113 grams) unsalted butter, room temperature
- 1 3/4 cup (210 grams) powdered sugar
- 2-3 tsp whole milk or heavy cream, room temperature
- 1 tsp vanilla extract
White Chocolate Coating
- 4-5 cups (24-30 oz) white chocolate
- 1-2 tsp vegetable oil
Equipment
- Stand/handheld mixer
- Skewers/toothpicks
- Styrofoam box/cardboard box
- Oven
Instructions
Cake
- Preheat your oven to 325 degrees Fahrenheit and grease a 9-inch cake pan.
- In a medium-sized bowl, whisk together the flour, baking powder and salt. Set aside.
- Then, in the bowl of a stand mixer fitted with the paddle attachment, or using a handheld mixer, beat the butter and sugar on medium-high speed until combined and light and fluffy – about three minutes.
- Add the eggs one at a time, mixing well on medium speed in between each addition. Add the vanilla extract and beat on high speed until combined, scraping the sides and bottom of the bowl as necessary.
- Turn the mixer to low and add half of the dry ingredients. Once the first half of the dry ingredients are almost fully incorporated into the batter, slowly add the milk and continue to mix until combined.
- Add the remainder of the dry ingredients and mix on low speed until just incorporated, being careful not to over mix.
- Pour the batter into your prepared pan. Bake the cake for 30-35 minutes until golden brown and a toothpick inserted into the center comes out clean. The edges of the cake will begin to peel away from the sides of the pan.
- Let the cake cool completely (either at room temperature or in the fridge for 30-40 minutes).
Frosting
- While the cake is cooling, make the buttercream frosting. In the bowl of a stand mixer fitted with the paddle attachment, or using a handheld mixer, beat the butter on medium-high speed for 2 minutes until creamy.
- Add the powdered sugar, milk and vanilla extract and mix on low speed for thirty seconds. After the thirty seconds, change the speed to medium-high and beat for 3 minutes.
Mixing the cake and frosting together
- Once the cake is cooled and your frosting is made, take the cooled cake and crumble it on top of the frosting. Beat them together on medium speed until completely combined.
- Take a tablespoon of the mixture and roll it into a ball and place it on a lined baking sheet. Repeat this process with all of the dough.
- Leave the baking sheet in the freezer to chill for a half hour or the refrigerator for one hour. One chilled, re-roll the balls to make them smoother (if desired).
Coating the cake pops
- Once you have your rolled and chilled cake pops, melt the chocolate. You can use any kind of chocolate. Melt the chocolate and vegetable oil in the microwave, stirring every 15 seconds, or melt the chocolate over the stove.
- To make neatly coated cake pops, use skewers or toothpicks. To begin, place one end of the skewer about 1/2 inch into the melted chocolate and then stick it into the cake pop – let that sit for 5 minutes. This will ensure that the cake pops won’t just fall off the stick when you dip it in the chocolate.
- Dunk the cake pops into the melted chocolate until completely coated. Take the other end of the stick (opposite of the cake pop) and poke it into a styrofoam block or cardboard box. Coat with any desired sprinkles.
- Let the chocolate set either at room temperature for 30 minutes or in the fridge for 10 minutes.
- If you don’t care for neater cake pops, just roll the cake pop around in the chocolate until evenly coated, remove with a fork, and place on a lined baking sheet to set.
Assembling the Christmas tree
- Once the chocolate has set, assemble the Christmas tree.
- Take 4 cake pops and make them into a square – this will be the stem. Then, right above the stem, arrange the cake pops in a line. Above that, arrange them in a line but with one less cake pop. Continue to do this until you’ve used up your cake pops (6 then 5 then 4 and so on) and you have a Christmas tree.
- You don't have to make them into a tree, you can just enjoy them as is if you like!
Tried this recipe? Make sure to rate and review and tag @sturbridgebakery on Instagram!