Hot Cocoa Cookies
It occurred to be while drinking a piping hot glass of homemade hot cocoa that I would love to eat a cookie that tasted just like what I was sipping. It took me no less than 2 hours to get up off my couch, head to the kitchen, and start recipe testing for these hot cocoa cookies. And let me tell you, they are to die for.

Key Ingredients for hot cocoa cookies
- Unsalted butter
- Chocolate
- Eggs
- Granulated sugar
- All-purpose flour
- Cocoa powder
- Baking soda
- Salt
- Marshmallows
Method
Melting together the chocolate and butter
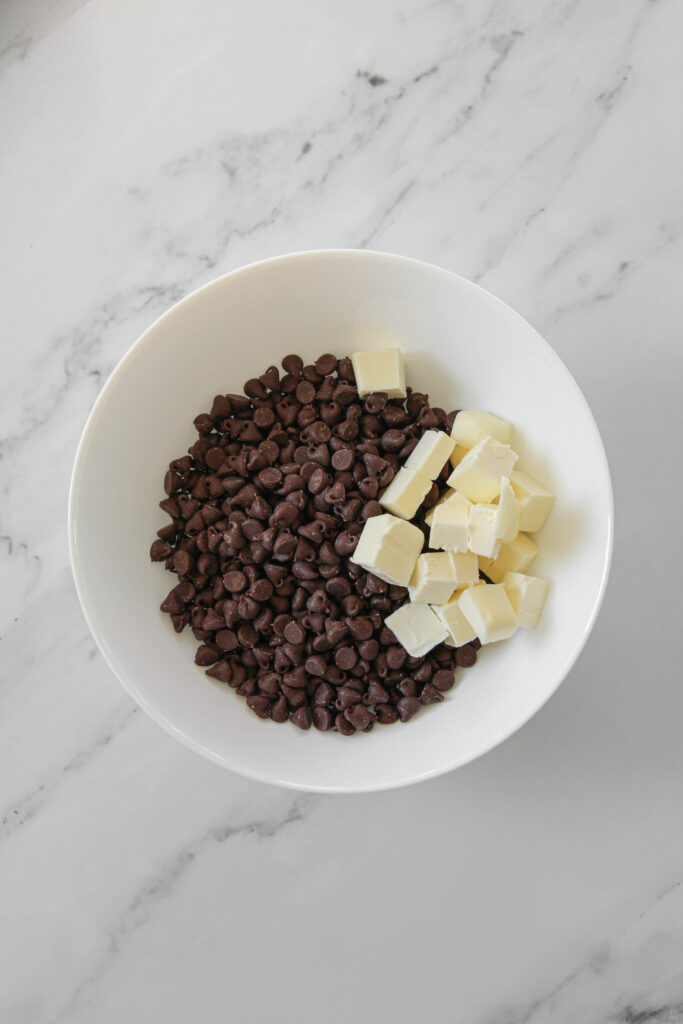
The first step in making these delicious hot cocoa cookies is combining the chocolate and butter. Chop your chocolate (and if you are using chocolate chips, you are good to go) and place it in a heat proof bowl with the cubed butter.
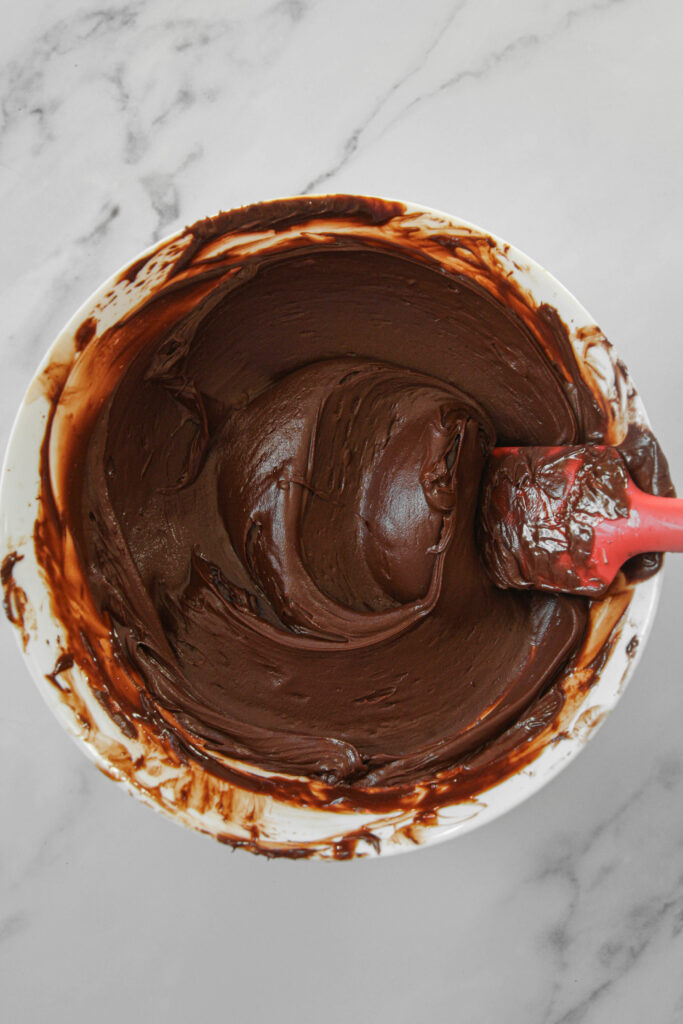
If you are melting the chocolate and butter together in the microwave, melt them together in 15 second increments, stirring every 15 seconds. Removing the bowl and stirring the mixture every 15 seconds is CRUCIAL – otherwise you risk seizing the chocolate.
If you are melting the chocolate and butter together over the stove, make sure to do this on low heat (or even in a double boiler) and stir constantly. The chocolate can seize if the heat is turned up too high.
What is seized chocolate you may ask? It basically means the chocolate tightens up and it turns into a pasty mess. It does not melt like it is supposed to. This can happen when you over cook it and burn it, or when even the smallest bit of moisture gets mixed in with the chocolate. Pro tip – make sure the bowl, your spatula, anything you are using to mix the chocolate is completely dry).
Once your chocolate is melted, set it in the fridge for it to cool.
Whipping the eggs and sugar
Next, we will whip the eggs and sugar together. Place the three eggs and granulated sugar into the bowl of a stand mixer fitted with the whisk attachment (or just a medium-sized bowl if using a hand held mixer). Whip the eggs and sugar together for 3 minutes until paler in color. The texture will also seem a bit foamy.
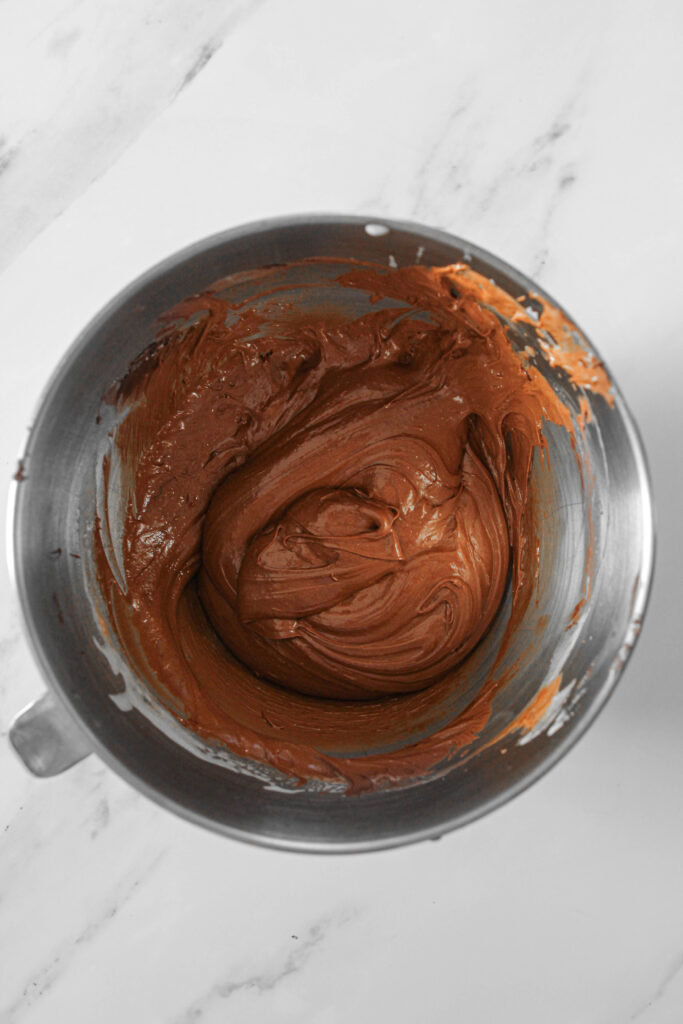
Then, add the cooled chocolate mixture and switch the whisk attachment out for the paddle attachment (switch your attachments for a hand held mixer as well) and beat together until completely combined.

Adding the remaining ingredients
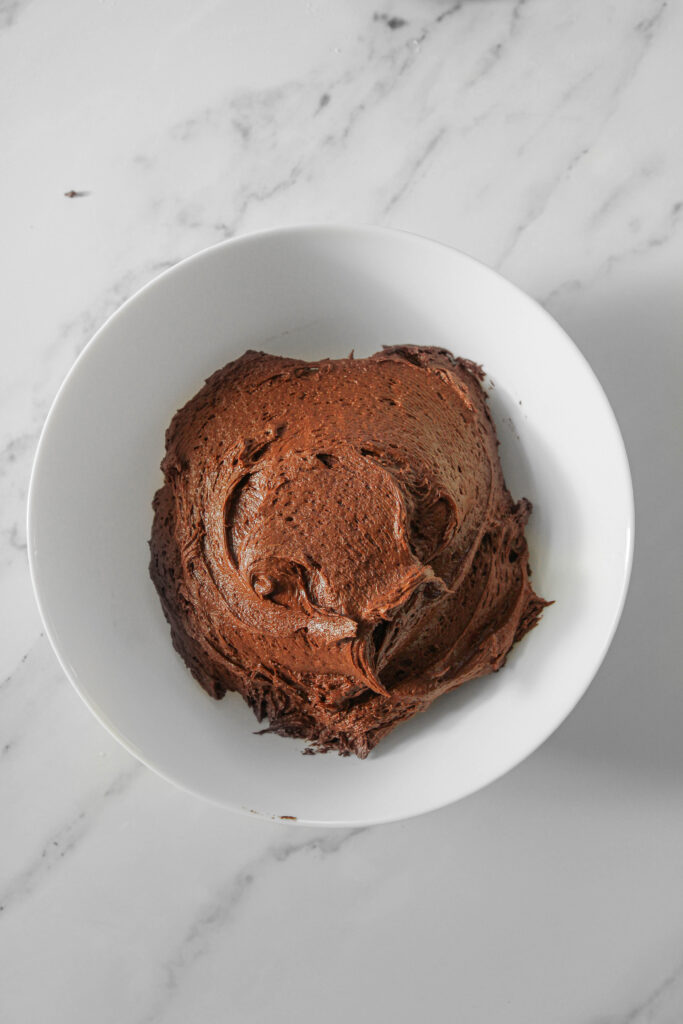
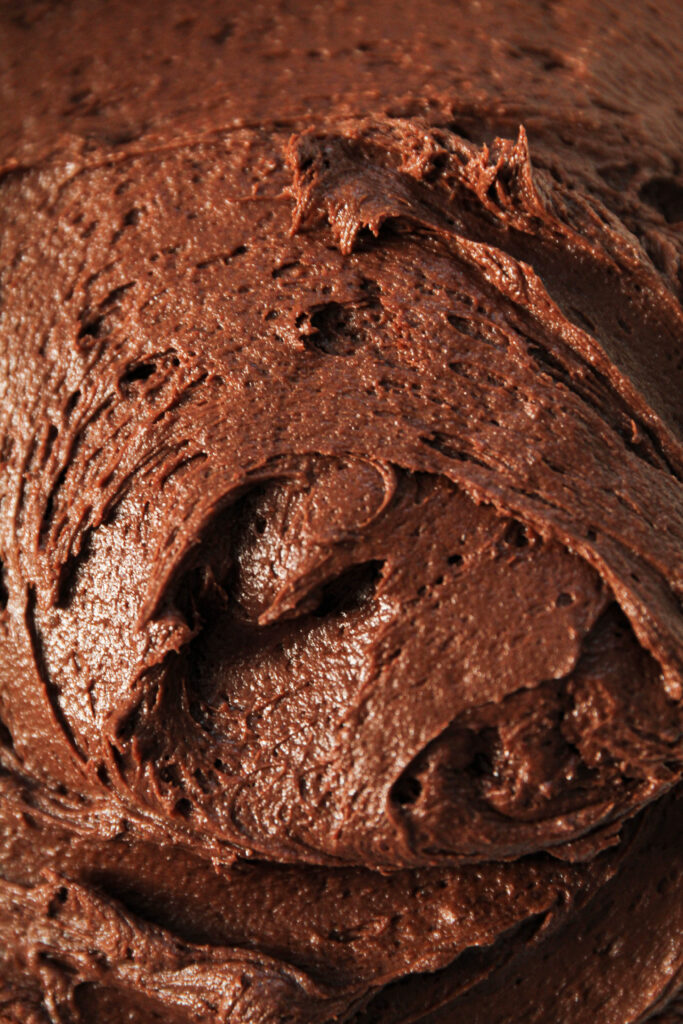
Add the flour, cocoa powder, baking soda and salt and beat until just combined. The dough will be very loose. Cover the bowl with plastic wrap/tin foil and place in the fridge to chill for 1-2 hours.
Preparing the cookies
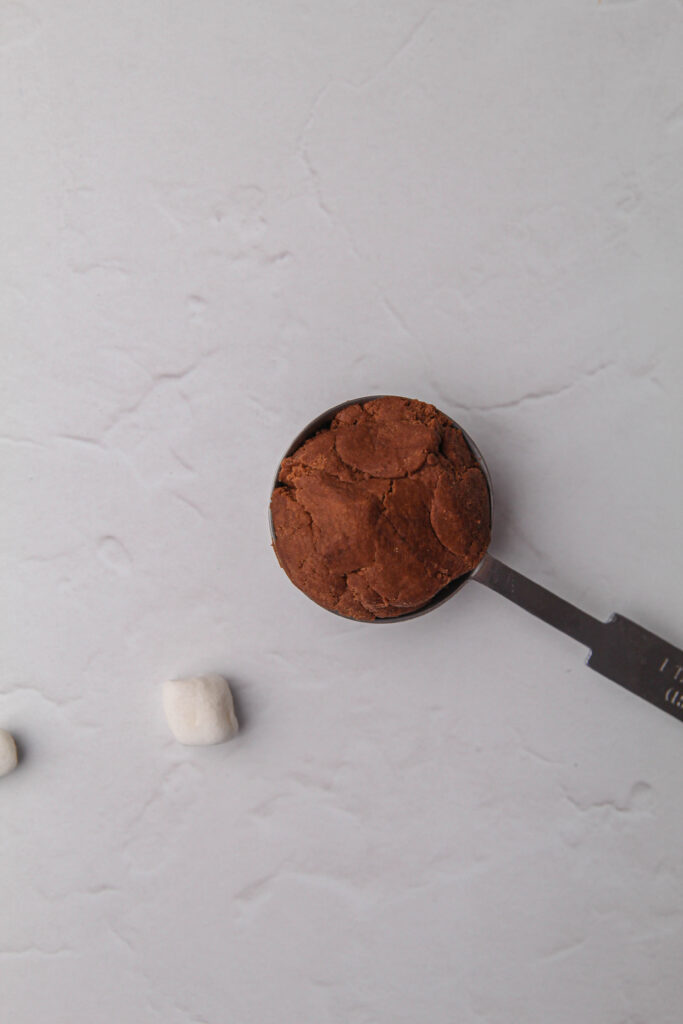
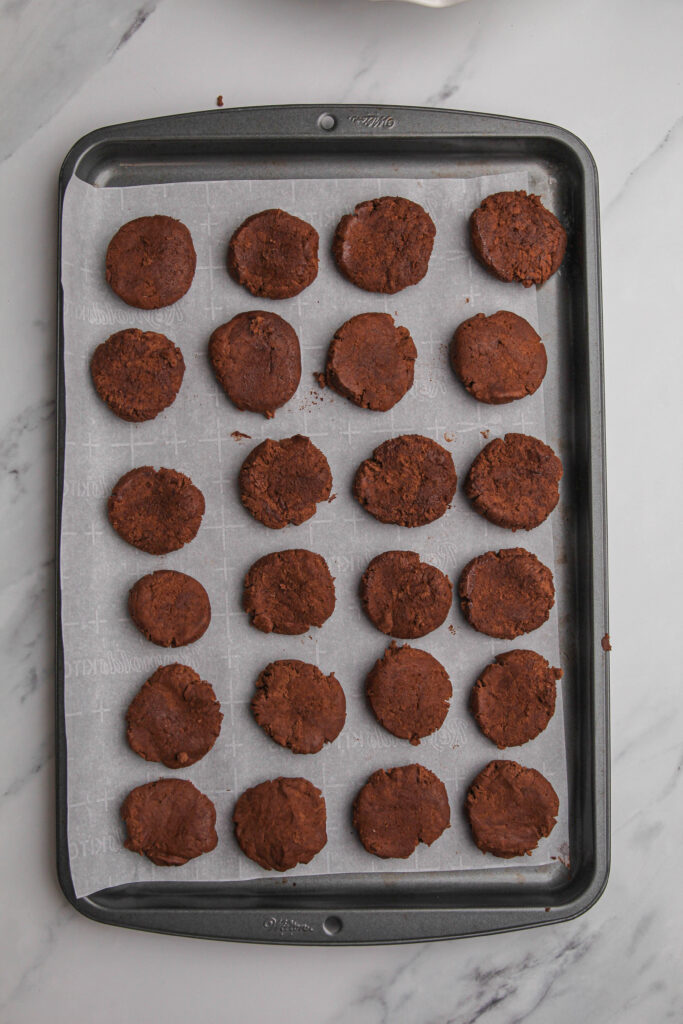
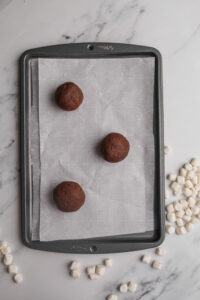
Once your dough has only 10 minutes left to chill, preheat the oven to 350 degrees Fahrenheit and line a baking sheet with parchment paper. Scoop one heaping tablespoon worth of dough, flatten it into a disc and place it on the parchment paper. Repeat this process with all of the dough making sure you have an even number of discs.
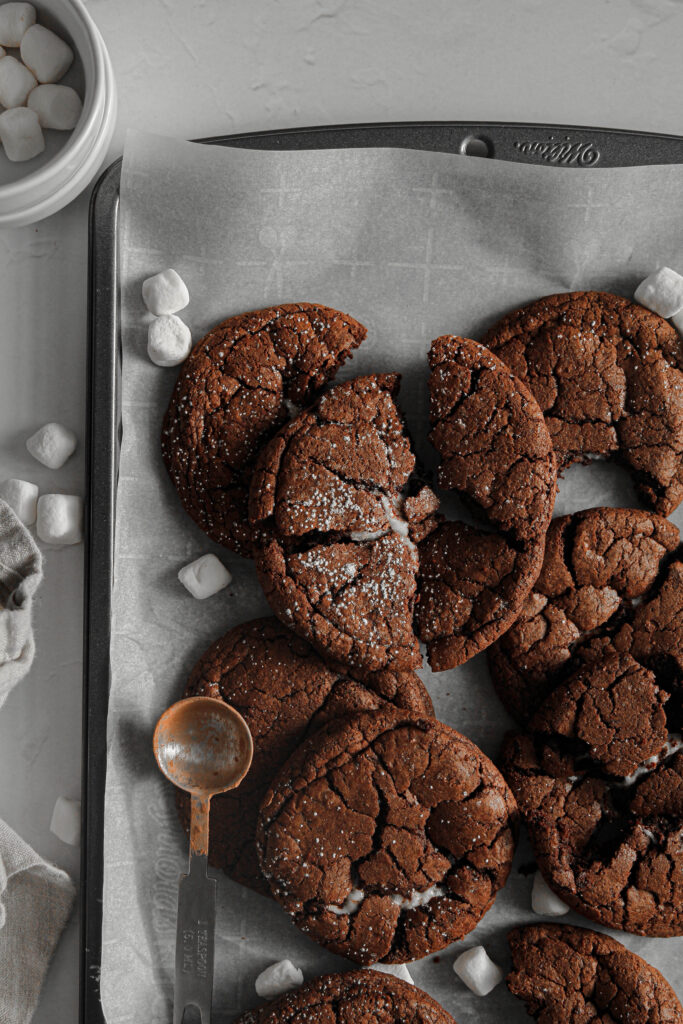
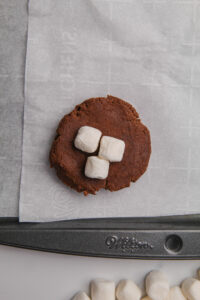
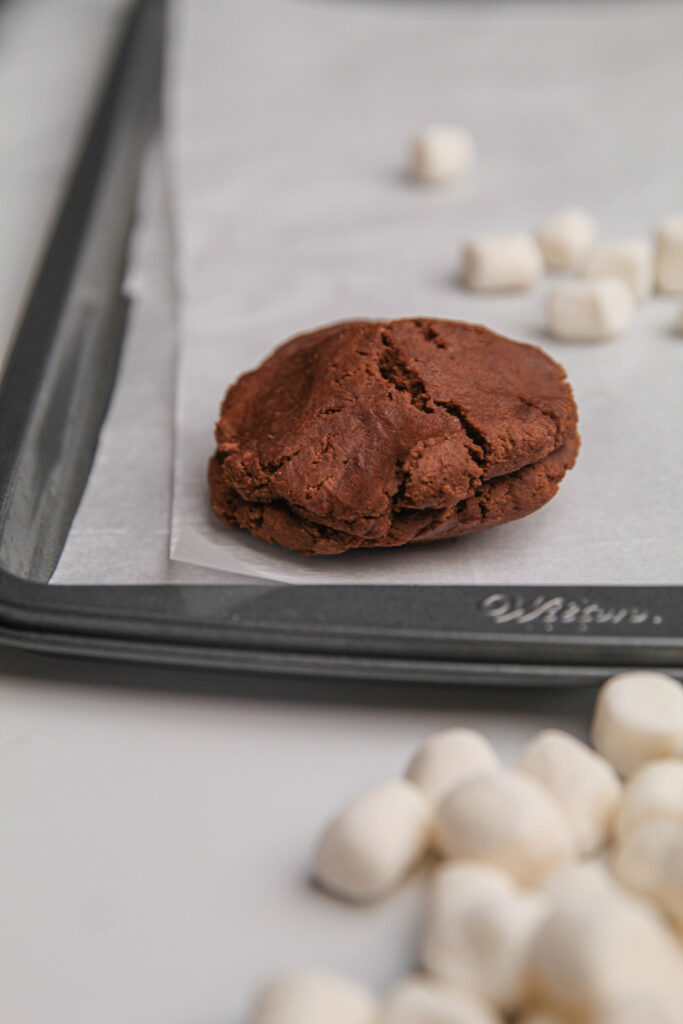
Next, take 3-5 mini marshmallows or 1/2 of a large marshmallow and place it into the center of one disc. Take another disc and place it on top of those marshmallows. Then, seal the edges of the two discs so the marshmallows are in the center of the dough. Roll the dough into a ball and put it back on the baking sheet. Repeat this process with all of the discs.
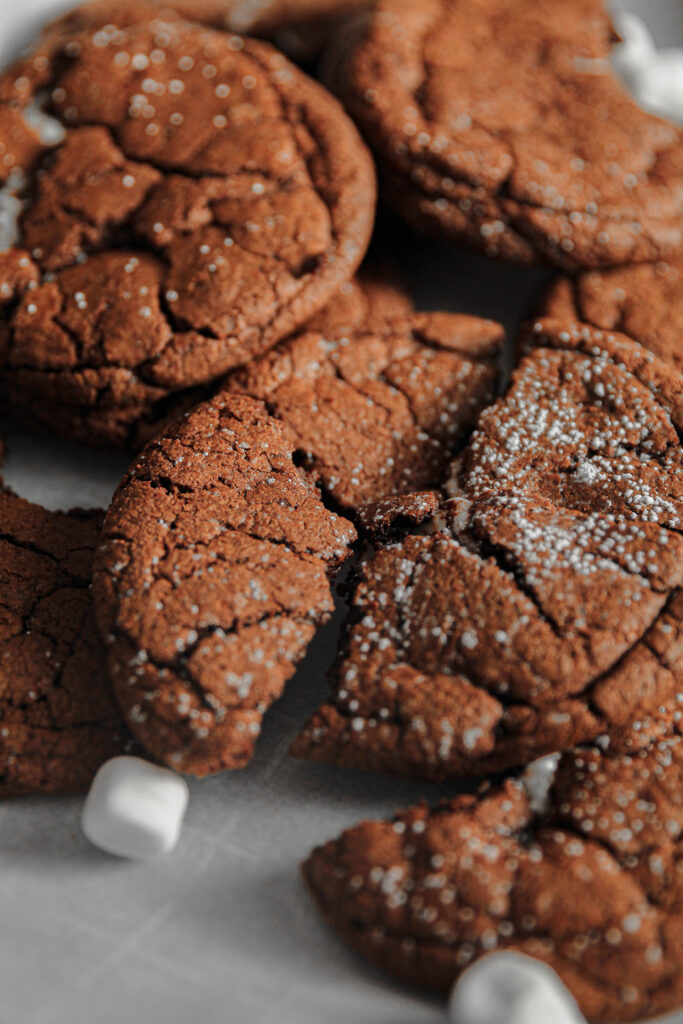
Bake the cookies for 15-17 minutes until the edges are set and the tops of the cookies are crackled. Remove from the oven and let them cool, or enjoy slightly warm.

Hot Cocoa Cookies
Ingredients
- 6 tbsp (85 grams) unsalted butter, cubed
- 2 1/2 cups (430 grams) chopped chocolate or chocolate chips
- 3 (3) eggs, room temperature
- 1/2 cup (100 grams) granulated sugar
- 1/2 cup (63 grams) all-purpose flour, spooned and leveled
- 3 tbsp (15 grams) unsweetened cocoa powder
- 1/4 tsp (¼ tsp) baking soda
- 1/2 tsp (½ tsp) salt
- Mini marshmallows/large marshmallows cut in half
Equipment
- Oven
- Stand/hand held mixer
Instructions
- In a microwave safe bowl or on the stove top, melt the chocolate and butter together. If doing this in the microwave, microwave the chocolate and butter in 15 second increments, stirring every 15 seconds. If doing this on the stove top, use a low heat and constantly stir. This will prevent the chocolate from seizing. Set in the fridge to cool.
- In the bowl of a stand mixer fitted with the whisk attachment (or using a hand held mixer), beat the eggs and sugar on high speed until pale in color, about three minutes. The mixture will also look a bit foamy.
- Switch your mixer attachment to the paddle (or change your hand held mixer attachments) and add the cooled chocolate mixture into the eggs/sugar mixture. Beat on medium-high speed until completely combined and smooth.
- Add the flour, cocoa powder, baking soda and salt. Beat together until just combined. The dough will be very loose. Cover the dough with plastic wrap or tin foil and let chill for 1-2 hours until firm.
- Once the dough has about 10-15 minutes left to chill, preheat the oven to 350 degrees and line a baking sheet with parchment paper.
- Scoop one heaping tablespoon worth of dough, flatten it into a disc and place it on the parchment paper. Repeat this process with all of the dough making sure you have an even number of discs.
- Next, take 3-5 mini marshmallows or 1/2 of a large marshmallow and place it into the center of one disc. Take another disc and place it on top of those marshmallows. Then, seal the edges of the two discs so the marshmallows are in the center of the dough. Roll the dough into a ball and put it back on the baking sheet. Repeat this process with all of the discs.
- Bake the cookies for 15-17 minutes until the edges are set and the tops of the cookies are crackled. Remove from the oven and let them cool, or enjoy slightly warm.
Tried this recipe? Make sure to rate and review and tag @sturbridgebakery on Instagram!

Any suggestions for high altitude adjustments? I’m at over 6,000 feet above sea level.
Hi there! So luckily with cookies, high altitude does not affect them as much as it does other baked goods (cakes, cupcakes, etc.). I spent a few months living in Colorado so I have had a bunch of experience with this! If in doubt, I found that adding a one-three extra tablespoons of flour helps the structure of baked goods. Hope that helps 🙂
These look amazing!! Could the dough be made ahead of time and chill for longer than 1-2 hours?
Thank you!! 🙂 Yes, it can! You can leave the dough overnight (covered) in the fridge. Any longer and I suggest freezing the dough – roll the dough into balls and place them in a ziplock bag in the freezer. They would be good for up to three months!
I am totally obsessed with these cookies!! I have made them like 4 times since the recipe came out. Thanks so much!
Hahaha ah that made my day! So happy you like them so much!