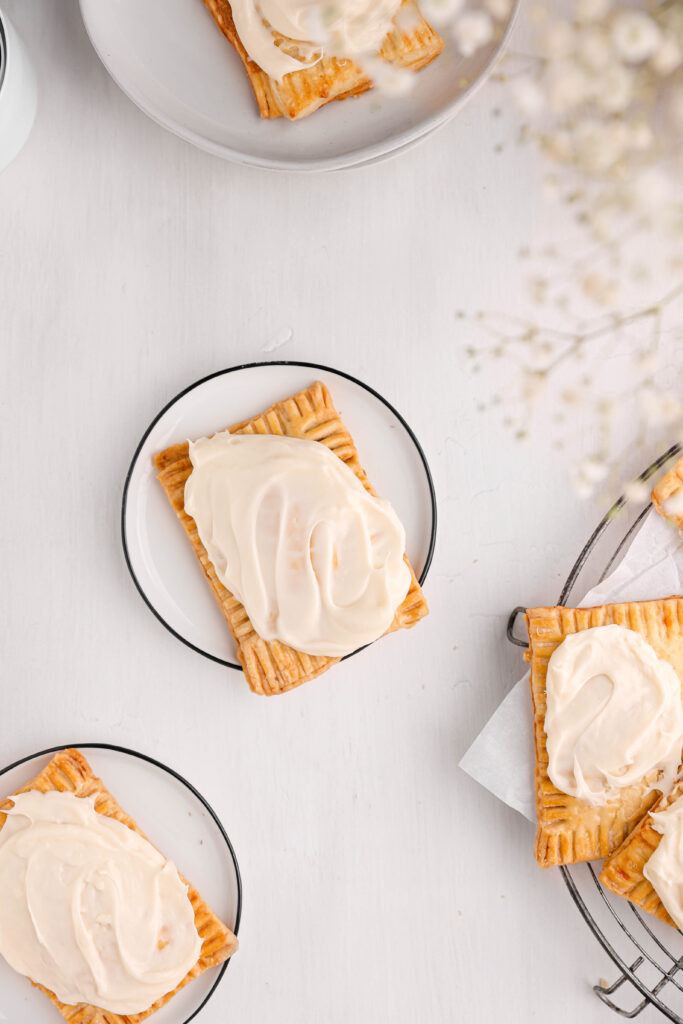
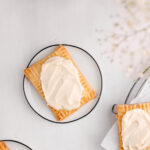
These homemade peanut butter pop tarts have a buttery and flaky dough, a delicious peanut butter brown sugar filling, and a delectable cream cheese icing. Adapted from my pie crust recipe, these pop tarts are incredibly tasty and are perfect for breakfast, a snack, or dessert.
Why you will love these peanut butter pop tarts
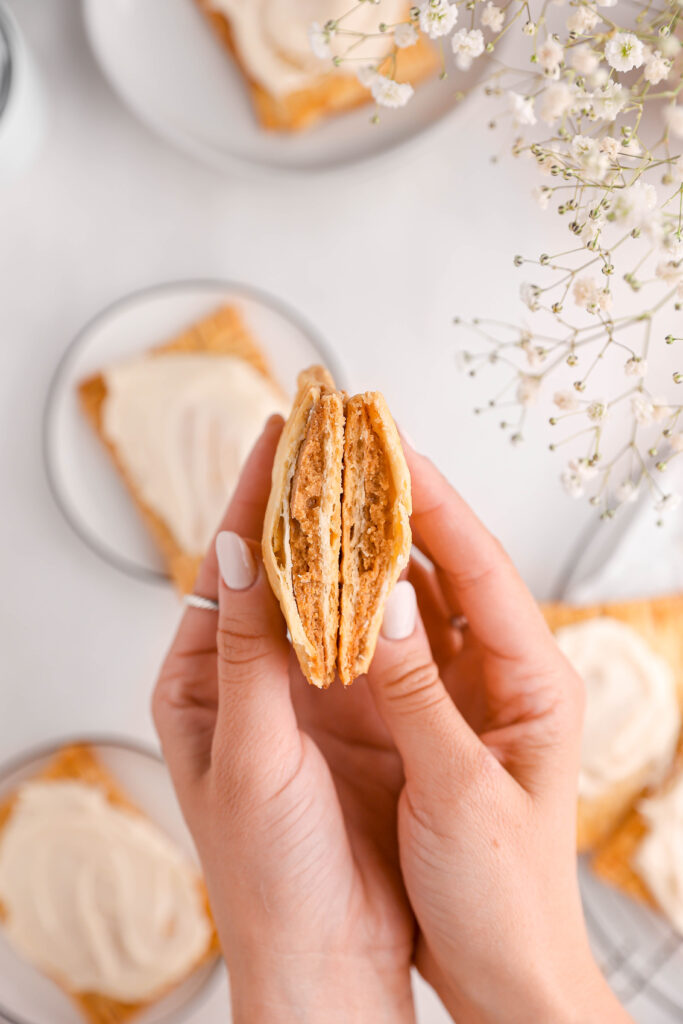
- The dough. The texture of these peanut butter pop tarts is soft and flaky. The pastry is made from my favorite pie crust recipe, so it has golden edges and so many flakes. It is perfect.
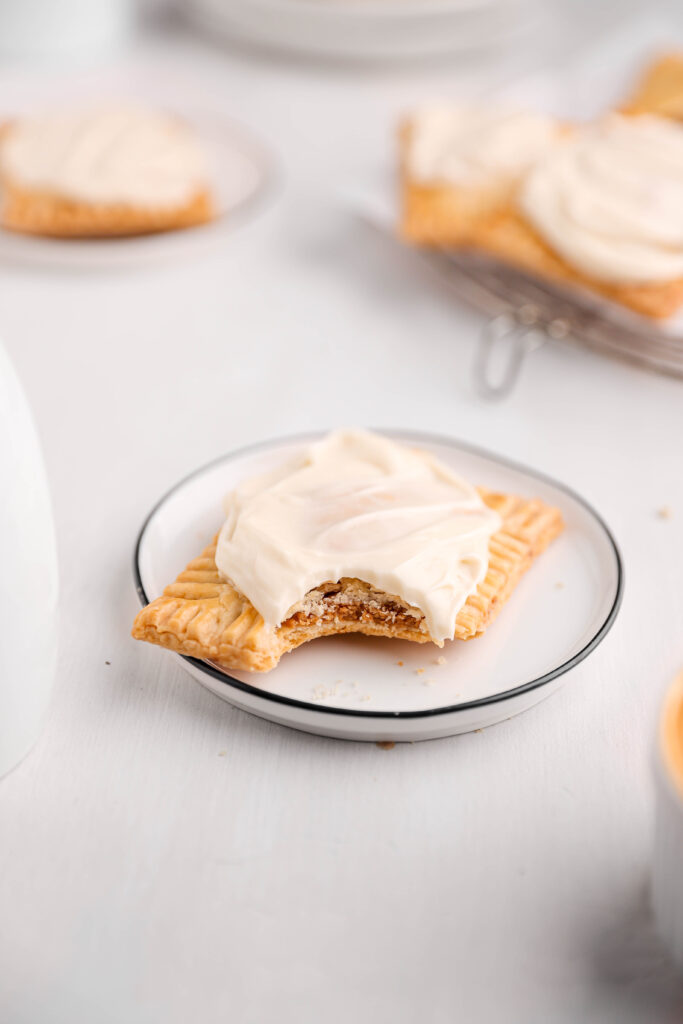
- The peanut butter brown sugar filling. I never knew that two simple ingredients like brown sugar and peanut butter could be such magic when mixed together. It is salty/sweet, gets a little warm and melty in the oven, and paired with the flaky dough it is *mwah* chef's kiss!
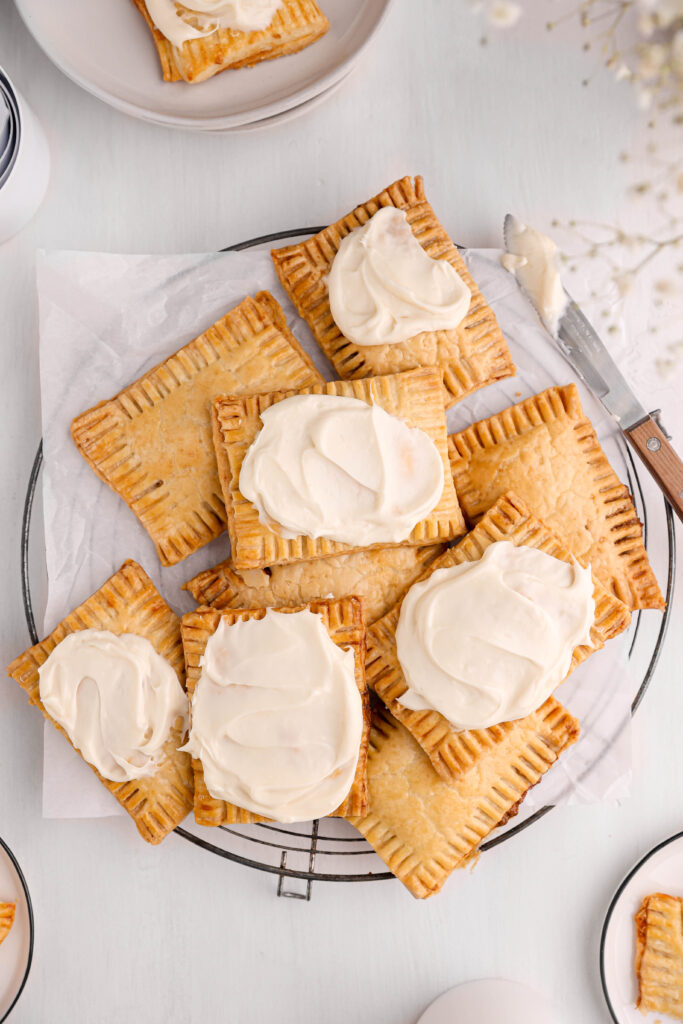
- The cream cheese icing. The icing is by far my favorite part of these peanut butter pop tarts. The cream cheese is mixed with powdered sugar so it is subtly sweet, but also has a tang to it. I like to SMOTHER the pop tarts in the frosting because it's just that good.
Key ingredients
- Pie crust ingredients: this includes all purpose flour, granulated sugar, salt, unsalted butter, vegetable shortening, and ice water.
- Peanut butter: creamy peanut butter is best for the filling. I like to use a peanut butter brand where the only ingredient is peanuts.
- Brown sugar: the peanut butter is mixed with brown sugar for the filling. It adds sweetness and moisture.
- Cream cheese: I like to use full fat block cream cheese for the filling for extra creaminess.
- Powdered sugar: powdered sugar is mixed with the cream cheese to sweeten it up.
Steps
- Make the pastry dough. Follow my pie crust recipe instructions to make a buttery and flaky pastry dough.
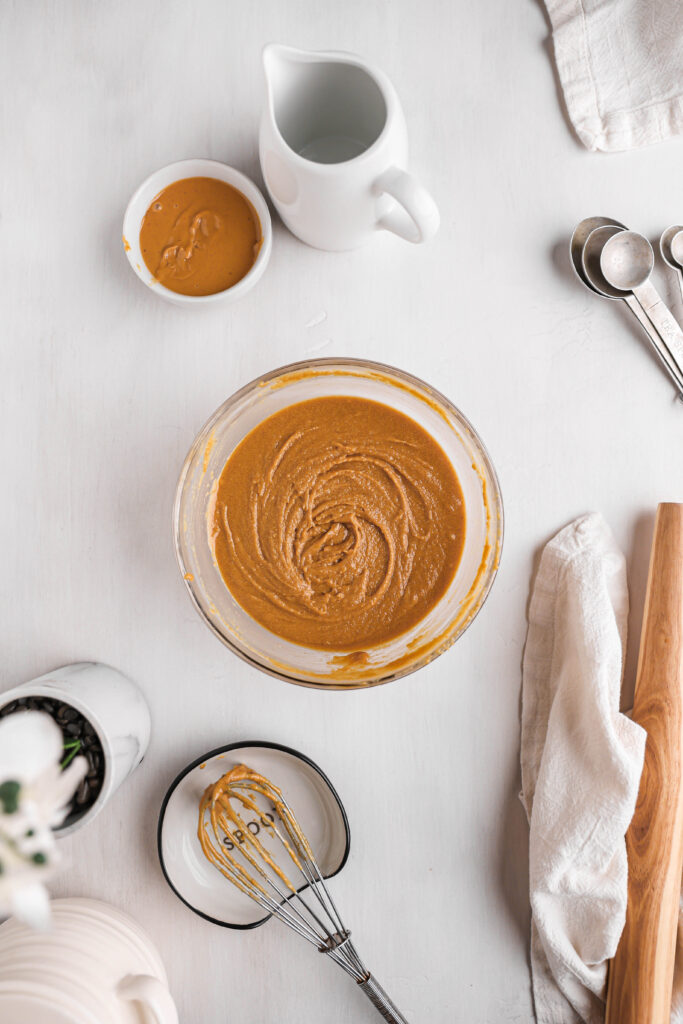
- Make the filling. Whisk together the peanut butter and brown sugar. Set aside.
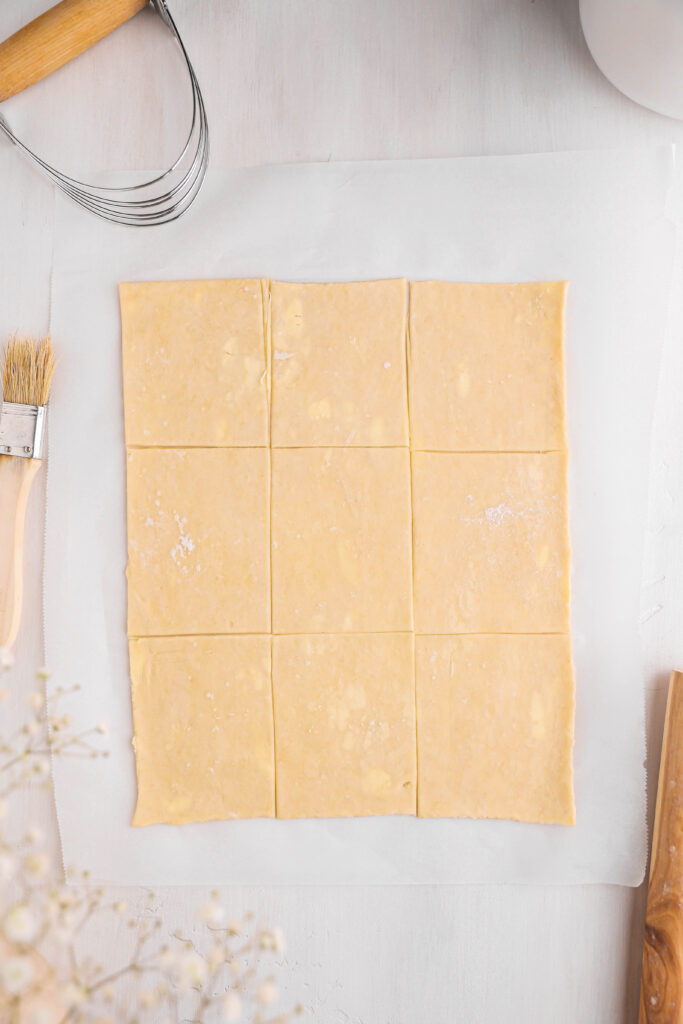
- Roll out the dough. Roll one disc of dough into a 12x9 inch rectangle. Cut it equally into 9 rectangles all measuring 4x3 inches. Repeat with the other disc of dough.
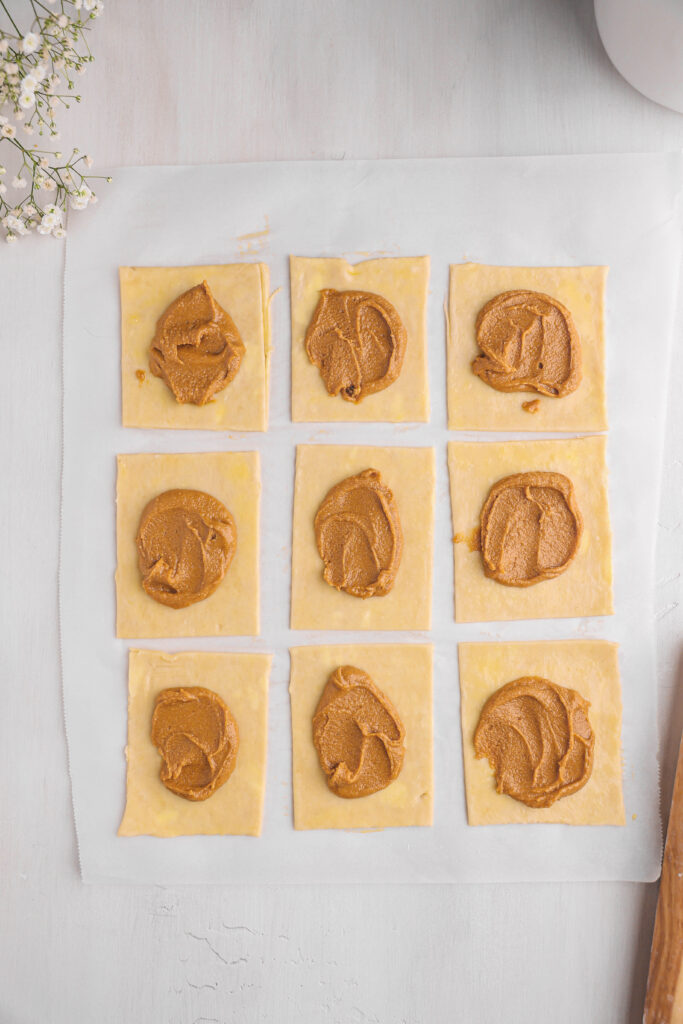
- Bake. Add the filling and seal shut. Bake for 25-27 minutes at 350F.
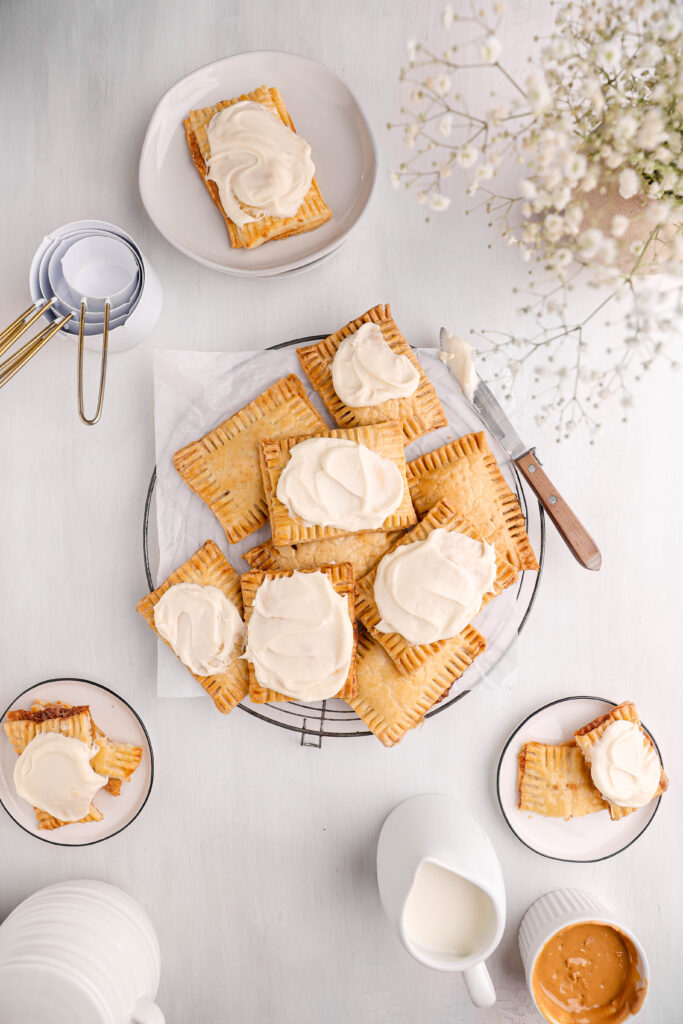
- Make the cream cheese icing. Beat the cream cheese by itself until smooth and creamy. Add the powdered sugar, salt and vanilla extract and beat until combined. Frost the pop tarts and enjoy!



FAQ
Why is my pastry not flaky?
The most common reason as to why the pastry is not flaky is because the butter and shortening got too warm. The pockets of cold butter and shortening in the dough convert to steam in the oven which creates those flaky layers. If they melt prior to going into the oven, those flaky layers won't form.
What type of peanut butter is best for the filling?
I think a creamy, all natural (only ingredient is peanuts) peanut butter is best for the filling. It is smooth and won't have any extra salt or flavorings.
How long do these pop tarts last?
These pop tarts, if stored properly, should last for 4-5 days. Unfrosted pop tarts should be wrapped in cling wrap or put in an air tight container and stored at room temperature, while the icing should be put in a separate airtight container in the fridge. If the pop tarts are frosted, store them in an airtight container in the fridge.
Other recipes you may like
Peanut Butter Pop Tarts With Cream Cheese Icing
Ingredients
Filling
- ½ cup (130 grams) creamy peanut butter
- ⅓ cup (66 grams) brown sugar packed
Icing
- 8 oz cream cheese room temperature
- 1 cup (120 grams) powdered sugar
- 1 pinch salt
- 1 teaspoon vanilla extract
Egg Wash
- 1 egg lightly beaten
Instructions
- Prepare the pie crust through step 4 of the linked pie crust recipe.
Prepare Filling
- In a bowl, whisk together the peanut butter and brown sugar until smooth and combined. Set aside.
Roll Out The Dough
- Preheat your oven to 350F and let it heat up while you roll out the dough. The pie dough recipe makes two discs of dough and we need both. We want the pie dough to remain cold so we are going to work with one at a time and quickly. Remove one disc of pie dough from the fridge and place on a lightly floured surface.
- Using a rolling pin, gently roll out the dough, beginning in the center and rolling out in every direction, turning the dough as you go. Roll it into a large circle that is ⅛-1/4 inch think. Trim it into a 12x9 inch rectangle using a sharp knife or pizza cutter. Then cut the dough into 9 equal pieces all measuring 4x3 inches.
- Place each rectangle on a baking sheet lined with parchment paper and put in the fridge while you repeat this process with the second disc of dough. The pop tarts will not spread much so you can place them pretty close to each other on the pan.
Baking
- Once the second disc of dough is in rectangles, place them on a separate tray and put into the fridge to chill. Remove the first tray of rectangles – these will be the bottoms of your pop tarts. Lightly whisk an egg and apply an egg wash to the perimeter of the pop tarts using a pastry brush or your finger. Save the egg wash for later.
- Take a spoonful of the peanut butter filling and spread it onto the dough but stopping at the egg wash (you want a little of the perimeter to not have any filling on it otherwise it will leak out).
- Remove the second set of 9 rectangles from the fridge. Take one of these rectangles and place it over the pop tart with the filling. Use a fork to crimp the edges and seal it shut. Repeat this process with the rest of the dough.
- Apply the egg wash to the entirety of the pop tart. Poke a few holes into the top with a toothpick or fork so the hot air can release while baking. Bake them for 25-27 minutes until they are golden brown. Remove from the oven and let cool.
Icing
- While the pop tarts are baking/cooling, make the icing. In the bowl of a stand mixer fitted with the paddle attachment or a medium size bowl if using a handheld mixer, beat the cream cheese by itself on medium-high speed for 3-4 minutes until fluffy.
- Add the powdered sugar, salt, and vanilla extract and beat on low speed for 30 seconds, then medium-high speed for 1-2 minutes until completely combined. Frost the pop tarts with the icing and enjoy! Store in an airtight container in the fridge.
Tried this recipe? Make sure to rate and review and tag @sturbridgebakery on Instagram!


Leave a Reply