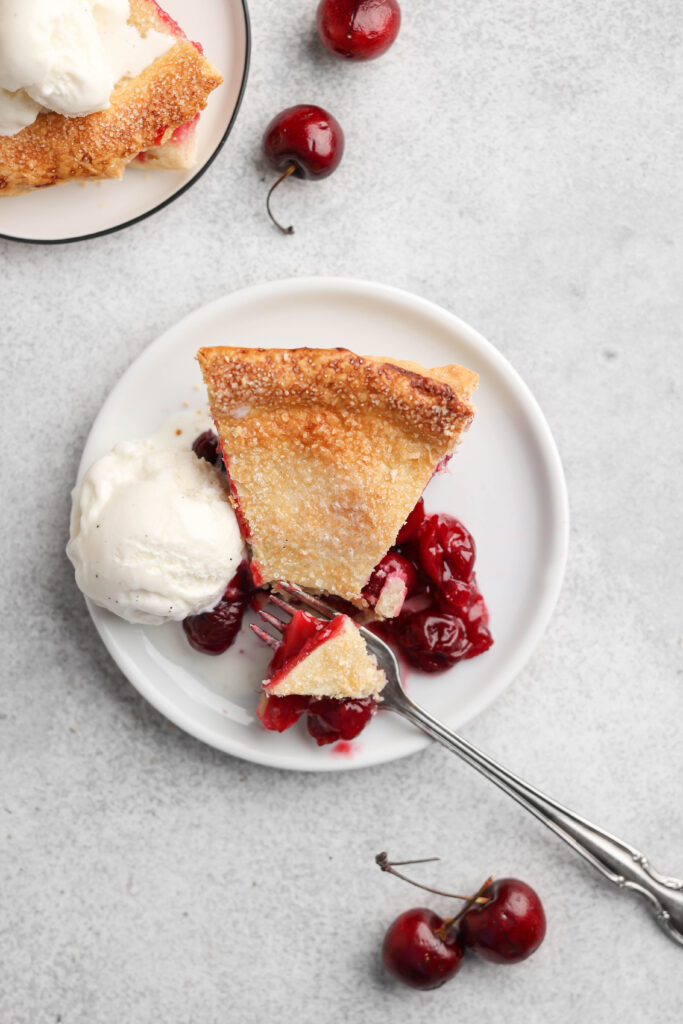
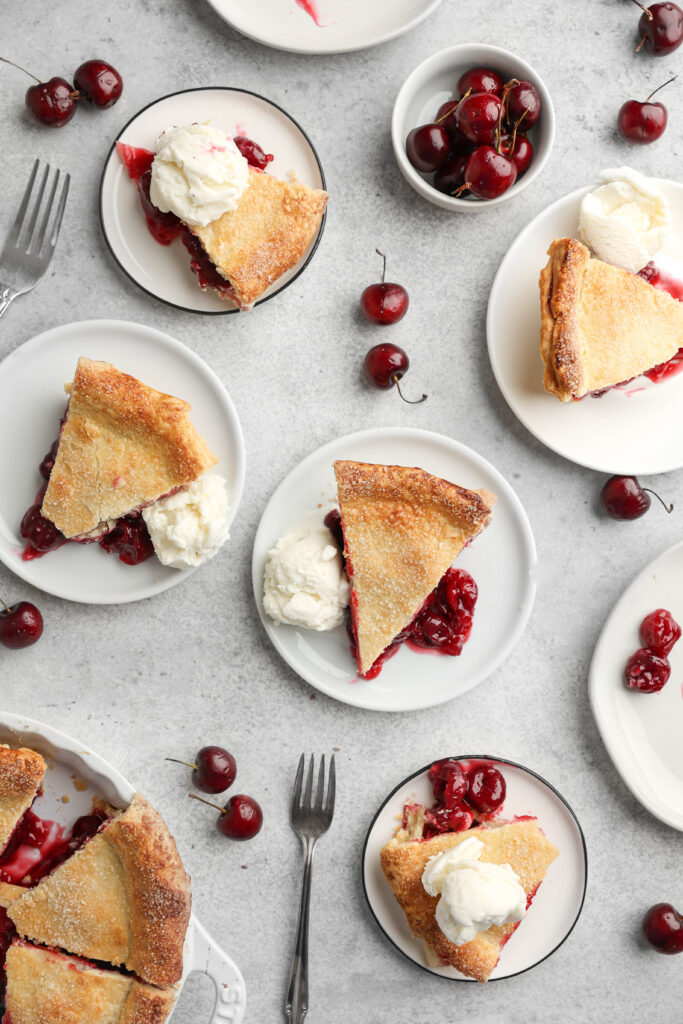
Cherry Pie
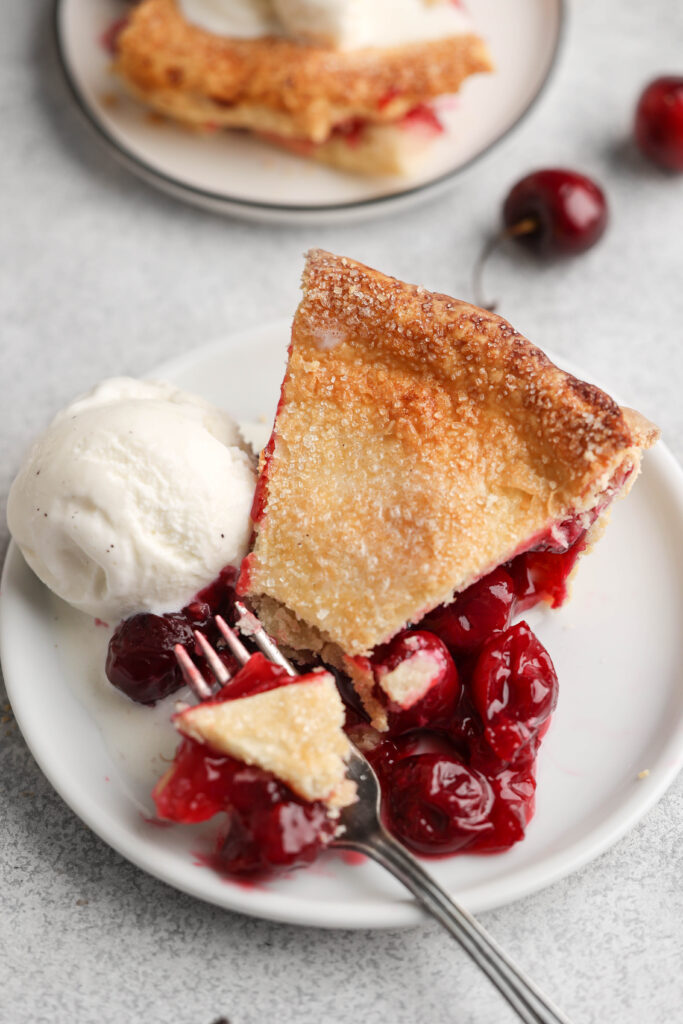
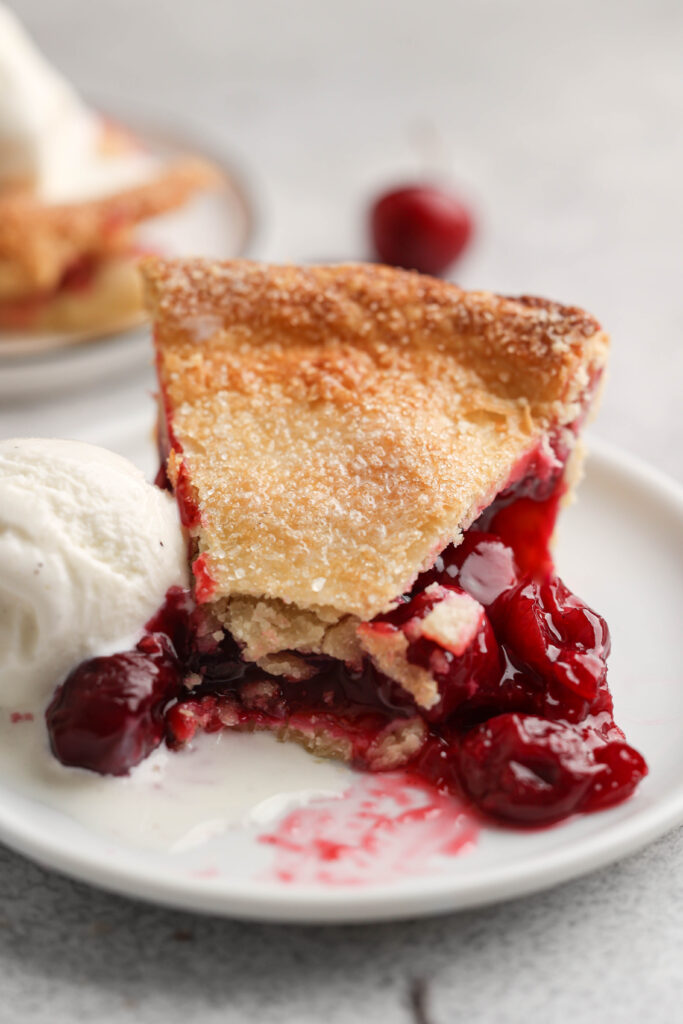
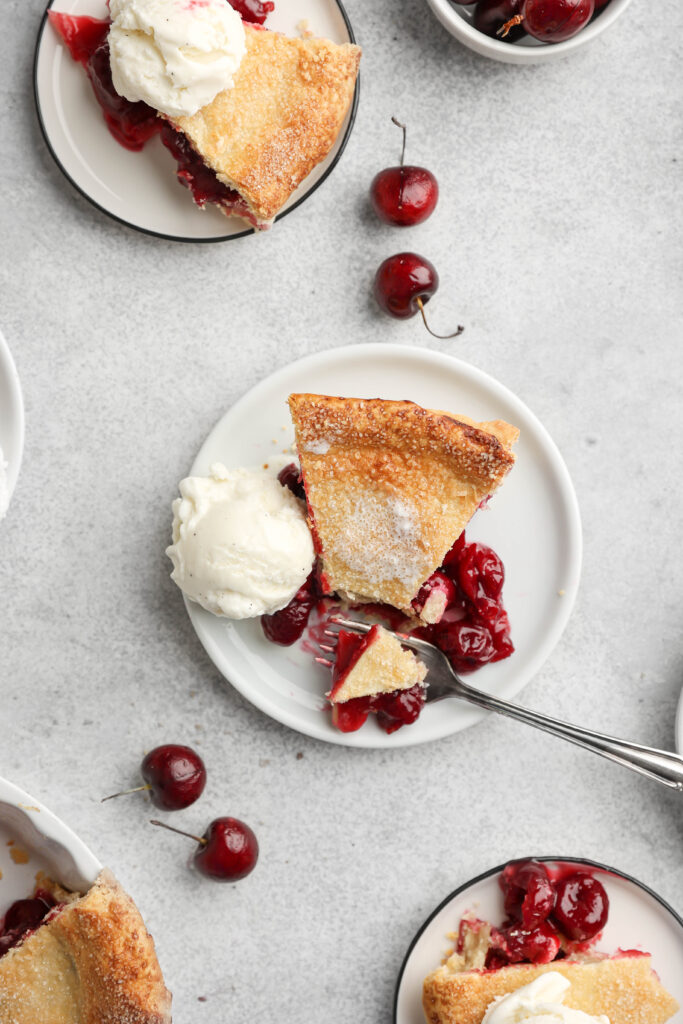
This cherry pie has a buttery, flaky top and bottom pie crust, and a rich, thick, sweet, cherry filling. Cherry pie was never really on my radar, but now that I have made my own, it is DEFINITELY one of my favorites. Top a slice with a scoop of vanilla ice cream, and you will be in cherry pie heaven.
Why you will love this homemade cherry pie
- The cherry filling. I could eat this cherry filling with a spoon. The cherries are reduced over the stove with granulated sugar, cornstarch, salt, cinnamon, vanilla and lemon juice. The cherries will release their juices and eventually bubble up. After 10 minutes, you will have a thick and luscious cherry pie filling.
- The flaky pie dough. My favorite part of the pie! A flaky and buttery pie crust is key to the perfect pie. I use my best pie crust recipe for this.
- It’s easy to make. This recipe looks super impressive but it is so easy to make! A lot of people are intimidated by homemade pie dough but I promise my pie dough recipe is very easy and straightforward.
Key ingredients
- Best ever pie crust: ingredients for my best ever pie crust include all purpose flour, sugar, salt, unsalted butter, vegetable shortening, and ice water.
- Cherries: fresh red, sweet cherries are preferred in this recipe. They just can’t be beat – especially during cherry season. We use a whopping 750 grams (5 cups) of fresh pitted cherries. Make sure to measure/weigh out these cherries AFTER they are pitted.
- Granulated sugar: in addition to the natural sweetness of the cherries, we use granulated sugar to sweeten the filling a bit more. Mixing the cherries with granulated sugar will also pull the juices from the cherries to produce an incredibly flavorful filling.
- Cornstarch: cornstarch is the thickening agent for the filling. Adding 32 grams (1/4 cup) of cornstarch is all we need here.
- Cinnamon: using ground cinnamon in the filling adds such a warmth to the pie that I absolutely love! Don’t omit this ingredient.
- Lemon juice: lemon juice adds a bit of tartness to the filling, and it also just adds a bit of liquid so it is easier to mix the filling ingredients together.
Steps
- Make the pie crust. Make the pie crust according to my best ever pie crust instructions.
- Make the filling. Combine the pitted cherries, granulated sugar, cornstarch, salt, cinnamon, vanilla, and lemon juice over the stove on medium heat. Cover and mix every 1-2 minutes for 10 minutes – the filling will thicken in this time.
- Roll out the bottom pie crust. Once your pie dough is done chilling, roll out the dough and place it in your pan. Pour in the cooled filling then dot with unsalted butter. Place in the fridge.
- Roll out the top pie crust. Roll out the top pie crust and place it over your filling. Trim and pinch the two pie crusts together. Place the pie in the freezer for 5 minutes so the fats get cold again.
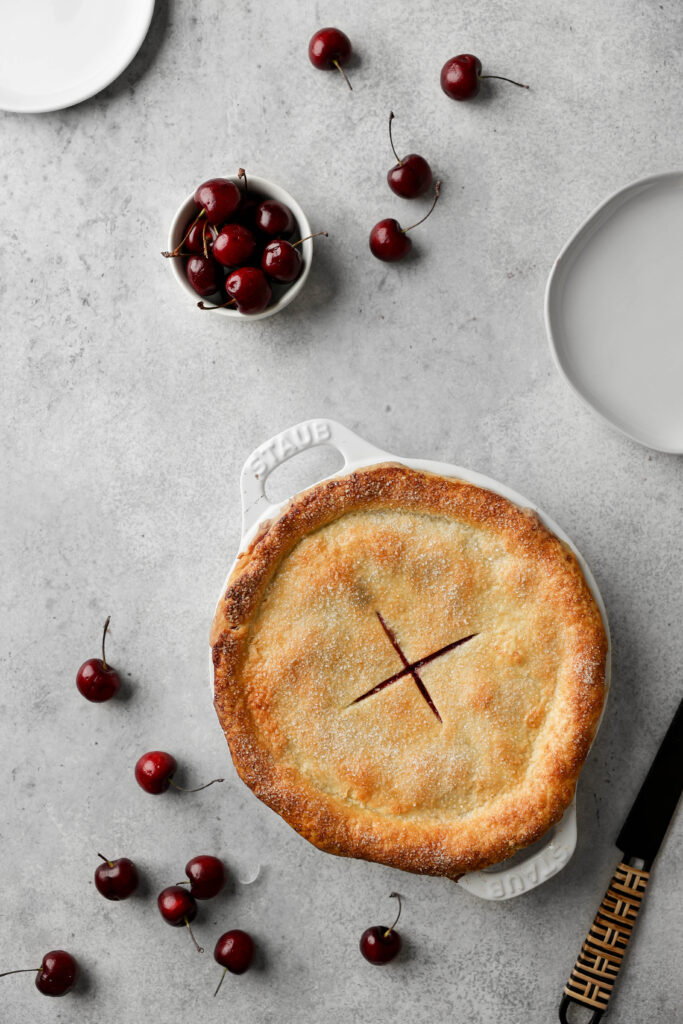
- Bake. Make slits in the top pie crust to create vents for the steam to escape. Brush with an egg wash then sprinkle with coarse sugar. Bake for 20 minutes at 400F, then reduce to 375F and bake for an additional 35-45 minutes.
- Let cool. Let the pie cool completely for 3-4 hours before slicing and serving.
Cherry pie baking tips
Make sure the pie crust fats are cold.
It is important that the butter and shortening are both ice cold when added to the pie dough. The key to a flaky dough is the pockets of butter and shortening, so it is imperative that they do not melt. For more pie crust tips and tricks, make sure to check out my pie crust recipe with tons of helpful details!
Use fresh cherries.
Fresh cherries are ideal in this recipe – nothing beats them! They are super fresh and sweet and make for the perfect texture in the filling.
Use a cherry pitter.
I am not one to fill up my kitchen with useless kitchen gadgets, but a cherry pitter comes SO in handy when cooking/baking with cherries. We need 5 cups of cherries in this recipe, and it will definitely save time if you have this useful tool.
Full top crust vs lattice crust
The top crust can be a full top crust with vents (as pictured), but you can also make a lattice crust. They have the same bake time, but please note that the texture of the cherries will differ just slightly. Since a lattice crust will expose more air to the cherries, more steam/moisture will release, and therefore I find that the filling is not as thick and rich as a pie with a full top crust. But still delicious! It really just depends on personal preference.
Don’t over bake.
This pie is very easy to over bake. Since you cannot see the cherries if you do a full top crust, you will be tempted to continue baking. But don’t! Starting the pie at 400F for 20 minutes will help the pie dough set and activate the cornstarch. After that, all you need is an additional 35-45 minutes at 375F.
Baking in grams
While I provide volume measurements for the recipes on my blog, I highly suggest baking these recipes using weight. It is the most standardized and accurate way to bake. I carefully recipe test all of my recipes using a kitchen scale, not by using cups, and therefore I cannot guarantee the success of my recipes when using volume measurements.
Other recipes you may like
- Apple Pie Bars
- Pumpkin Pie With Meringue
- Classic Key Lime Pie With Meringue
- Fudgy Espresso Brownie Pie
This post may contain affiliate links.

Cherry Pie
Ingredients
- Homemade pie crust
- 5 cups (750 grams) pitted fresh cherries, see note
- 1 cup (200 grams) granulated sugar
- 1/4 cup (32 grams) cornstarch
- 1/2 teaspoon salt
- 1/2 teaspoon ground cinnamon
- 1 teaspoon vanilla extract
- 1 tablespoon lemon juice
- 1 tablespoon unsalted butter, for dotting, cold and cut into small cubes
Egg Wash
- 1 egg, lightly beaten
- coarse granulated sugar
Equipment
Instructions
- Prepare the pie crust through step 4 of the linked pie crust recipe.
- After you prepare the pie dough, begin prepping the filling.
- First, pit the cherries. Using a sharp knife, cut half of the cherries in half (two pieces), then remix them with the whole cherries. I like to do this but it is not necessary.
- In a large sauce pan, stir together the pitted cherries, granulated sugar, cornstarch, salt, cinnamon, vanilla, and lemon juice until combined.
- Place on the stove over medium heat and cover, stirring every 1-2 minutes or so for 10 minutes. The cherry juices will release and begin to bubble – by the end of the 10 minutes, the filling will have thickened.
- Remove from the heat and transfer the mixture to a bowl to cool until you are ready to roll out your dough.
- Once your dough is done chilling, prep the pie dough. Preheat your oven to 400F.
- On a generously floured surface, roll one of the dough portions out into a big circle while leaving the other portion in the fridge. Roll the dough large enough so that it fits in your pie dish (I use a standard size pie dish for this).
- Roll the dough over your rolling pin and unroll it centered over the pie dish with the edges draping over.
- Pour the cooled filling into the pie dish, then spread the cold and cubed butter on top of the filling. Place the pie dish in the fridge while you roll out the second disc of dough.
- Roll the top crust into a circle big enough so it reaches the edges of your pan. Use your rolling pin to unroll it on top of the filling with the edges draping over.
- Working in a circle, trim the edges of the top and bottom pie crusts if need be, then pinch them together. Crimp the edges of the pie dough using your fingers to give the pie that fluted look, if desired.
- Place the pie in the freezer for five minutes so the fats become cold again. Remove from the freezer and use a sharp knife to make slits in the top crust. I normally do two slits (like a plus sign). These are vents so there is a place for the steam to release.
- Lightly whisk an egg and use a pastry brush to apply an egg wash to the pie dough, then sprinkle with coarse sugar.
- Bake for 20 minutes at 400F, then reduce the temperature to 375F and bake for an additional 35-45 minutes.
- Remove the pie from the oven and let cool completely before slicing and serving. About 3-4 hours.
Notes
- Make sure to measure/weigh out the cherries AFTER they are pitted.
Tried this recipe? Make sure to rate and review and tag @sturbridgebakery on Instagram!