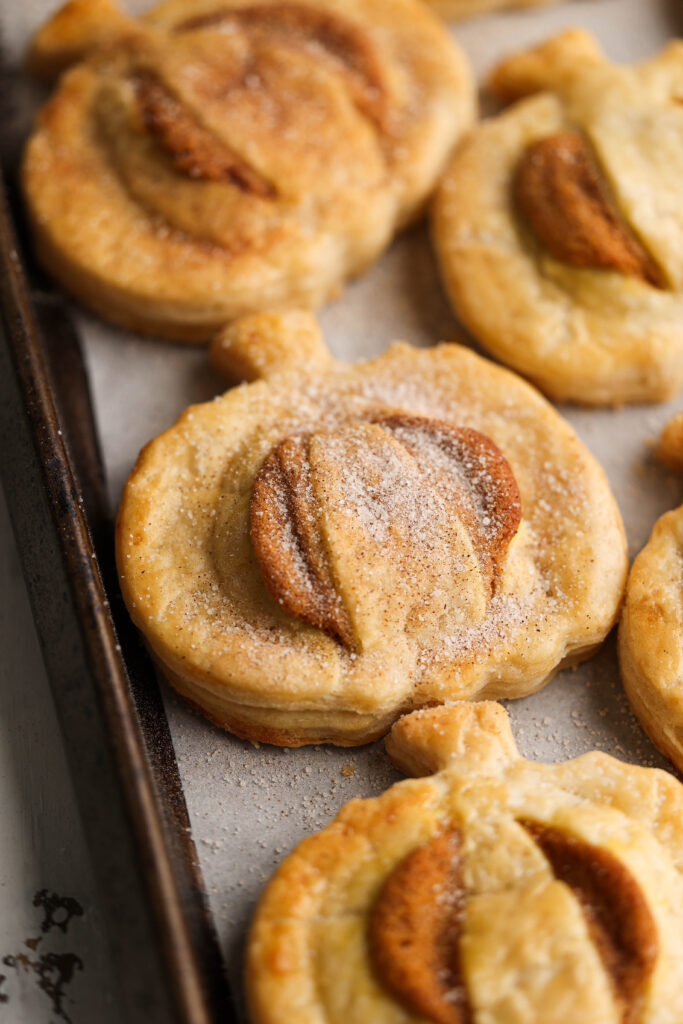
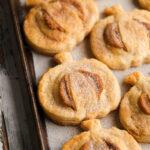
These mini maple pumpkin hand pies are the perfect treat this holiday season! These mini pies have a buttery, flaky pie dough, sweet maple pumpkin filling, and are lightly dusted with cinnamon sugar. They are so cute, fun to make, and the best shareable treat to spread some love this holiday season!
This post is sponsored by Truvia. All opinions are my own - thank you for supporting the brands that make Sturbridge Bakery possible!
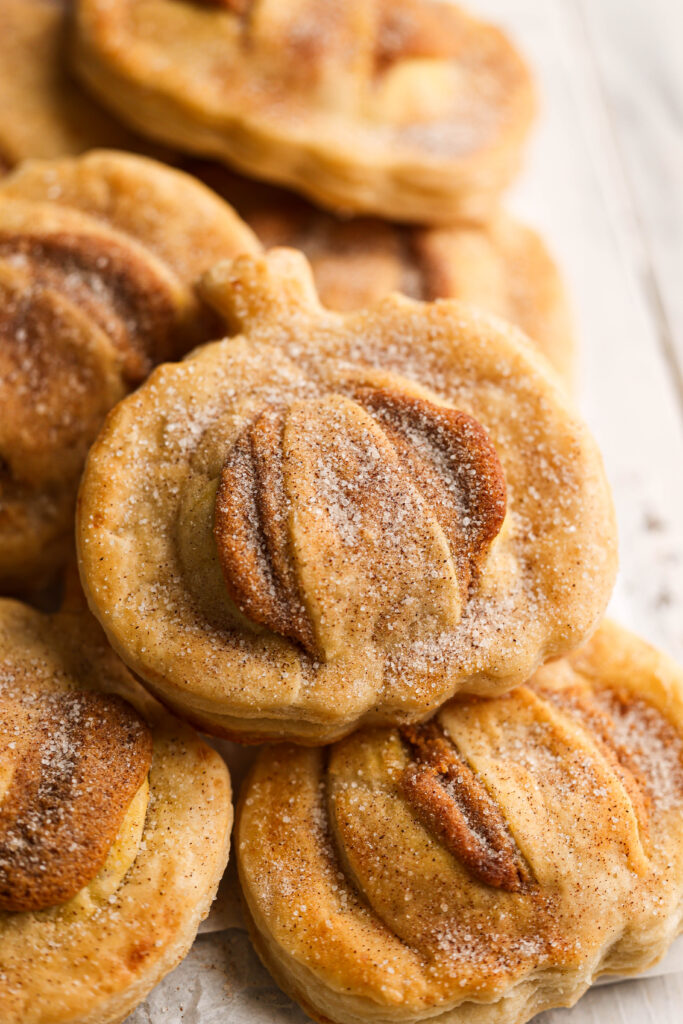
Pies are such a classic Thanksgiving dessert. And while I am a sucker for a good pumpkin pie, these mini maple pumpkin hand pies are just as delish. I love to make a big batch and bring them to my coworkers and friends during the holiday season.
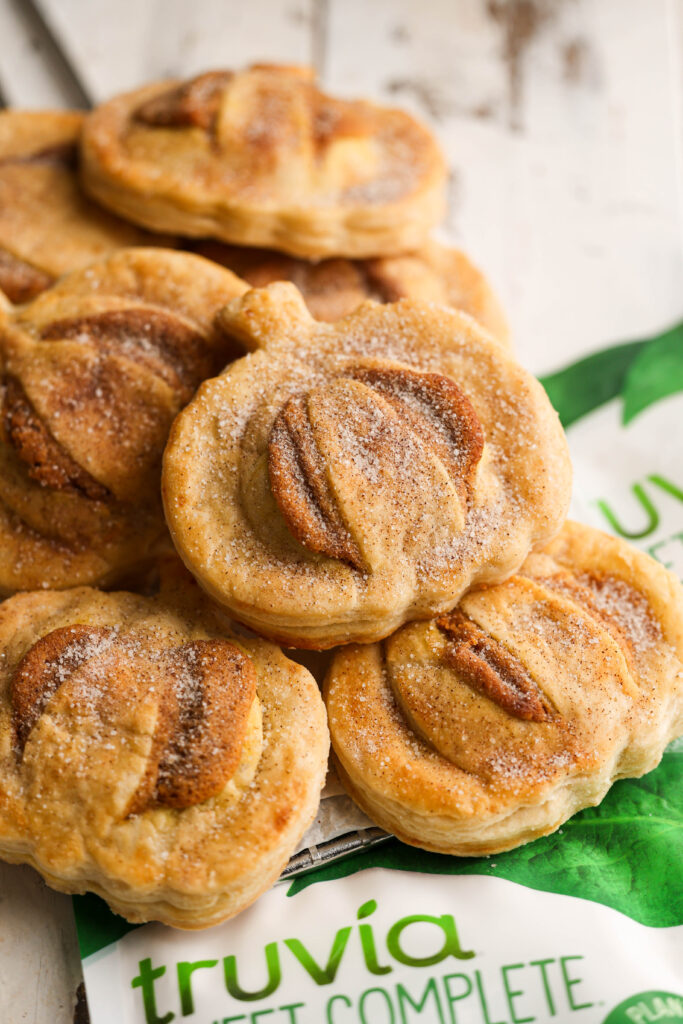
These were made using products from Truvia's sweet complete collection of products, specifically, the Sweet Complete Granulated All-Purpose Sweetener and Confectioners Sweetener. They add the best flavor and sweetness to these little cuties!
Jump to:
Why you will love these mini maple pumpkin hand pies
- Warmly spiced flavors. These hand pies combine the warm & earthy taste of pumpkin, the sweet flavor of maple syrup, and the rich buttery goodness from the pie dough to create the BEST holiday treat.
- Perfectly portioned. These mini hand pies are not only adorable, but also perfectly portioned for a little sweet treat! You can enjoy one or share them with friends & family without the hassle of slicing a whole pie.
- Holiday gifting made easy. Whether you're headed to a Thanksgiving dinner, a holiday party, or just want to spread some seasonal cheer, these hand pies are the ideal shareable dessert!
Ingredient notes
- All purpose flour: the primary structural component of your pie dough, creating a flaky, tender crust.
- Sweetener: I used Truvia's Granulated All-Purpose Sweetener to add a touch of sweetness to the pie dough. And I used their Confectioners Sweetener to sweeten the filling. You can also use regular granulated/powdered sugar.
- Unsalted butter & vegetable shortening: provides the fat that makes the dough tender & flaky.
- Ice water: helps bind the dough ingredients together & maintain the dough's cold temperature.
- Mascarpone cheese: adds a creamy and slightly tangy element to the filling.
- Maple syrup: sweetens while also adding the best maple flavor to the filling, making it the perfect warm & cozy treat.
- Pumpkin puree: the heart of the filling, offering a smooth, earthy pumpkin flavor that is delicious with the maple syrup & warm spices.
- Pumpkin pie spice & cinnamon: in addition to the pumpkin puree, the pumpkin pie spice adds a little more warmth to the filling, really emphasizing the yummy pumpkin flavor we all know & love. Cinnamon is mixed with the granulated all-purpose sweetener and sprinkled on top of the finished product.
- Vanilla: make sure to use good quality vanilla extract for the best flavor.
Steps
Prepare the pie dough.
Combine the flour, sweetener & salt. Cut in the cold butter & shortening until combined. Add ice water gradually, mixing until the dough comes together. Divide the dough in half, form into discs and wrap with plastic wrap. Refrigerate for 2 hours.
Roll out the dough.
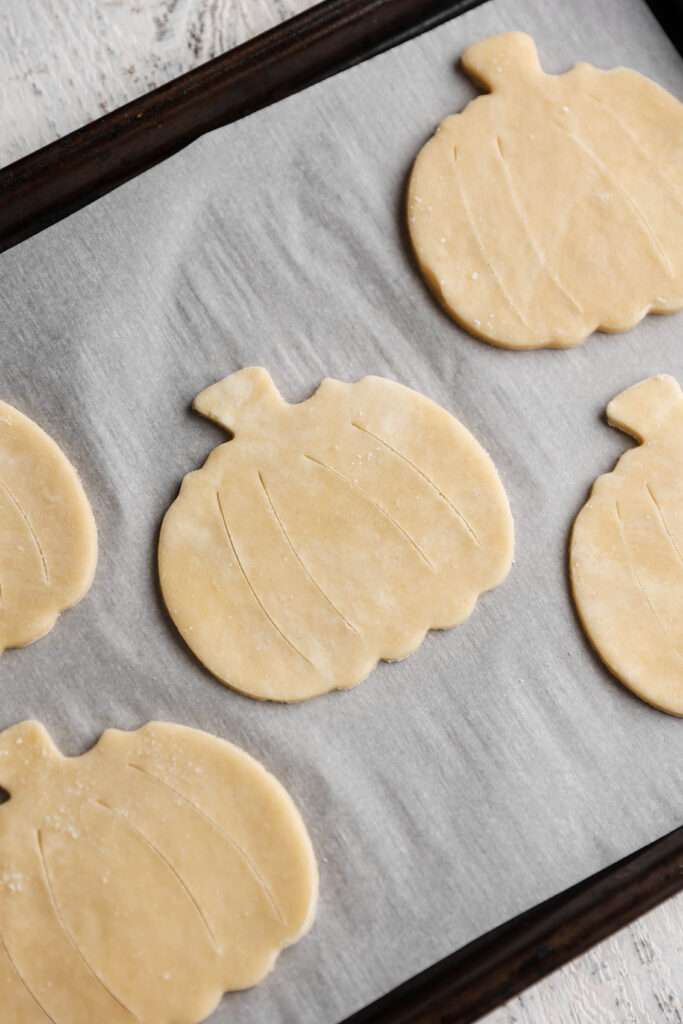
Roll out the chilled dough and use a pumpkin-shaped cookie cutter to cut out pumpkin-shaped pieces. Chill while you make the filling.
Make the filling.
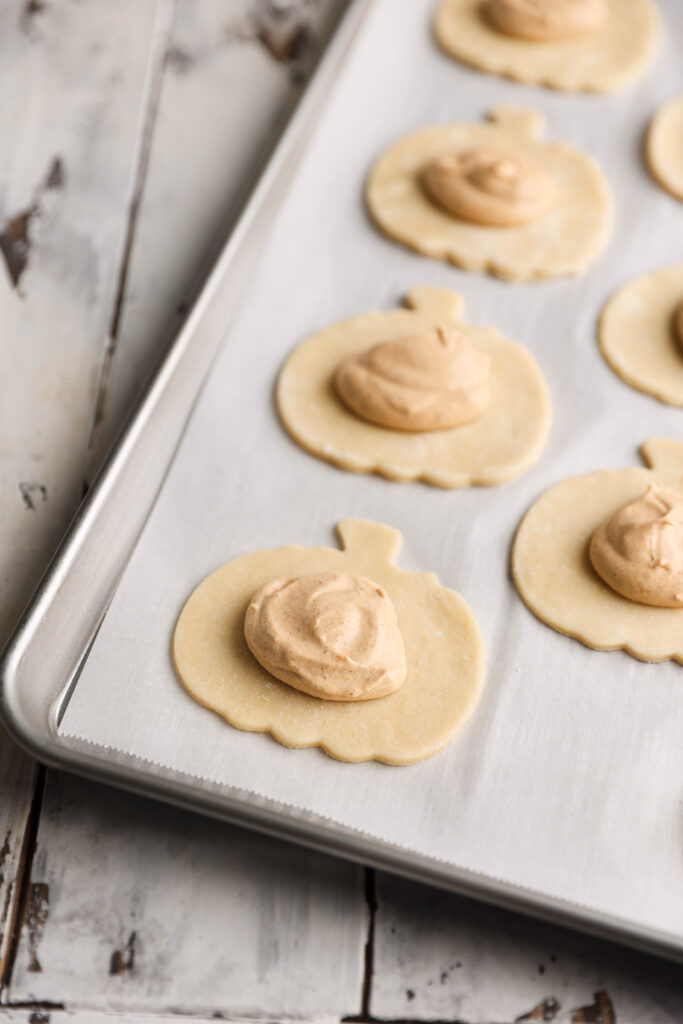
Beat together the mascarpone cheese, confectioners sweetener, & maple syrup. Add the pumpkin puree, vanilla, pumpkin pie spice, & salt and beat until fluffy.
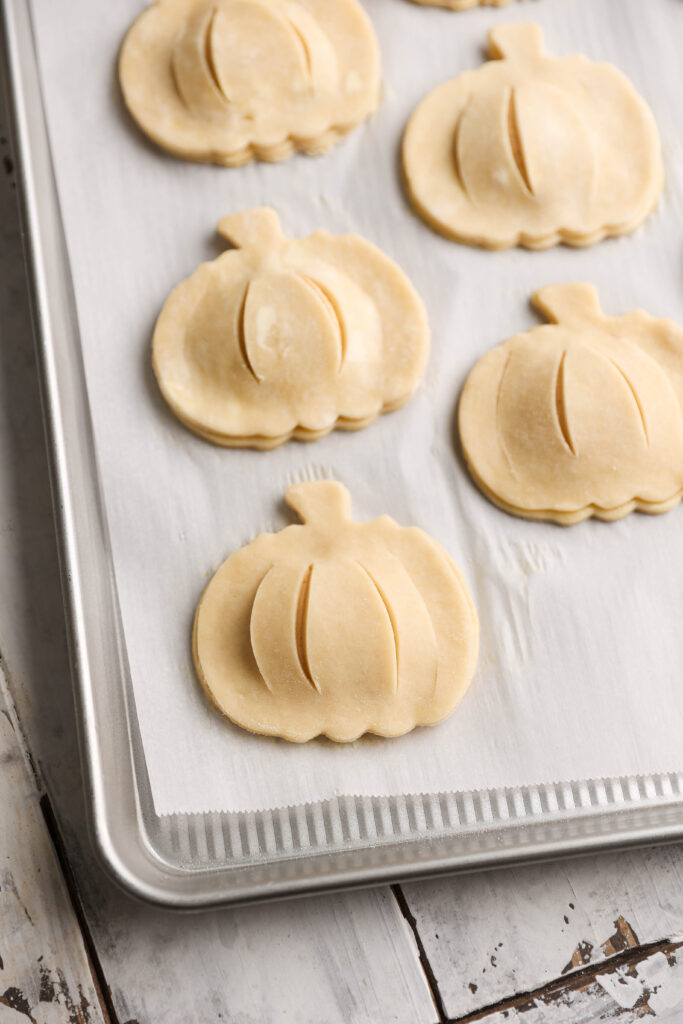
On half of the pumpkins, dollop the filling while leaving the border clean - these will be the bottom crusts. On the other half of the pumpkins, create two sets of parentheses “(())” in the dough to mimic the ridges on a pumpkin. These will also act as vents for the steam to escape.
Assemble the pies & bake.
Apply an egg wash on the borders of the bottom pumpkins, then place a vented top crust on a filled bottom crust, sealing the edges. Let chill while you preheat the oven to 375F.
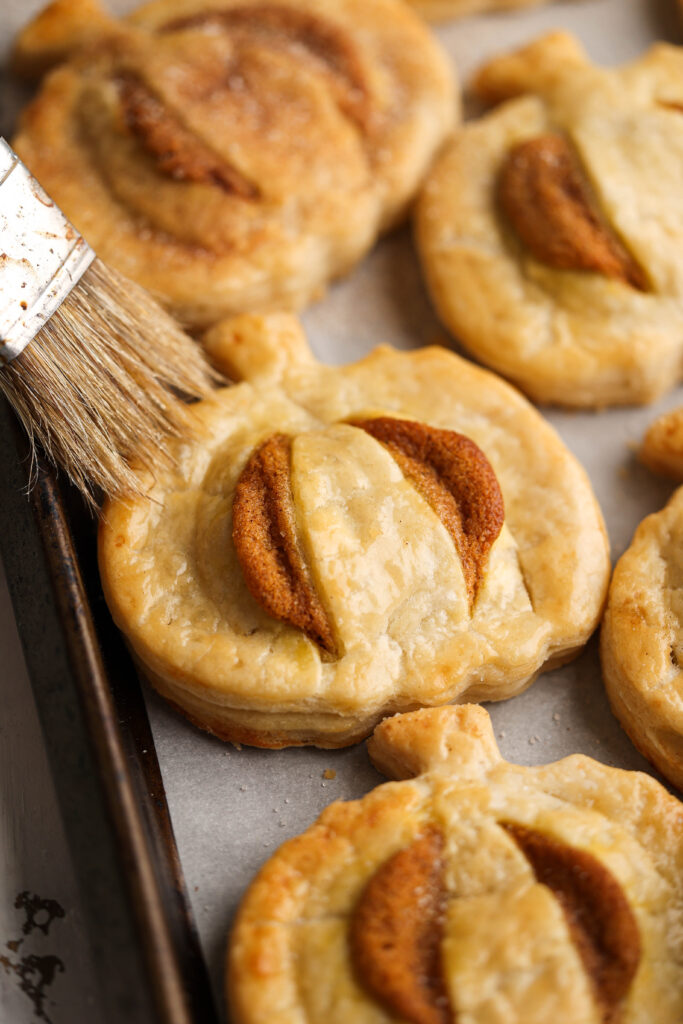
Brush the tops of the pumpkins with egg wash and bake for 28-32 minutes until golden brown.
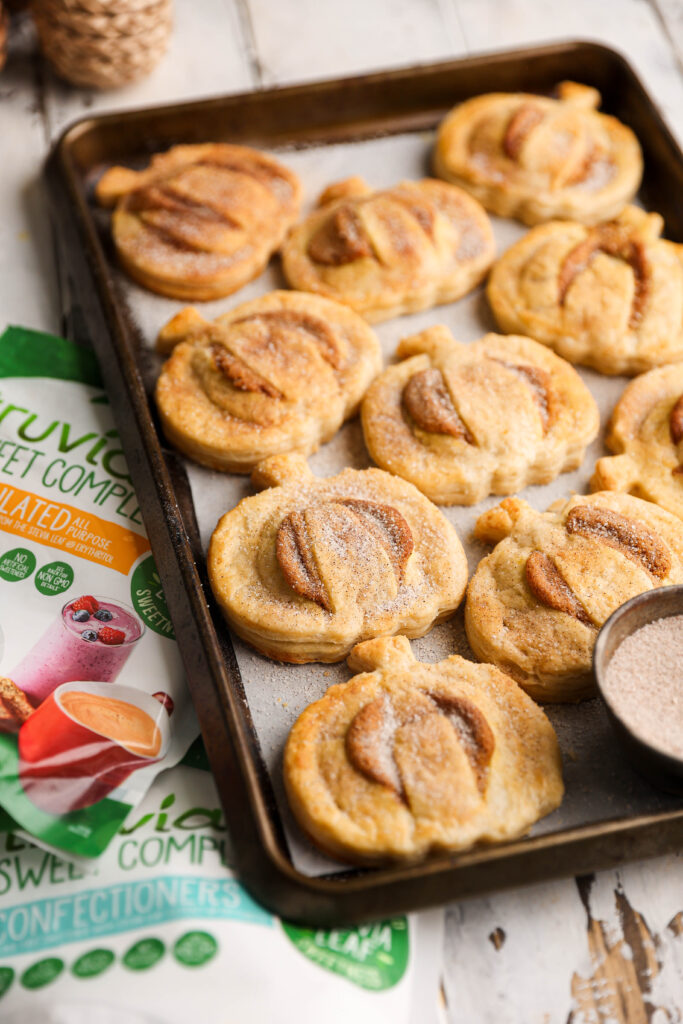
Cool on a baking sheet for 5 minutes, then transfer to a cooling rack. Brush melted butter on top of the pies and sprinkle on the sweet cinnamon coating while still slightly warm. Enjoy!

Mini hand pie baking tips
- Use a kitchen scale. I cannot stress this enough - a kitchen scale is the only way to ensure accurate results. They are cheap and will make cleaning up so much easier.
- Chill the dough. Properly chilled dough is key for flaky hand pies. Let the dough rest in the fridge for at least two hours, or up to two days. Cold dough is easier to work with and yields a better, flakier texture.
- Keep it cold. Maintain a cold environment while working with the dough. If it becomes too soft, it can be challenging to handle. Return it to the fridge if it starts to warm up too much.
- Use a cookie cutter. It's definitely easier to use a cookie cutter, but if you don't have one, you can create a stencil with paper and use this to cut pumpkins in the dough.
- Carve pumpkin ridges. Mimic the ridges of a pumpkin by carving two sets of parentheses "(())," not only for style but also to act as vents for steam to escape while baking.
- Egg wash seal. Use an egg wash to brush the borders of the bottom crusts. This helps seal the pies shut and adds a nice shine to the finished product.
FAQ
Pastry is generally best enjoyed the day or day after it's baked, but wrapped tightly and stored in an airtight container and it can last for 2-3 days in the fridge.
Yes, you can prepare the pie dough and filling a day or two in advance and store them in the refrigerator. Assemble and bake the pies when you're ready to enjoy them.
Absolutely! Once baked and cooled, you can freeze the hand pies. Place them on a baking sheet in the freezer until solid, then transfer them to an airtight container or freezer-safe bag. To reheat, warm them in the oven at 350F for about 15 minutes.
While Truvia's all purpose sweetener & confectioners sweetener adds so much to the flavor and texture, you can substitute for granulated sugar if you prefer.
Filling leakage can happen if the hand pies are overfilled or if the pastry isn't sealed properly. Additionally, ensure that the edges of the pastry are well-sealed to prevent any gaps for the filling to escape.

Baking in grams
I rely on gram measurements when testing recipes because they offer the highest level of accuracy (and less cleanup!). Unlike volume measurements, which can vary, grams provide a reliable and consistent standard. I carefully test all of my recipes using this kitchen scale, therefore I cannot guarantee the outcome when using volume measurements. However, volume measurements are available in the recipe card.
Other warmly spiced recipes
Have you tried this recipe? I would love to know how it turned out! Leave a star rating & review below and tag @sturbridgebakery on Instagram so I can see photos & videos of your yummy bakes! Want to save this recipe for later? Tap the heart button on the right side of your screen!
This post may contain affiliate links.
Mini Maple Pumpkin Hand Pies
Equipment
- pumpkin cookie cutter I used the largest cookie cutter in this set - measuring a little less than 4 inches in width and 3 ¾ inches in height from the bottom to the top of the stem.
Ingredients
Pie Dough
- 2 ½ cups (313 grams) all purpose flour
- 1 tablespoon Truvia Sweet Complete Granulated All-Purpose Sweetener
- 1 teaspoon fine sea salt
- ¾ cup (170 grams) unsalted butter cold and cubed
- ¼ cup (50 grams) vegetable shortening cold
- ½ cup (120 grams) ice water
Filling
- 4 oz (113 grams) mascarpone cheese
- ¼ cup (30 grams) Truvia Sweet Complete Confectioners Sweetener
- 3 tablespoons maple syrup
- ¼ cup (60 grams) canned pumpkin puree
- ½ teaspoon vanilla extract
- 1 teaspoon pumpkin pie spice
- ¼ teaspoon fine sea salt
Egg Wash
- 1 egg
- 1 tablespoon heavy cream/milk
Coating
- ¼ cup (50 grams) Truvia Sweet Complete Granulated All-Purpose Sweetener
- 1 teaspoon ground cinnamon
- 1 tablespoon unsalted butter melted
Instructions
Pie Dough
- In a large bowl, whisk together the flour, granulated all-purpose sweetener and salt.2 ½ cups all purpose flour, 1 tablespoon Truvia Sweet Complete Granulated All-Purpose Sweetener, 1 teaspoon fine sea salt
- Using a pastry cutter or your hands, cut the butter and vegetable shortening into the flour mixture until fully incorporated and no larger chunks remain.¾ cup unsalted butter, ¼ cup vegetable shortening
- Measure out ½ cup (120 grams) of water, add ice and stir it around so it becomes ice cold. Re-measure ½ cup (120 grams) since some of the ice melted into the water. Start with three tablespoons of ice water and drizzle it on top of the dough. Use a pastry cutter, wooden spoon, or spatula to mix the water into the dough. Continue to do this, tablespoon by tablespoon, until the dough just comes together. You may not need to use all of the water.½ cup ice water
- Fold the dough into itself until it forms a ball. Divide the dough into two equal parts and flatten them slightly into discs. Wrap each with cling wrap and place them in the fridge to chill for at least two hours but up to two days.
Rolling & Filling
- Line two baking sheets with parchment paper and set aside. I find it easier to work with the bottom crusts on one baking sheet, and the top crusts on another. Make sure you have room in your fridge for the pans.
- Once the pie dough has finished chilling, remove one of the discs from the fridge and roll it out on a lightly floured surface until it’s about ⅛ to ¼ inch in thickness. Using a pumpkin shaped cookie cutter, cut out as many pumpkins as you can and place the individual pieces on one of the baking sheets. Place the baking sheet in the fridge while you re-roll out the scraps and repeat.
- Then take out the second disc of dough and repeat this process. You want to end up with an even number of pumpkins for the tops and bottoms of the hand pies. Once everything is cut out, divide the pumpkins in half between the baking sheets. Place both baking sheets in the fridge to chill while you make the filling.
- For the filling, beat together the mascarpone cheese, confectioners sweetener, and maple syrup until smooth and combined. Add the pumpkin puree, vanilla extract, pumpkin pie spice, and salt and beat until combined & fluffy. Set aside.4 oz mascarpone cheese, ¼ cup Truvia Sweet Complete Confectioners Sweetener, 3 tablespoons maple syrup, ¼ cup canned pumpkin puree, ½ teaspoon vanilla extract, 1 teaspoon pumpkin pie spice, ¼ teaspoon fine sea salt
- Remove one of the baking sheets from the fridge - these will be the bottom crusts of the mini pies. Dollop about a tablespoon of filling (adjust based on the size of your cookie cutter) onto the bottom crust, leaving a small border around the edges without any filling. Place back in the fridge & remove the other baking sheet.
- Use a sharp knife to carve two sets of parentheses “(())” in the dough to mimic the ridges on a pumpkin. These will also act as vents for the steam to escape. Place back in the fridge while you make an egg wash.
- Whisk together the egg and heavy cream/milk to create an egg wash. Remove the bottom crusts from the fridge and use a pastry brush to gently apply the egg wash to the borders.1 egg, 1 tablespoon heavy cream/milk
- Remove the top crusts from the fridge and place a vented top crust on top of a bottom filled crust. Gently press on the edges to seal the sides shut. Repeat this process with all of the top & bottom crusts.
- Place the pies back in the fridge while you preheat your oven to 375F. Remove the pies from the fridge & lightly brush the tops with the egg wash.
- Bake for 28-32 minutes until the edges are lightly golden. Let cool on the baking sheet for 5 minutes, then transfer to a cooling rack.
- Once cool enough to handle, add the coating. Whisk together the granulated all-purpose sweetener and cinnamon until combined. Then, lightly brush melted butter on the tops of the mini pies. Sprinkle on the mixture & enjoy!¼ cup Truvia Sweet Complete Granulated All-Purpose Sweetener, 1 teaspoon ground cinnamon, 1 tablespoon unsalted butter
Notes
- The colder your pastry, the easier it will be to work with and the flakier your pie dough will be! Make sure it has ample time in the fridge to chill so the butter & shortening are very cold.
- I used a cookie cutter measuring a little less than 4 inches in width and 3 ¾ inches in height from the bottom to the top of the stem. This creates about 9-10 large hand pies. You can certainly use a smaller cookie cutter, but make sure to adjust the amount of filling you are using. You don't want to put too much and have it spill out the sides.
Tried this recipe? Make sure to rate and review and tag @sturbridgebakery on Instagram!


Leave a Reply