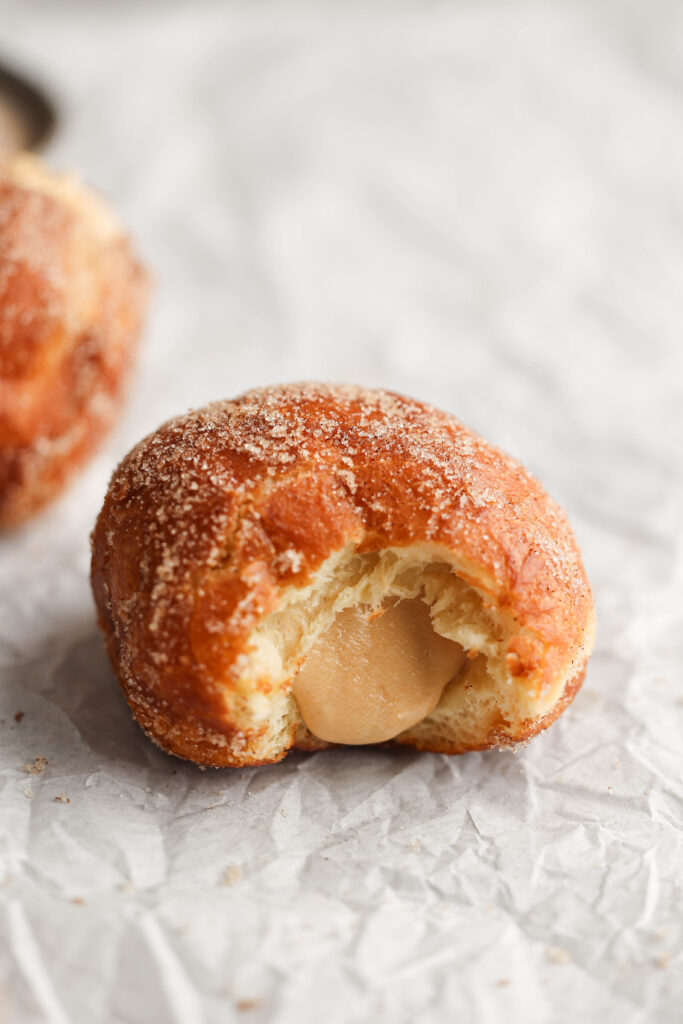
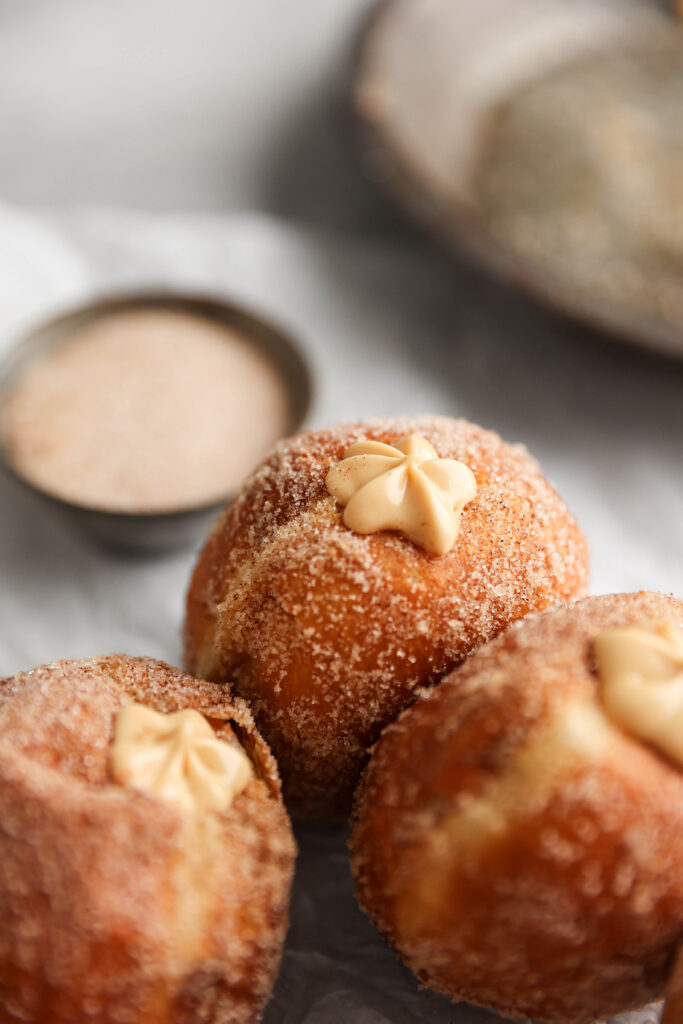
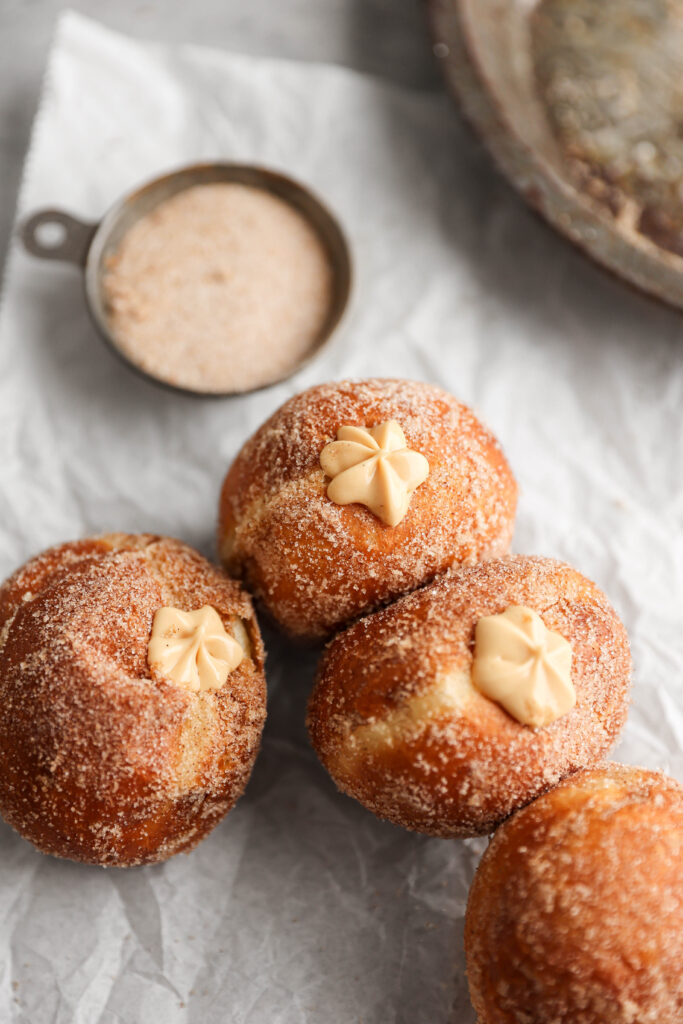
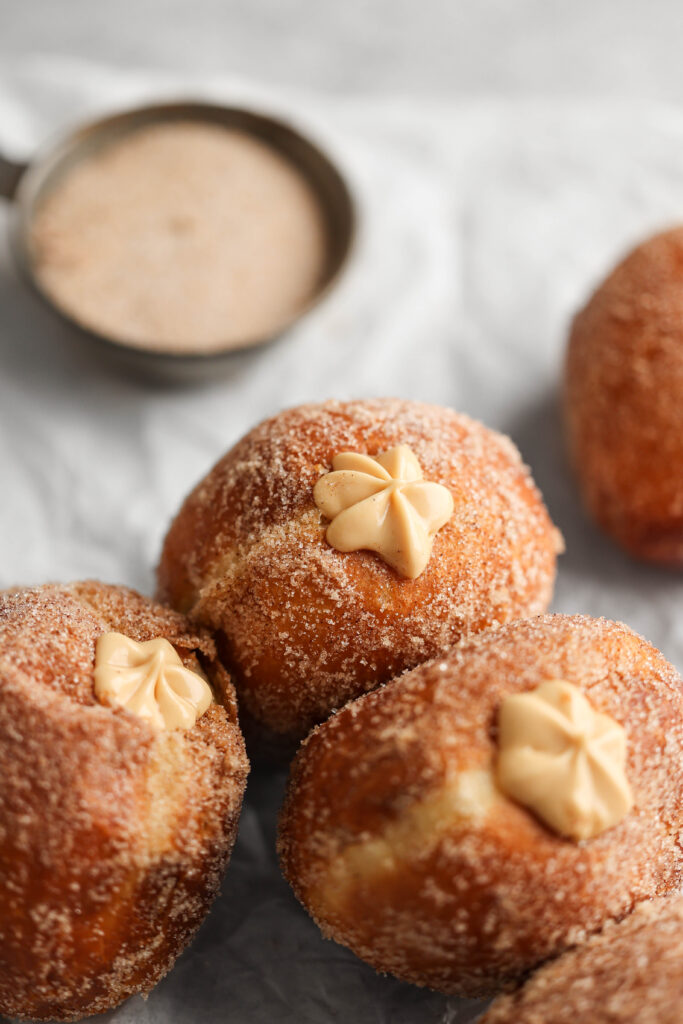
These salted caramel brioche donuts are made with the softest, fluffiest dough, and a creamy whipped salted caramel filling. Coated in cinnamon sugar, these donuts are decadent and will elevate any brunch or dessert table.
This post is sponsored by Amoretti. All opinions are my own - thank you for supporting the brands that make Sturbridge Bakery possible!
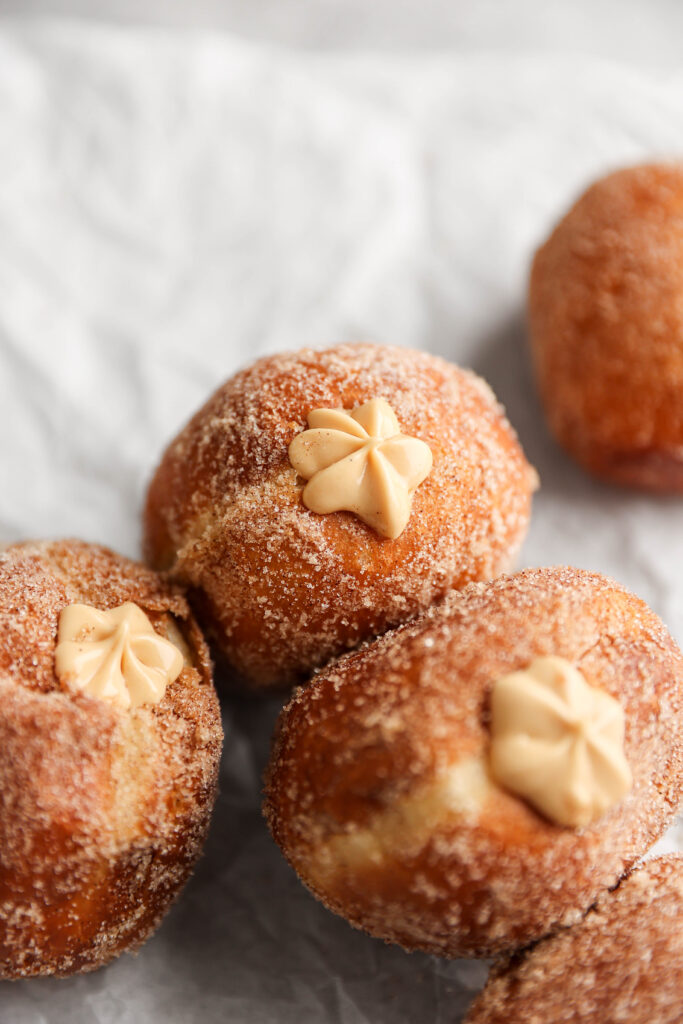
These donuts are made with a brioche dough, which is a rich and buttery pastry dough perfect for treats like donuts, cinnamon rolls, etc.! This recipe was adapted from my Brioche Bread recipe, both of which have an overnight option! So if you don't want to babysit your dough while it rises, you can let it proof in the fridge overnight.
The brioche dough and salted caramel were made using Amoretti's Vanilla Madagascar Bourbon Water-Soluble Extract, giving these donuts incredible flavor and sweetness that don't bake off!
Jump to:
Why you will love these salted caramel brioche donuts
- Incredible flavors. The rich buttery flavor from the dough paired with the warm cinnamon and salted caramel makes for a delicious fall treat.
- Overnight option. With an overnight option, this brioche donut recipe lets you space out some of the steps. I love making the dough at night and just forgetting about it until morning!
- Versatile treat. Make these donuts for a lavish brunch or as a decadent dessert! Either way, these donuts will be a show-stopper.

Ingredient notes
- All purpose flour: the all purpose flour provides structure and stability to the rolls.
- Salt & nutmeg: these two spices enhance the flavor profile of the rolls.
- Whole milk: the moisture from the whole milk ensures a soft and fluffy texture in the rolls. If using active yeast, the milk needs to be heated to 110F. If you are using instant yeast, the temperature of the milk does not really matter.
- Yeast: as the leavening agent, the yeast is responsible for the rise and volume of the dough. Instant yeast or active yeast works in this recipe.
- Granulated sugar: aside from adding sweetness, the sugar also acts as food for the yeast, promoting fermentation and allowing the dough to rise. We also use granulated sugar to coat the donuts.
- Eggs: the eggs enrich the dough with their fat content.
- Vanilla: I used Amoretti's Vanilla Madagascar Bourbon Water-Soluble Extract - it has so much flavor and a little goes such a long way! I used it in both the brioche dough and the caramel.
- Butter: the star ingredient of brioche dough, the unsalted butter adds richness and that signature buttery taste. We also use salted butter for the caramel.
- Ground cinnamon: mixed with the granulated sugar for the cinnamon sugar coating.
- Heavy cream: used in the salted caramel.
- Vegetable oil: needed for frying.
Steps
- Make the salted caramel. Heat sugar on the stove until it melts into a smooth amber color. Add the cubed butter and whisk to combine. Then add the heavy cream and whisk to combine. Remove from heat, add the vanilla and salt, then set aside to cool.
- Prepare the dough. Mix flour, salt, and nutmeg in the bowl of a stand mixer. Combine yeast and sugar in a separate bowl, then slowly stream the yeast mixture into the warmed milk. Whisk in the eggs and vanilla. Add the wet ingredients to the stand mixer bowl with the dough hook and mix for 2-3 minutes or until the dough forms a ball around the hook. Gradually add cubed butter then knead until smooth. About 8-12 minutes.
- Proof and shape dough. Allow the dough to rise until doubled in size (about 1 hour at room temperature or overnight in the fridge). Turn the dough out onto a non-floured surface and shape the dough into 13 pieces (weighing roughly 70 grams per donut) and let them rise for another 30ish minutes.
- Fry donuts. Heat oil to 360F, then fry donuts for about 60-90 seconds per side. Drain on paper towels, then coat in cinnamon sugar.
- Whip the caramel & fill. Whip the cooled caramel with a hand mixer until lighter in color. Use a dowel or similar object (toothpick, skewer, etc.) to create a hole in the donuts. Fill with whipped salted caramel using a piping bag. Enjoy!
The window pane test
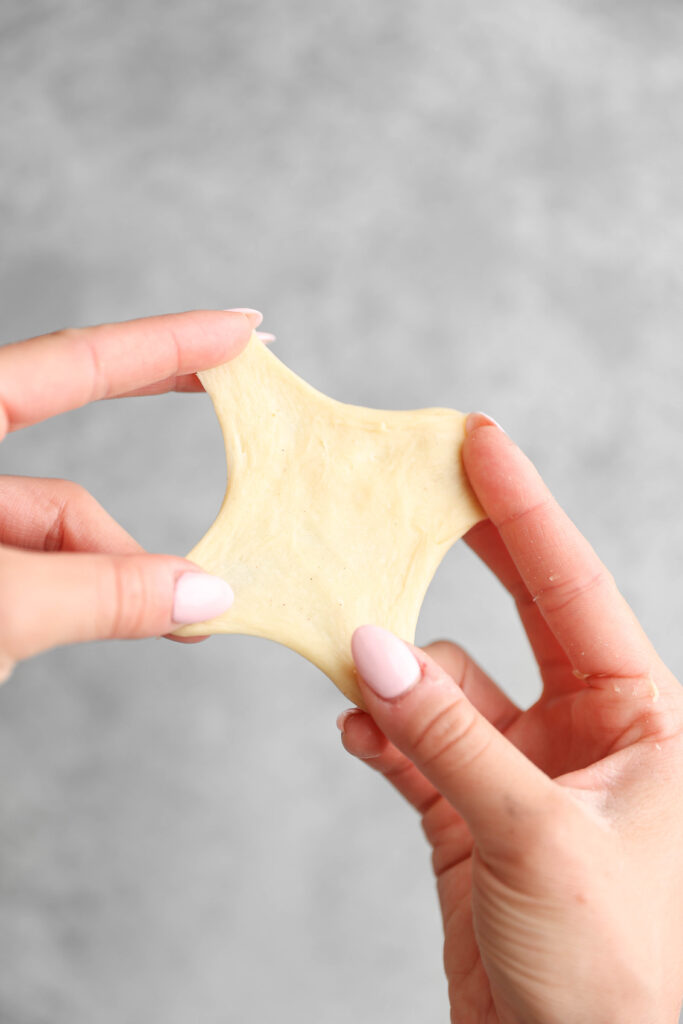
The window pane test is my preferred method for checking if the dough has been kneaded adequately. Take a small piece of dough and gently stretch it between your fingers. If it stretches easily without tearing, and you can see light passing through it, the dough is ready to proof. If it tears, continue mixing for another minute or two and try again.
Brioche bread baking tips
- Use a kitchen scale. I cannot stress this enough - a kitchen scale is the only way to ensure accurate results. They are cheap and will make cleaning up so much easier.
- Don't overheat the milk. If the milk is too hot, it can kill the yeast and the bread won't rise.
- Make sure your yeast is fresh. This is a simple one, but yeast can be dead. Make sure to use fresh instant or active yeast.
- Allow the dough to rise for the entire instructed time. Don't rush the rise process! Interrupting the rise can result in a dense bread.
- If you let the dough rise in the fridge, make sure to bake within 24 hours. It is perfectly okay to let your dough rise in the fridge overnight. However, try not to let it reach that 24 hour mark, otherwise you run the risk of having an over-proofed dough.
Frying tips
- Don't overcrowd the pan. Fry the donuts in batches, allowing sufficient space between them. Overcrowding can cause temperature fluctuations and uneven cooking. If you are worried about the later batches of donuts over-proofing, you can put the pan in the fridge to slow down the rise.
- Use a thermometer. Make sure you are using a thermometer to keep an eye on the oil temperature. Too low and the donuts will soak up excess oil and become greasy. Too hot and the edges will turn dark before the inside is baked. Aim for around 360F.
- Don't over-proof. This is true for bread whether or not you are frying it, but this is critical here! If your dough is over-proofed, it won't puff up in the oil and you can end up with a dense bread with little rise.
FAQ
You certainly can, but it will take a lot of elbow grease!
To store leftover donuts, place them in an airtight container or wrap them tightly in plastic wrap. Store at room temperature for up to 2 days. For longer storage, you can refrigerate them. Please note that any bread exposed to air will become dry pretty quickly - these are best enjoyed the day they are baked.
Proofing in the fridge allows for slower, hassle-free rising - you won't feel like you need to babysit the dough and the slower yeast activity allows time for the flavors to develop. Additionally, cold dough is nicer to handle and will make rolling out/shaping the donuts much easier!
If you are not choosing the over-night option, yeast thrives in a warm and humid environment. Utilize the oven's "proof" setting or place the dough inside with the oven turned off. The microwave (turned off) can also be used.
Over-proofing results in popped air bubbles and no spring-back when poked. In this case, it should be fried immediately. Under-proofing causes immediate spring-back and needs more time to rise. Optimal proofing is indicated by a slow spring-back.
If you make these in an air fryer, they are going to look more like dinner rolls then donuts and it may be harder to get the cinnamon sugar coating to stick. BUT they will still taste amazing.

Baking in grams
I rely on gram measurements when testing recipes because they offer the highest level of accuracy (and less cleanup!). Unlike volume measurements, which can vary, grams provide a reliable and consistent standard. I carefully test all of my recipes using this kitchen scale, therefore I cannot guarantee the outcome when using volume measurements. However, volume measurements are available in the recipe card.
Other donut recipes to try
Have you tried this recipe? I would love to know how it turned out! Leave a star rating & review below and tag @sturbridgebakery on Instagram so I can see photos & videos of your yummy bakes! Want to save this recipe for later? Tap the heart button on the right side of your screen!
This post may contain affiliate links.

Salted Caramel Brioche Donuts
Ingredients
Salted Caramel*
- 1 cup (200 grams) granulated sugar
- 6 tablespoons (85 grams) salted butter room temperature, cubed
- ½ cup (120 grams) heavy cream room temperature
- 1 teaspoon Amoretti Vanilla Madagascar Bourbon Water-Soluble Extract or vanilla extract
- 1 teaspoon salt
Donuts
- 3 ¾ cups (470 grams) all purpose flour
- 1 ½ teaspoons fine sea salt
- ½ teaspoon ground nutmeg
- ¼ cup plus 2 tablespoons (75 grams) granulated sugar
- 1 standard instant/active yeast packet + ~½ tablespoon (11 grams) of another packet
- ¾ cup (180 grams) whole milk
- 2 eggs room temperature
- 1 teaspoon Amoretti Vanilla Madagascar Bourbon Water-Soluble Extract or vanilla extract
- ½ cup (113 grams) unsalted butter room temperature, cut in cubes
For Frying
- 3-4 cups (600-800 mL) vegetable oil
Cinnamon Sugar Coating
- 1 cup (200 grams) granulated sugar
- 1 tablespoon ground cinnamon
Instructions
Salted Caramel*
- Add the sugar to a medium-large sauce pan. Place the pan on the stove on low-medium heat while continuously stirring and moving the sugar around the pan. The sugar will clump up before it melts. Once the sugar completely melts, it will be a smooth amber/caramel colored liquid. It can take anywhere from 8-12 minutes to completely melt.
- Next, add the cubed butter. It will bubble up - whisk vigorously until the butter is completely melted into the sugar and they are homogeneous. Let the mixture sit and bubble for 30 seconds to one minute while stirring occasionally.
- Slowly stream in the heavy cream. The mixture will bubble up again. Whisk until the heavy cream is combined. Allow the mixture to boil for 30 seconds to one minute while stirring occasionally. During this time, it will rise in the pan - let it!
- Remove from the heat, add the vanilla extract and salt, & whisk to combine. Pour in an airtight container and let it cool for about 20 minutes at room temperature, then into the fridge to cool completely until you are ready to fill the donuts.
Donuts
- In the bowl of a stand mixer fitted with the hook attachment, mix the flour, salt, and nutmeg. Set aside. Whisk the yeast and the sugar in a small bowl. Set aside.
- Heat the milk to 110F (if you don’t have a thermometer, I usually microwave it for 30 seconds on high, which gets me to about 110-120F).
- While whisking constantly, slowly stream in the sugar/yeast mixture into the heated milk. If you are using active dry yeast, allow the mixture to sit for 15 minutes. The yeast will activate in this time. If using instant yeast, you don’t have to wait for the yeast to activate, simply move on to the next step.
- Mix the eggs and vanilla extract into the milk/yeast mixture. Whisk well to combine.
- Pour the milk/yeast/egg mixture into the flour and mix on low-medium speed for about 3 minutes, or until it forms a ball around the hook.
- With the mixer on medium speed, add the butter a few pieces at a time, allowing them to fully incorporate before adding more. While you’re incorporating the butter, don’t be quick to add more flour if the dough looks too wet. Let it knead for a little before adding anymore butter and it will come together & look less sticky, then continue to add the butter. Adding too much flour preemptively will result in a dry bread. Once all of the butter is fully incorporated, turn the mixer up to medium-high speed and knead for an additional 8-12 minutes (mine usually takes about 10 minutes).
- To check if the dough has kneaded enough, rip off a small piece and spread it gently in between your fingers. If it stretches easily without ripping and you can see light passing through it, it is finished and ready to proof.
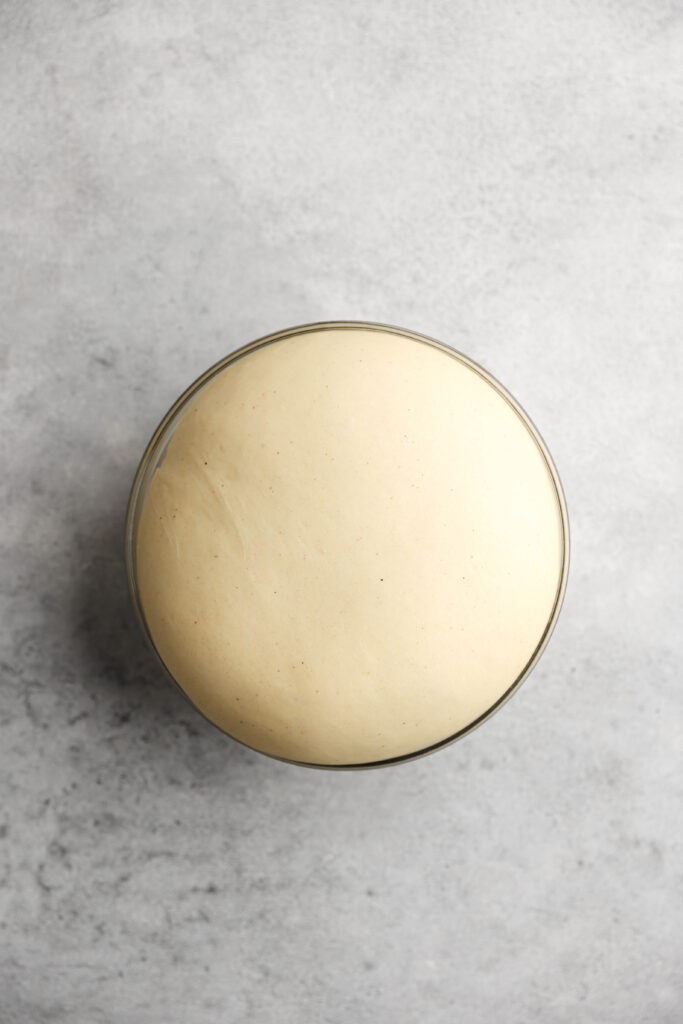
- Transfer the dough to a lightly greased bowl, cover with a towel, and let it rise in a warm environment for about 1 hour, or until doubled in size. Alternatively, cover the bowl with plastic wrap and let it rise in the fridge overnight.
- While your dough is proofing, cut out thirteen 4 inch parchment paper squares and arrange them on a baking sheet. If you are proofing the dough overnight, simply just do this before you begin.
- Once the dough has doubled in size or it’s the next day, turn it out onto a non-floured surface - this will make it easier to shape the dough. Divide it into 13 equal pieces (each should roughly weigh about 70 grams and you should have a very small amount of dough left over). I like to use a bench scraper to cut the dough.
- To shape, flatten each piece on your surface, then take all of the sides and gently fold them upwards and inwards, pressing them into the center. Turn the dough over and roll into a smooth ball. Place each piece of dough on a parchment paper square on your pan. Repeat this with your remaining dough, then cover and let rise for another 30ish minutes.
- In this time, begin to heat up your oil. You can fry these in a large pan, cast iron dutch oven, or a deep fryer. Use a thermometer to maintain a temperature of around 360F.
- Press your finger into a roll - if it bounces back immediately, it needs more rest. If it doesn’t bounce back at all, it is over-proofed and should be fried immediately. If it bounces back slowly, it’s ready.
- Carefully lower 1-2 donuts at a time into the oil. If the oil is bubbling rapidly when you drop a donut in, it is way too hot. The edges will get too dark before the inside is cooked. If the oil doesn’t bubble at all, it is not hot enough. The donuts will take too long to fry and they will be greasy. You want the oil to bubble gently. This is why a thermometer is important!
- Fry the donuts for 60-90 seconds on each side. Carefully remove from the pan and place onto a baking sheet lined with paper towels to soak up the excess oil. Then move to a cooling rack. Repeat with the rest of your donuts. While you are frying your first few donuts, the other donuts can just stay on the pan with the towel over them - the time they are waiting to be baked won’t really affect the proofing process too much if you are working efficiently.
- Whisk the granulated sugar & cinnamon in a shallow bowl. Once cool enough to handle, toss the donuts in the cinnamon sugar. Set aside to continue cooling.
- Remove the caramel from the fridge and empty it into a bowl. Whip the caramel using a hand mixer on medium speed until lighter in color and whipped - it won’t get super thick, plus it’s going to get all melty in the donuts, so don’t stress if you think yours doesn’t look whipped enough. Mostly, I do this for the color.
- Filling the donuts: I like to use a cake dowel to make a hole in the side of the donut - gently press into the donut and wiggle your dowel around to make space for the filling to go. You can also do this with a chopstick, toothpick, etc. If you don’t have any one of those things, you can try a knife (but be careful!) or use the piping tip to wiggle your way into the donut. Fill the donuts using a piping bag for ease. Enjoy!
Notes
- For the salted caramel, if you want to fill the donuts completely to the brim, you will likely need to double the caramel recipe to have enough for all of the donuts.
Tried this recipe? Make sure to rate and review and tag @sturbridgebakery on Instagram!



Leave a Reply