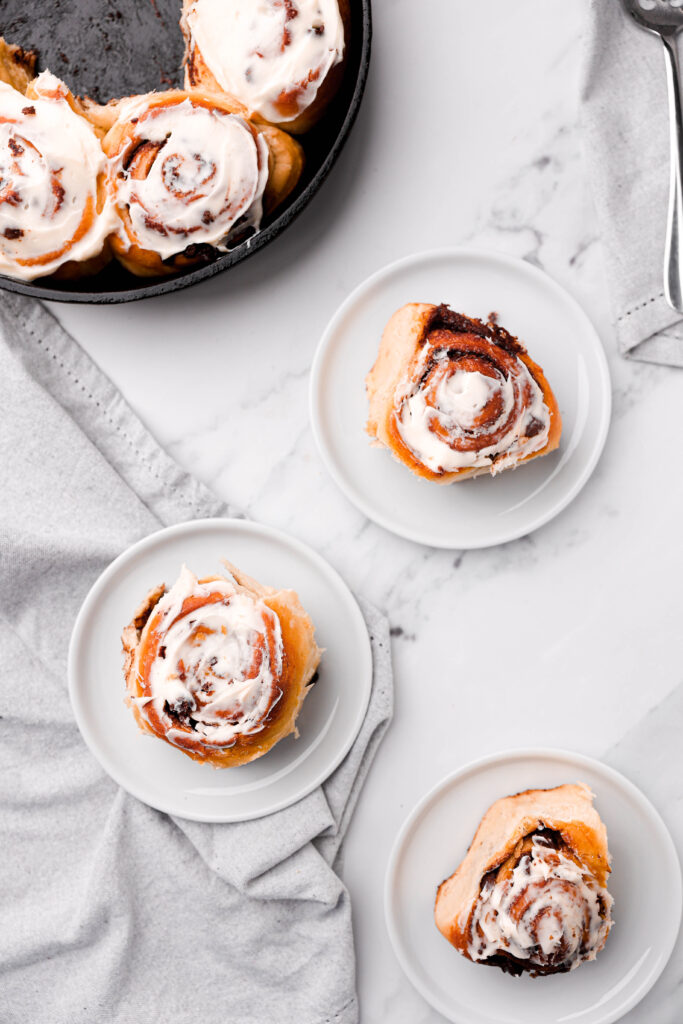
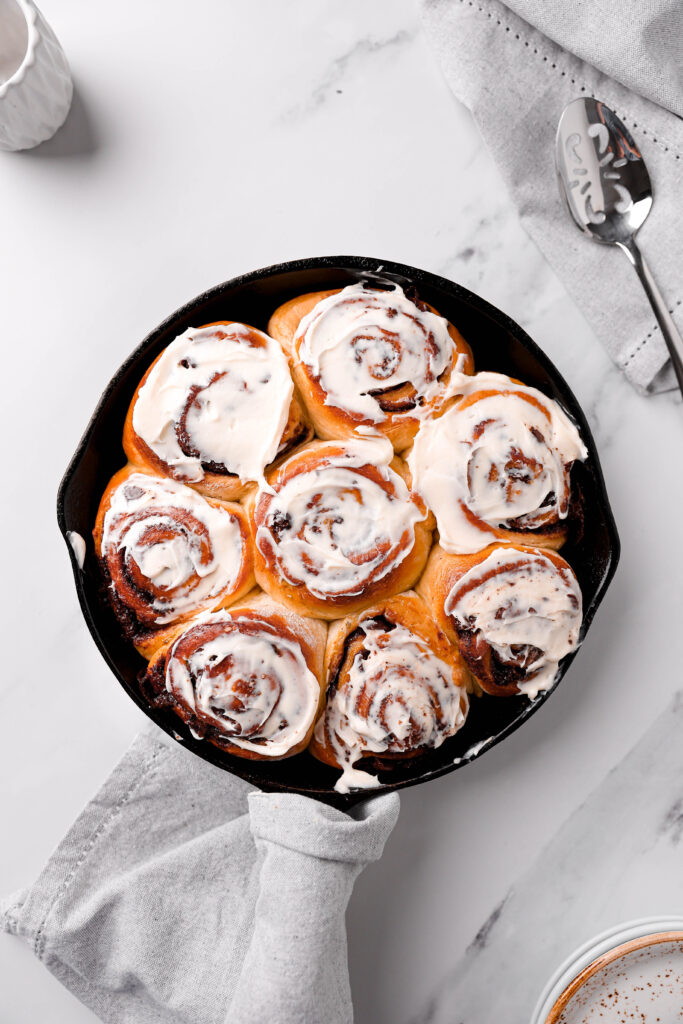
These chocolate rolls are pillowy soft, fluffy, and full of a sweet, chocolatey filling. There is truly nothing better than a homemade sweet roll, especially when it's covered in cream cheese frosting.
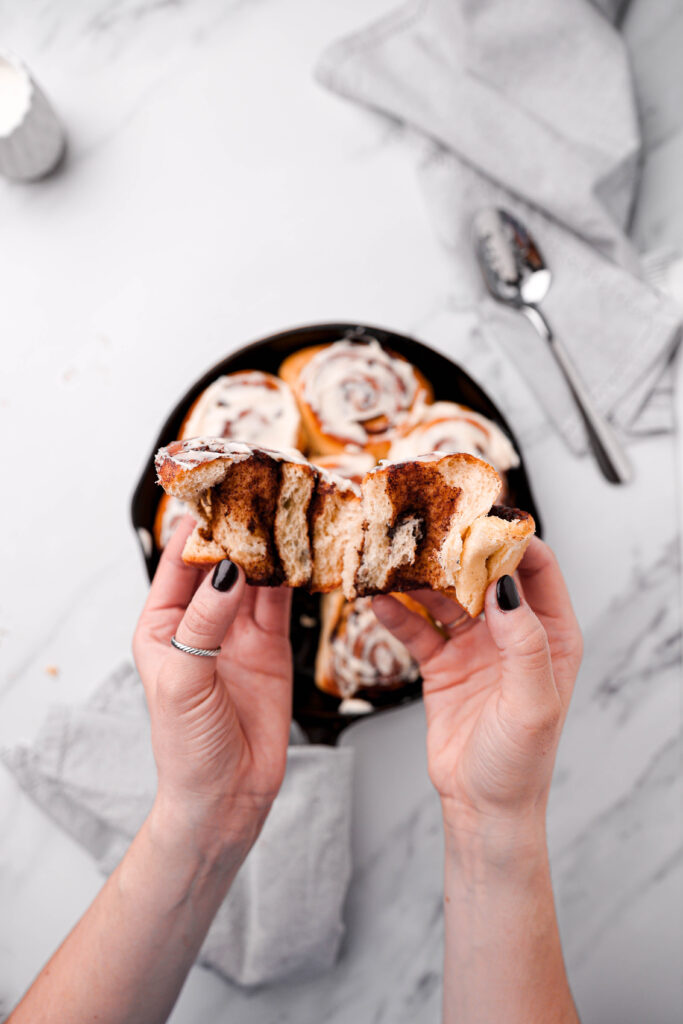
Soft & fluffy chocolate rolls
I have a very high standard for any type of roll (cinnamon, chocolate, WHATEVER it is). So you can bet that I have tested this recipe time and time again to make sure it is absolutely divine. These rolls have two rises, and yes, kneading a yeast dough can be a labor of love (especially if doing it by hand) but it is SO worth it. I promise you.
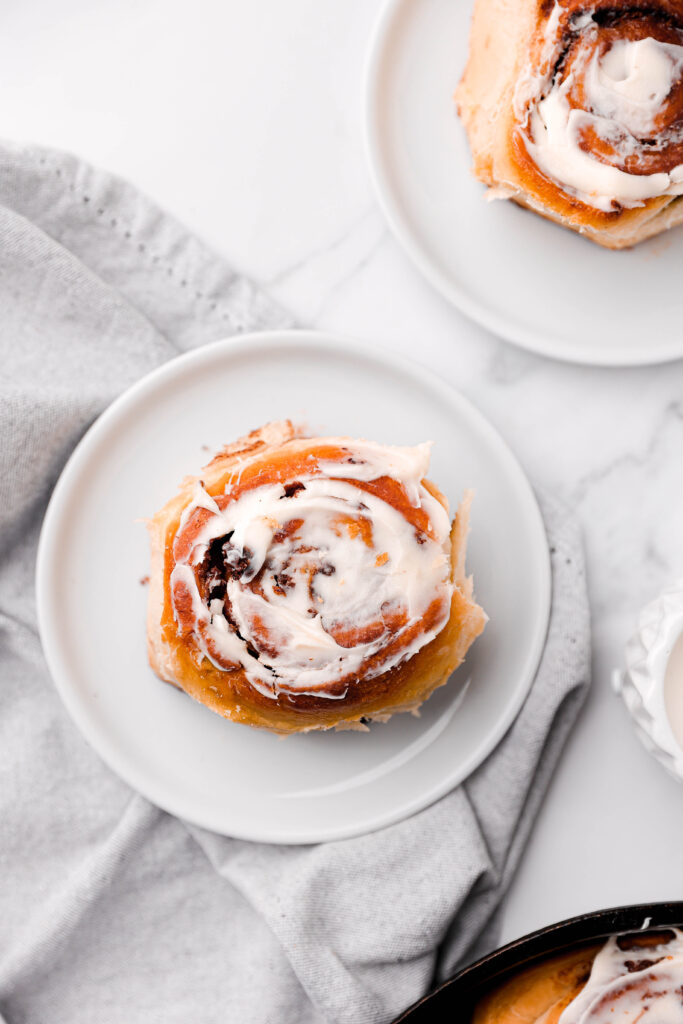
Ingredients
These chocolate rolls are so delicious, and you probably already have the ingredients needed for them in your pantry. But if not, here is your grocery list:
- All purpose flour is the key to a soft and pillowy chocolate roll. It gives the rolls the perfect texture.
- Instant yeast is necessary for these rolls. Instant yeast can be mixed right in with the dry ingredients. You don't need to activate it first with warm milk like you would with active yeast.
- Granulated sugar is used to sweeten the dough just slightly.
- Salt and nutmeg are added as flavor enhancers to the dough.
- Whole milk is my favorite type of milk to use because it leads to a soft, enriched and delicious chocolate roll!
- Eggs are needed for an enriched dough. We also use one egg for an egg wash to make the dough nice and shiny!
- Butter is used in both the dough and the filling, so make sure to use high quality butter here! I prefer to use unsalted butter in baked goods, that way you can control exactly how much salt goes into your recipe. However, if salted butter is all you have, that is totally fine too!
- Brown sugar is what we use in the filling to ensure a sweet, caramel-y, toffee-like filling. Either light or dark brown sugar works here!
- Cocoa powder makes the filling extra chocolatey. I use regular unsweetened cocoa powder in these rolls, but dutch processed should work just as well.
- Chocolate is crucial in the filling. We sprinkle on chocolate chips or chopped chocolate (either works!) right onto the filling before we roll the dough up into a log. Semi-sweet or dark chocolate works here. In my opinion, I think milk chocolate makes these rolls just a little too sweet.
- Cream cheese is necessary for a cream cheese frosting, obviously! I like to use full fat cream cheese here. Philadelphia cream cheese is my favorite brand to use!
- We use powdered sugar to sweeten up the cream cheese frosting.
- Vanilla extract is needed in the frosting just for a little extra flavor!
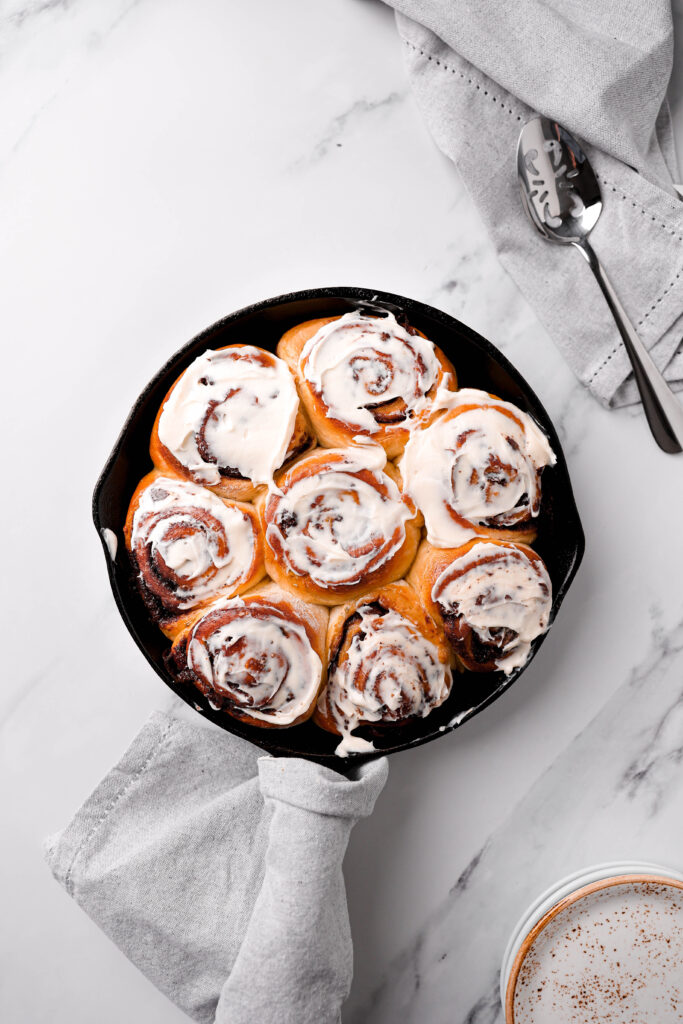
Steps for making chocolate rolls
Like I said earlier, making chocolate rolls are a labor of love. It requires 8-10 minutes of kneading, making the filling, two rises, baking and making the frosting. But it is SO worth it. See below for all of the steps.
- Make the dough and knead for 8-10 minutes until the dough passes the window pane test.
- Let the dough rise for 1 ½ hours in a well-oiled bowl.
- Roll the dough out into a 12x16 inch rectangle, spread on all of the filling and chocolate, then roll it up into a log!
- Cut the dough into 9 equal pieces and place them in a greased pan.
- Let the rolls rise in the pan for another 35-40 minutes.
- Brush an egg wash onto the rolls and bake for 24-26 minutes until golden brown.
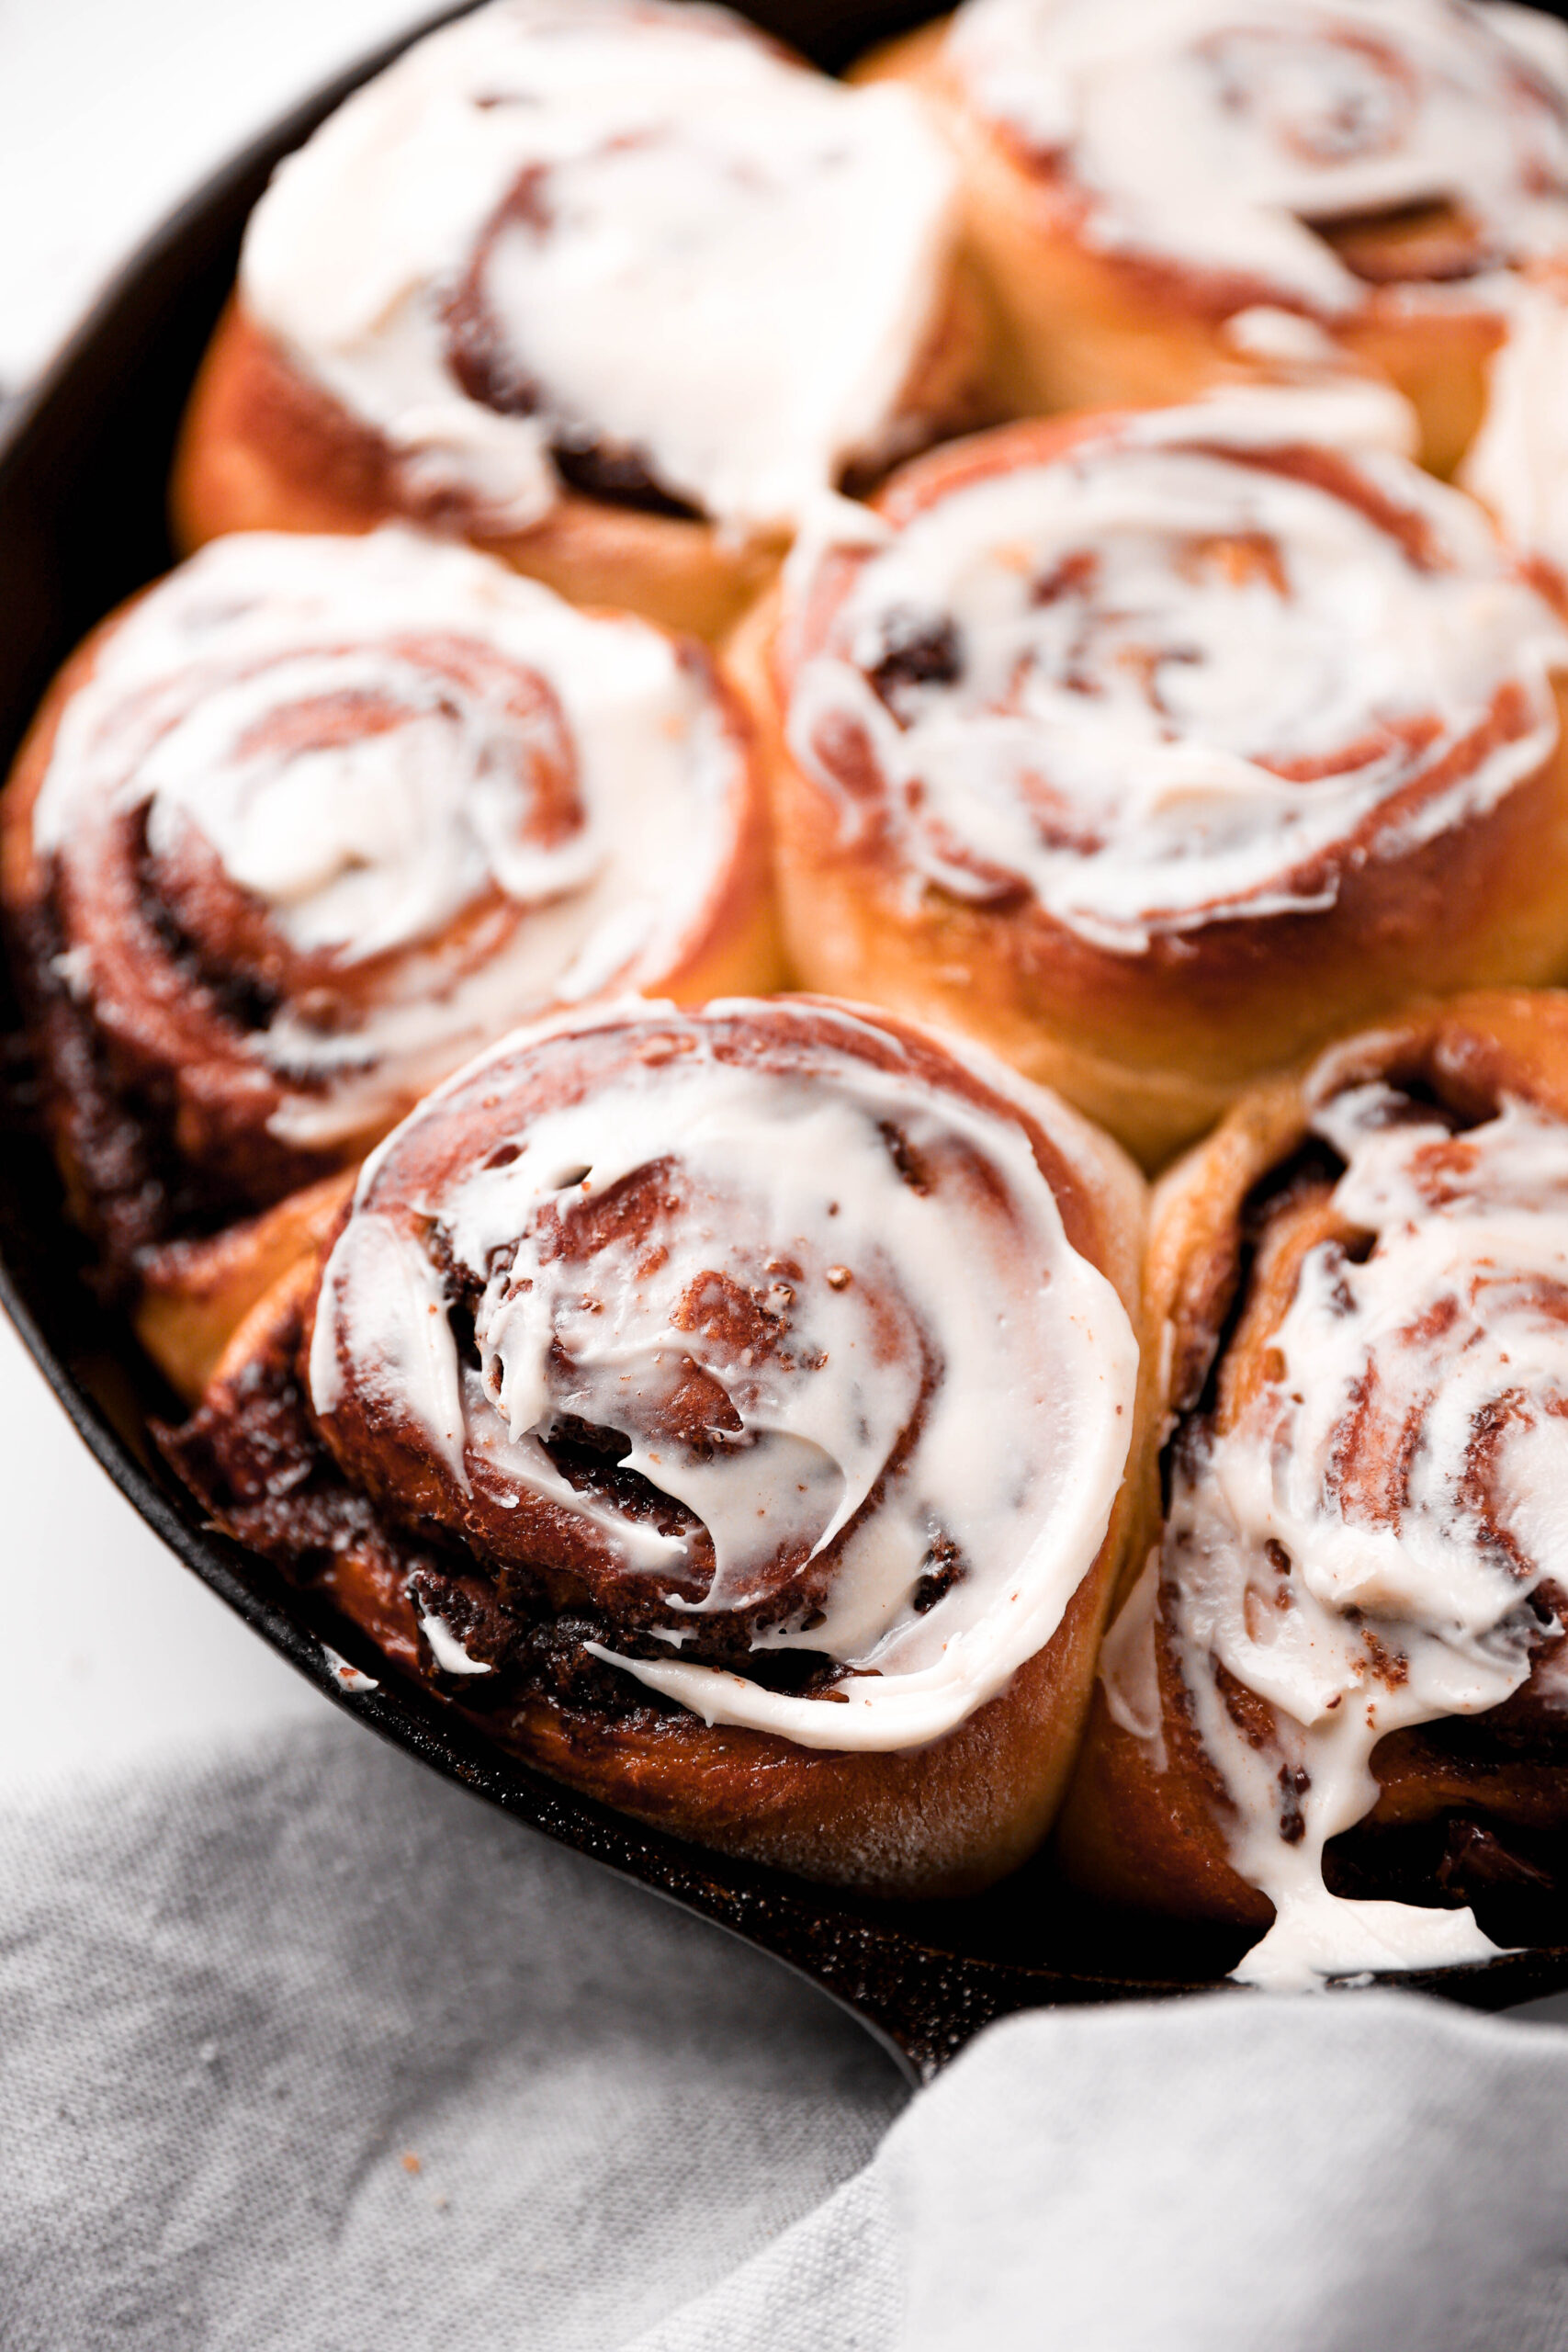
- Let the rolls cool slightly, then SMOTHER them with the cream cheese frosting. Dive in!
How to know when to stop kneading your dough
There are a few tips and tricks to ensure you knead your dough for the right amount of time. My two favorite are the following:
- Press your finger into the dough. If the dough bounces back, it is ready to go! If your finger leaves an indent in the dough, it needs more kneading.
- The window pane test. This one is by far my favorite! Rip off a small piece of dough and place it in between your fingers. Carefully, spread your fingers apart to stretch out the dough. If the dough stretches easily without ripping AND you can see light passing through it, you are golden and it is good to go to rise!
Yeast tips for beginners
Don't get me wrong, working with yeast can be intimidating! Here are some tips that helped me a bunch as a novice yeast user:
- Make sure your yeast is fresh. This is a simple one, but yeast can be dead. I once tried making cinnamon rolls over and over and over again but the dough was just NOT rising. I thought I wasn't activating it correctly, but turns out the yeast was just dead.
- Allow the dough to rise for the entire instructed time. Don't rush the rise process! Interrupting the rise can cause your rolls to be dense and just not good.
- Sometimes the gluten needs to relax. If you are rolling out the dough and it just keeps shrinking as you roll it, stop what you're doing, cover it lightly, and let it sit for 10 minutes to relax the gluten.
Other bread recipes you may like

Soft and Fluffy Chocolate Rolls
Ingredients
Dough
- 2 ½ cups (313 grams) all purpose flour plus more for kneading
- 1 package instant yeast must be instant! 1 standard package of yeast is 2 ¼ teaspoons.
- ¼ cup (50 grams) granulated sugar
- ½ teaspoon salt
- ¼ teaspoon ground nutmeg
- ¾ cup (180 mL) whole milk room temperature
- 1 egg room temperature
- ¼ cup (57 grams) unsalted butter melted and cooled
Chocolate Filling
- ½ cup (113 grams) unsalted butter softened
- ½ cup (100 grams) brown sugar light or dark works!
- 2 tablespoons (10 grams) unsweetened cocoa powder
- ¾ cup (135 grams) chopped chocolate or chocolate chips semi sweet or dark chocolate works!
Egg Wash
- 1 egg lightly beaten
Cream Cheese Frosting
- 1 8 oz package cream cheese room temperature
- 1 cup (120 grams) powdered sugar
- ½ teaspoon vanilla extract
- ¼ teaspoon salt
Instructions
Dough
- In the bowl of a stand mixer (or large bowl if kneading by hand), whisk together the flour, instant yeast, granulated sugar, salt and nutmeg.
- Add the milk, egg and melted and cooled butter.
Kneading
- If you are using a stand mixer, using the hook attachment, mix on low-medium speed until the dough comes together, scraping the flour off the sides of the bowl if necessary. Once the dough forms, turn the mixer up to medium speed and knead for an additional 8-10 minutes. If the dough is sticking to the bottom/sides of the bowl, add more flour tablespoon by tablespoon. You may need to add an extra 4-5 tablespoons of flour. The dough should come together and be slightly sticky but smooth.
- If you are making the dough by hand, fold the wet ingredients into the dry ingredients until a dough forms. Lightly flour your work space (and your hands) and begin to knead the dough. If the dough is super sticky, add more flour tablespoon by tablespoon. You may need to add an additional 4-5 tablespoons of flour so it is not super sticky. Knead the dough by hand for 8-10 minutes. The dough should come together and be slightly sticky but smooth.
- The dough is done kneading when it passes the window pane test. Rip off a small piece of dough and place it in between your fingers. Carefully, spread your fingers apart to stretch out the dough. If the dough stretches easily without ripping AND you can see light passing through it, it does not need anymore kneading. Additionally, if you press your finger into the dough and it bounces back, it is ready to go!
- Once the dough is ready, transfer it to a well-oiled bowl, cover, and let it rise in a warm environment (in the microwave/in the oven - both OFF) for 1 ½ hours. It should double in size.
Filling
- While the dough is rising, make the filling. Take the butter out of the fridge and leave it at room temperature for a while so it becomes super soft and spreadable. You can microwave the butter for 5 seconds if necessary to soften it up.
- Mix the softened butter with the brown sugar and cocoa powder until completely combined.
- Once the dough has finished its first rise, grease an 8x8 or 9x9 inch pan, or pie dish and set aside. Remove the dough from the bowl onto a lightly floured surface. Using a rolling pin, roll out the dough into a 12x16 inch rectangle. Spread the filling into an even and smooth layer across the rolled out dough. Sprinkle on the chopped chocolate or chocolate chips.
Preparing the rolls and baking
- Gently roll the dough into a log, beginning from the long side. Once the dough is completely rolled, with the seam side down, gently press on the top of the log just to secure it.
- Cut the dough into 9 equal pieces by using a very sharp knife or a piece of floss. If using a piece of floss, place the floss underneath the dough with the ends coming up on the sides. Criss cross the floss over the dough and pull until a roll comes off.
- Place your rolls into the prepared pan, cover, and leave the rolls to rise for another 35-40 minutes. They should fluff up.
- When the dough has 5-10 minutes left to rise, preheat your oven to 350 degrees Fahrenheit (180 degrees Celsius). Lightly whisk an egg to make an egg wash. Brush the egg wash on the edges of the rolls using a pastry brush or your finger.
- Place the rolls in the oven and bake them for 24-26 minutes until slightly golden on top.
Cream Cheese Frosting
- While the rolls are baking, prepare the cream cheese frosting. Beat together the cream cheese, powdered sugar, vanilla extract and salt until super smooth. Once the rolls are cooled, spread the frosting on top of the rolls. Enjoy!


Cece
Hii, how many tsps is a packet of yeast? Our packets here may be different from yours.
Jess Italiano
Hi Cece! One standard yeast packet is 2 1/4 teaspoons 🙂